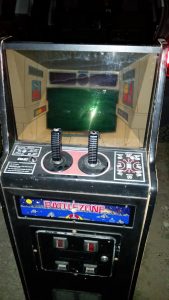
The Battlezone Cabaret, just off the truck. It definitely needed a bath.
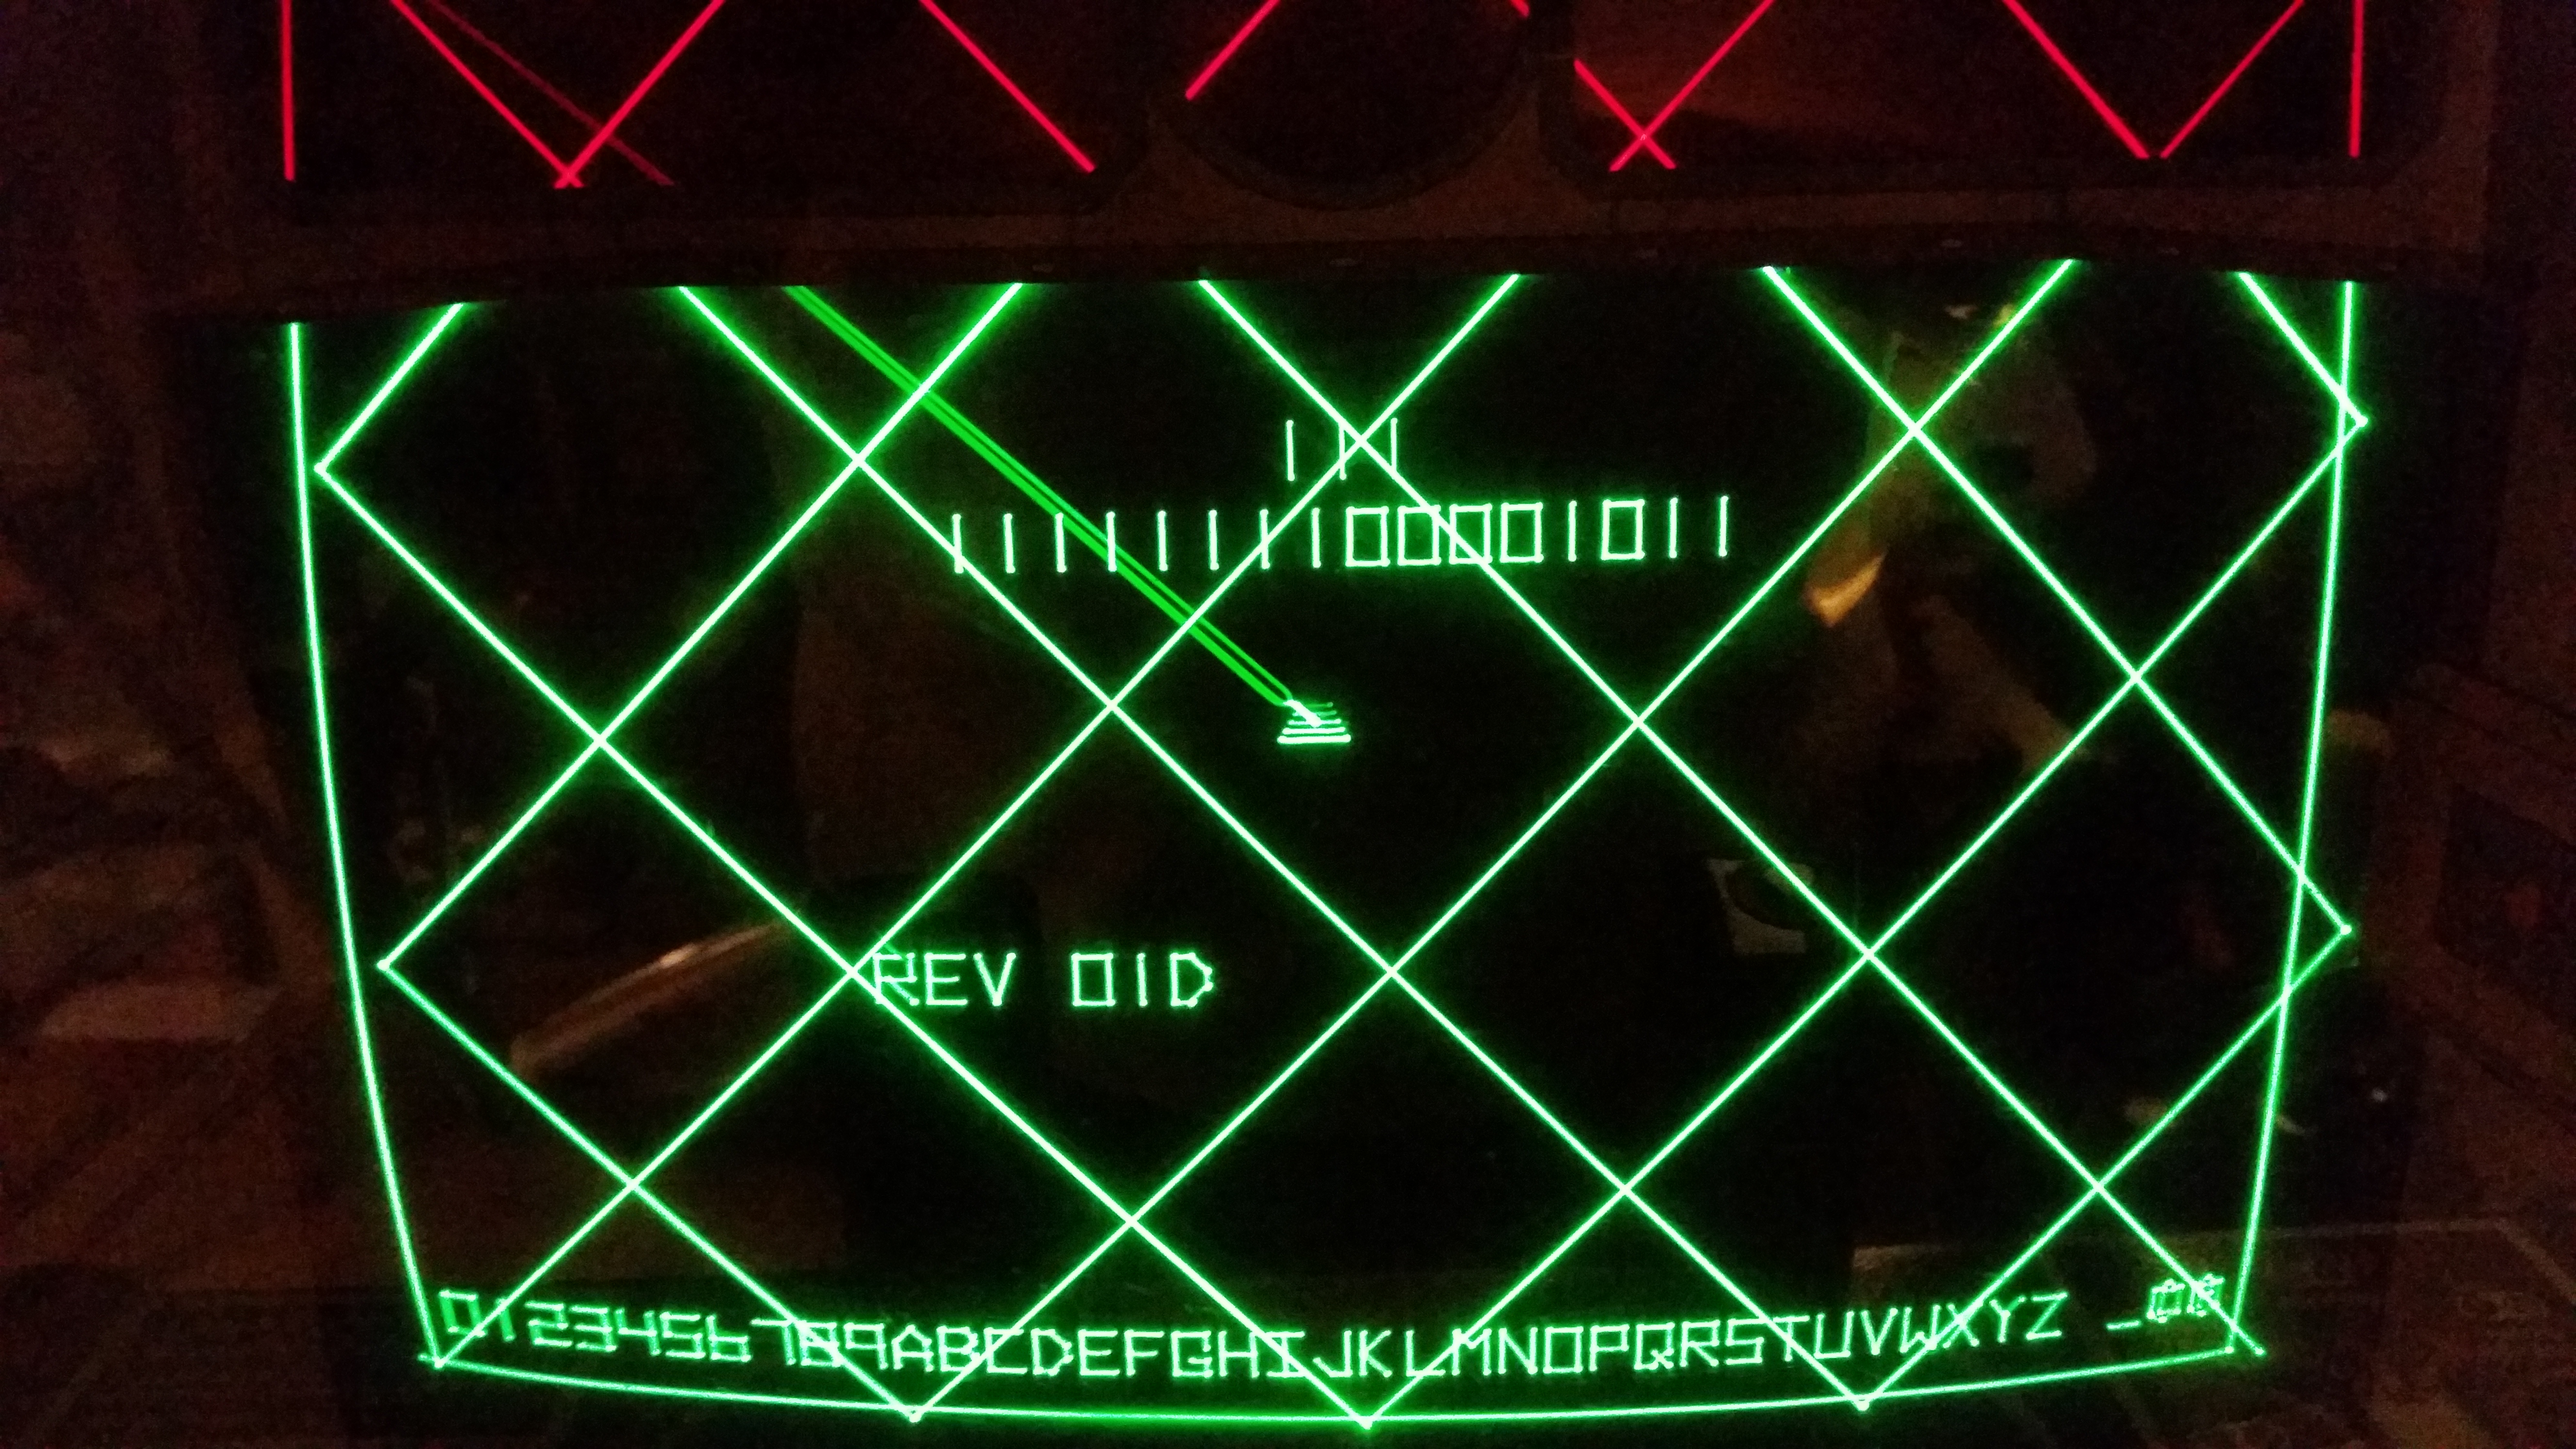
Many of us who grew up during the Golden Age of arcade games have fond memories of a particular game at a particular location. One of my own such memories is of Atari’s 1980 title Battlezone. The time was 1981, and the place was the game room attached to a beach house that we used to stay at when I was a kid. Battlezone was a futuristic tank combat simulator set on a flat plane with active volcanoes and a crescent moon overhead. The battlefield was also littered with geometric shapes which could act as either shelter or obstacles. The single player controlled their tank by way of two joysticks, one of which was topped with a fire button. Battlezone was big, and had a cool plastic periscope bezel that the player would look through for a more immersive experience. The game used a monochrome vector monitor with a green gel overlay at the bottom, where the action was, and a red overlay across the top, where the game displayed the information systems of the players tank. These included a radar display which showed the player the relative position of the enemy, and a small screen that displayed important messages about the tank’s situation in the battlefield. Adding to the early VR-like experience was deep, bassy audio that included rumbling engine noises, ballistic-sounding pops when the player fired, and, my favorite, a rousing rendition of 1812 Overture, which was a player’s reward for scoring an extra tank at 100,000 points, and also for scoring high enough to enter the player’s initials in the top ten score board.
While I truly love Battlezone, the enormous size of the standard upright cabinet made it unrealistic that I would be owning one any time soon. Atari did, however, produce a cabaret version of the game, and utilized the smaller of their two basic mini cabinet designs.

Maile is very excited about our new Battlezone!
It was October, I had a few days off from work, and a desire for an adventure. I put the word out to the Arcade Community, and before I knew it, a fellow collector contacted me with a Battlezone Cabaret at a price I couldn’t refuse.
It wasn’t perfect. It had been in a storage locker for a couple of years, and the cabinet had some significant swelling, but it was a complete game. It was also located about a five hour drive from my house, so it fit the adventure bill perfectly.
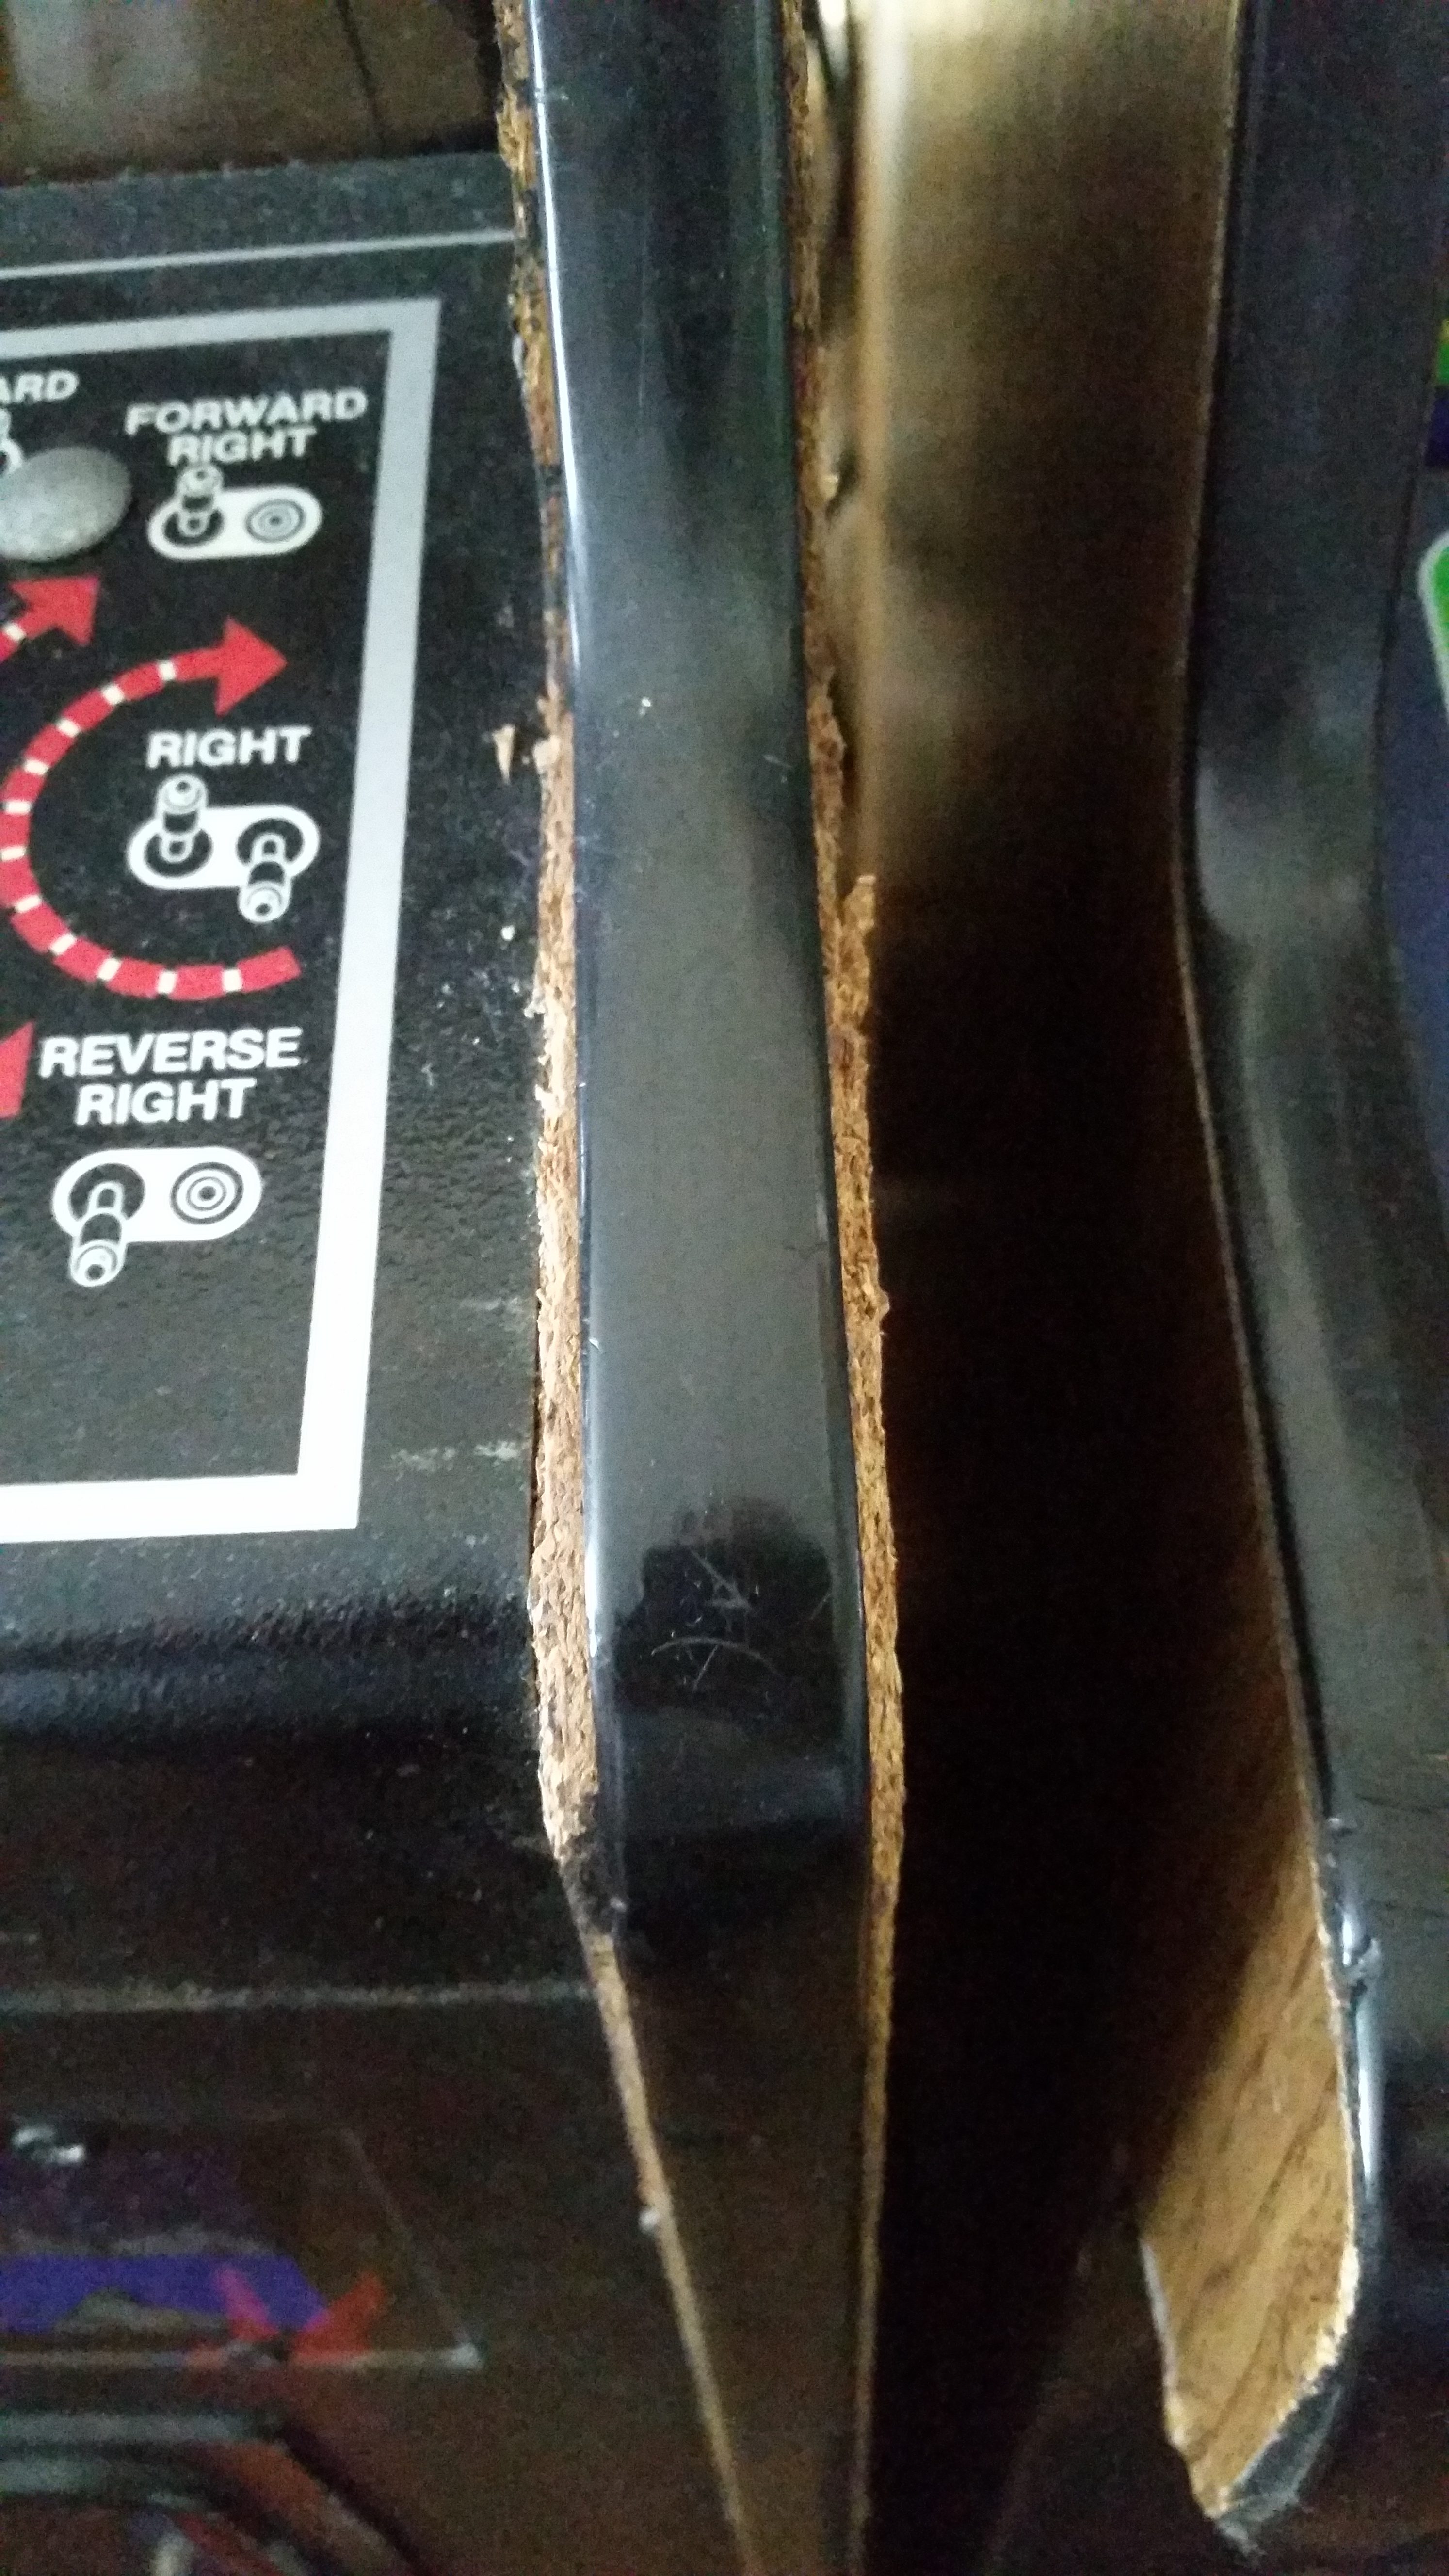
We set off relatively early in the morning, and after a fruitful side trip, we made it to Northern Washington. The Battlezone definitely looked like it had been around the block. As promised, the cabinet had some significant swelling, unfortunately quite close to the control panel, so it would be noticeable.

The particle board side had swollen to the point where it could no longer hold the T-molding.
Adding to this, the T-molding had popped out, as the groove had expanded significantly. Otherwise, it looked pretty good. Most amazingly, the decorated cardboard monitor shroud was present and complete. It was a little bit dirty, but these are hard to find, and as far as I know, they have never been reproduced. I was glad to see this one there!
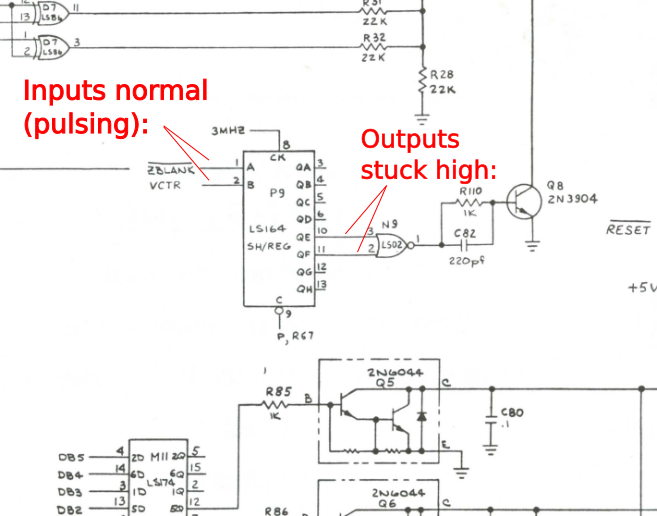
Also, the coin door was in good shape, but had a 1/4″ hole drilled in it and some of the paint had flaked off, but there was no rust. The marquee was present, as well as the smoked glass bezel, which didn’t appear to have any scratches or other noticeable damage. The back was where most of the bad news was waiting, The bottom panel on the back had some significant damage. The vent slot had been enlarged and deformed, leaving some areas that were pretty nasty looking, there is no more diplomatic way to put it. The particle board door itself wasn’t too bad on the inside, but the back surface had flaky paint, to the paint where some of the particle board itself was starting to chunk out. Finally, like just about every arcade game I’ve picked up, the line power cord had been mangled, with the ground plug having been removed. The seller plugged it in and turned it on. Nothing appeared on the screen, , but the light in the start button was on solid. Looking in the back, there were some LEDs that were illuminated on the PCB, so I at least knew the power supply wasn’t completely dead.
In any case, it was a very exciting project to me, and well worth what the seller was asking. I happily handed over the cash and loaded the game into the back of my trusty Xterra.
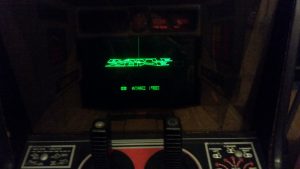
It was quite dark by the time we got home and unloaded the Battlezone. I stopped to get a few pictures before bringing it into the house.
Once inside, I took the back off and commenced step one of my initial game restoration procedure: wiggle stuff, reseat all connectors, and look for anything that is just hanging that looks like it’s supposed to be attached to something.
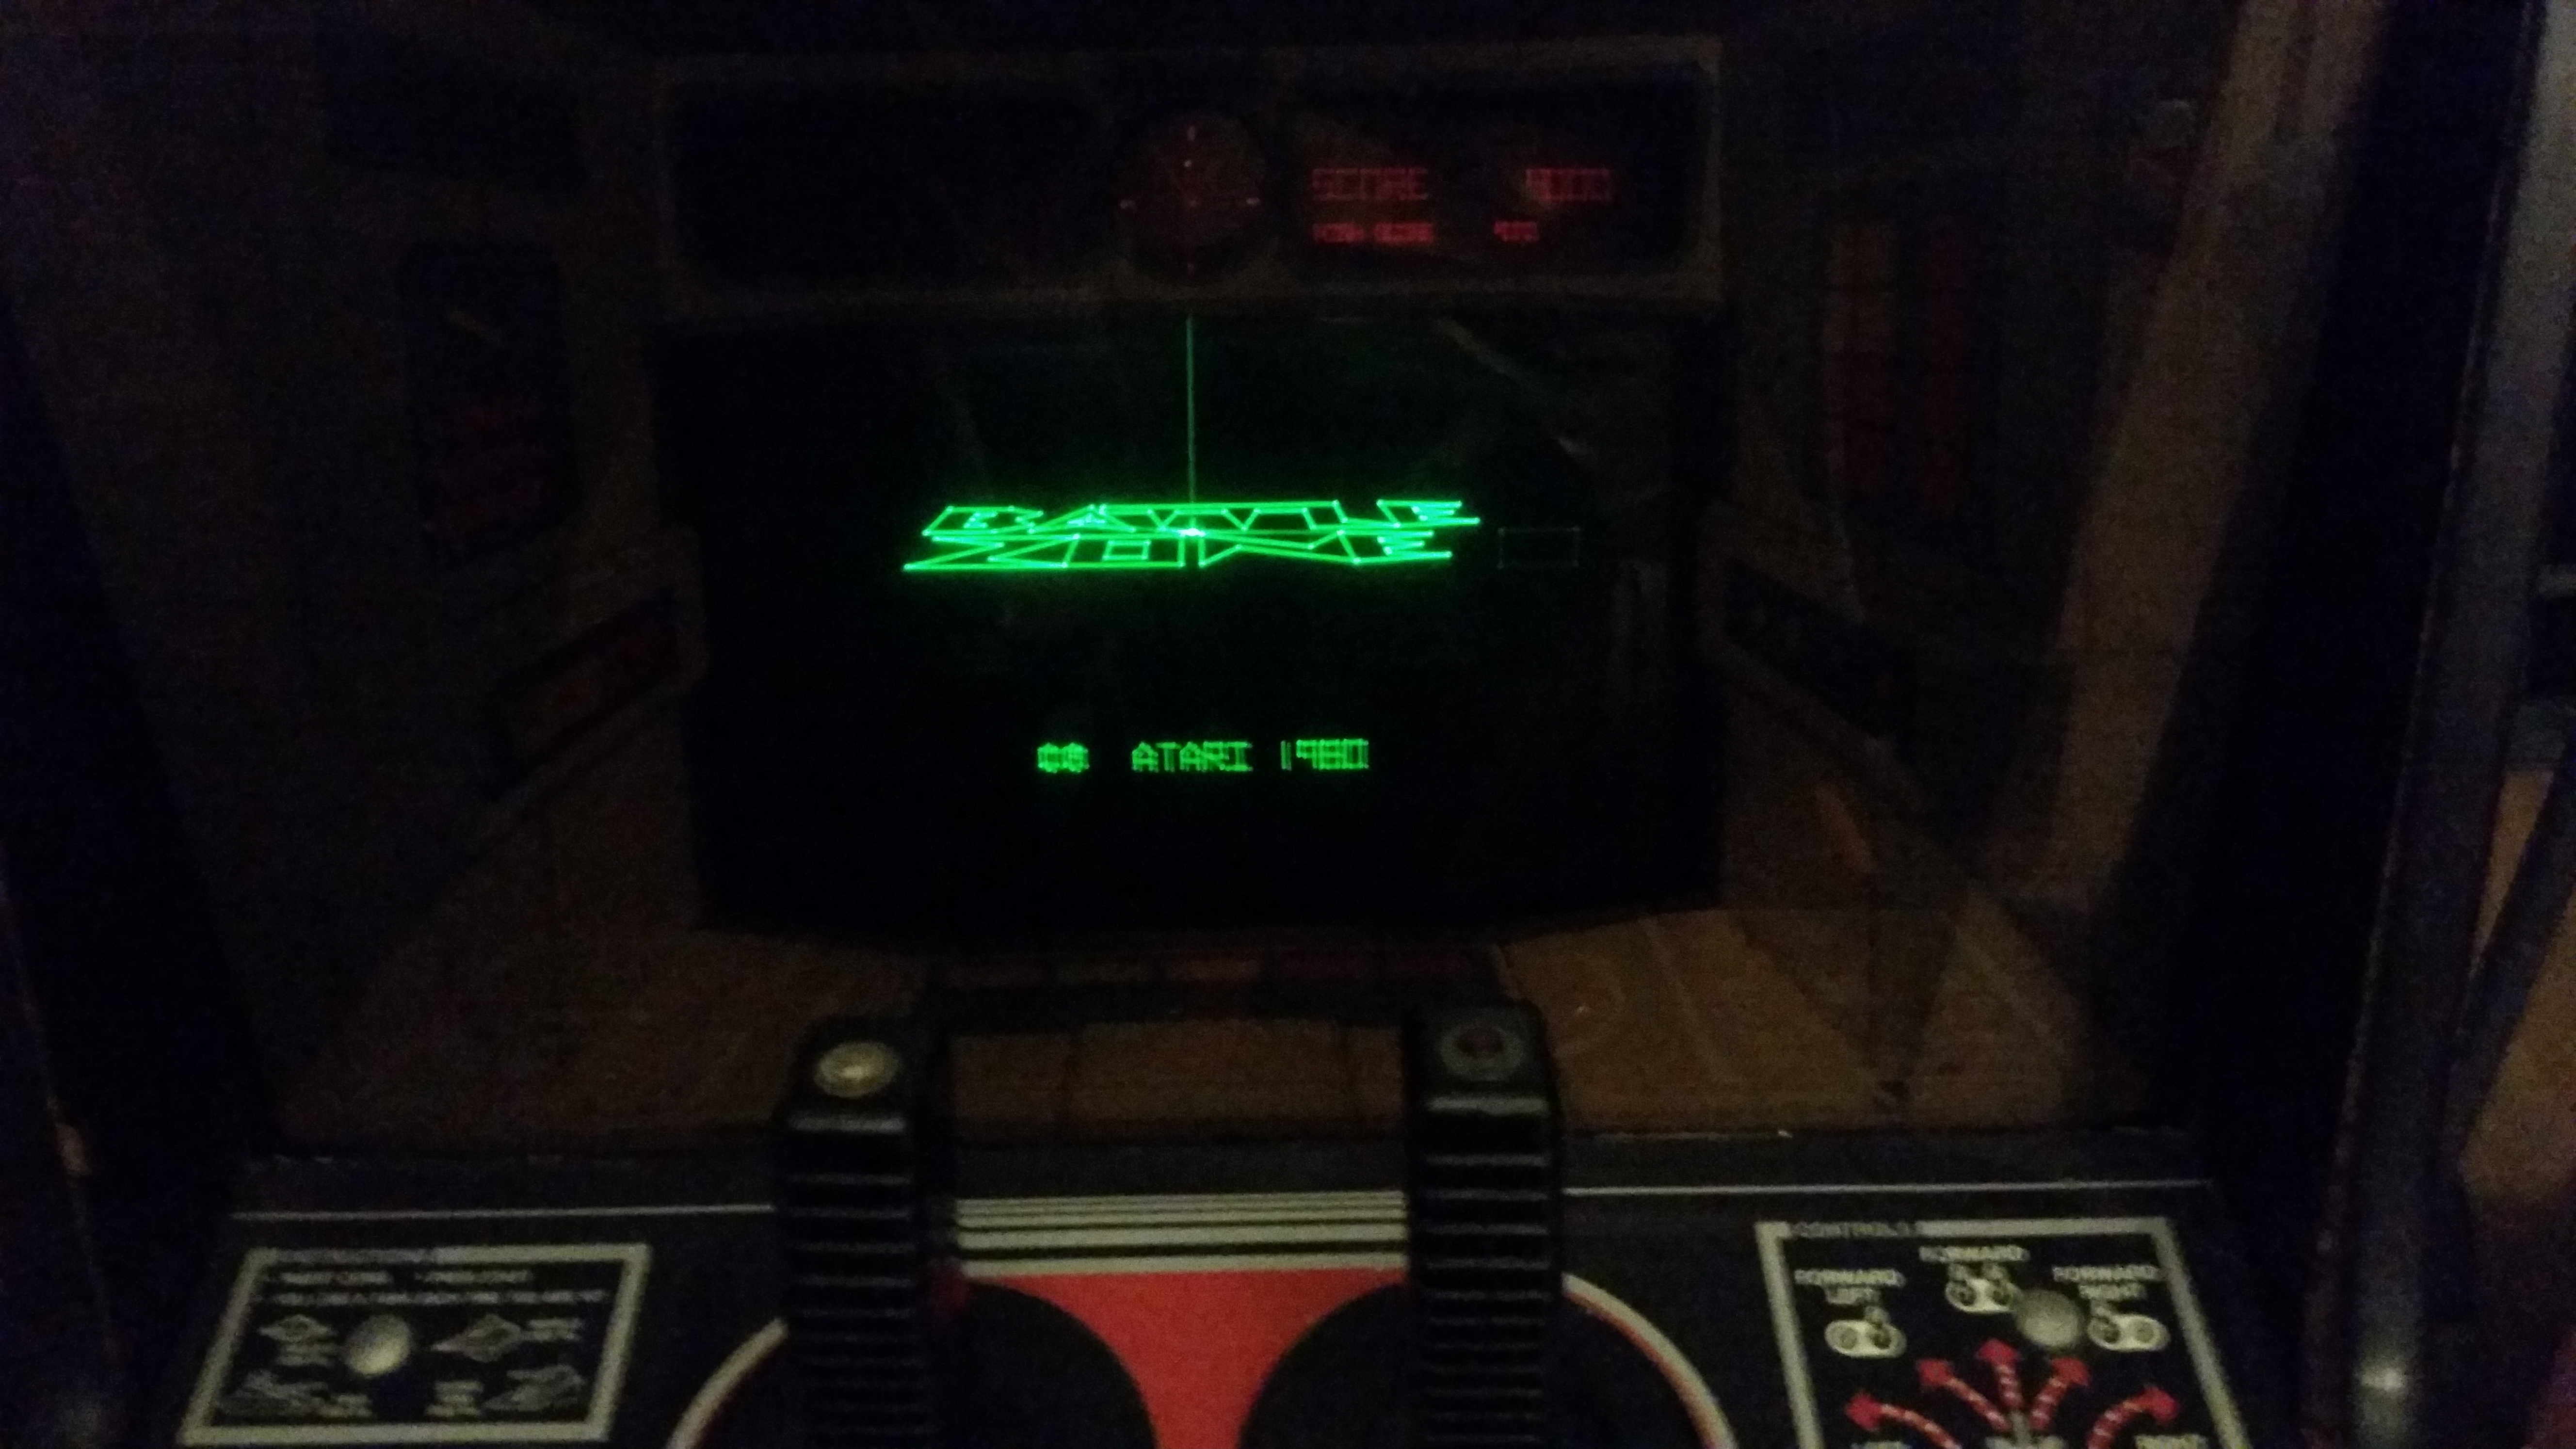
The Battlezone lives!
I was sitting behind the game, after having completed phase one, and flicked the power switch on. Maile was in front of the machine and said; “Dad, the start button is flashing!” I jumped up and ran around the game, and saw something beautiful!
Right then, I was able to start a game. The sound worked nearly perfectly, the deep bass notes reverberating through the room, and the red and green overlays giving an otherworldly cast to the vector shapes on the screen.
I was very happy to find this game, and even happier to discover that it did actually work. of course, there was still quite a list of things to do, but I like where this project was starting.
What I immediately knew that the game would need:
- Some cosmetic work on the joysticks
- General cleaning
- New line power cord
- Cabinet work (swelling)
- New interconnect cable (always a good idea)
- Power brick rebuild
- New marquee light tube and/or starter (at least)
- Coin door light repair or replacement
- Coin mech installation (if I decided I needed them)
There would be a few other challenges that would show up unexpectedly, and that’s where the fun really began!