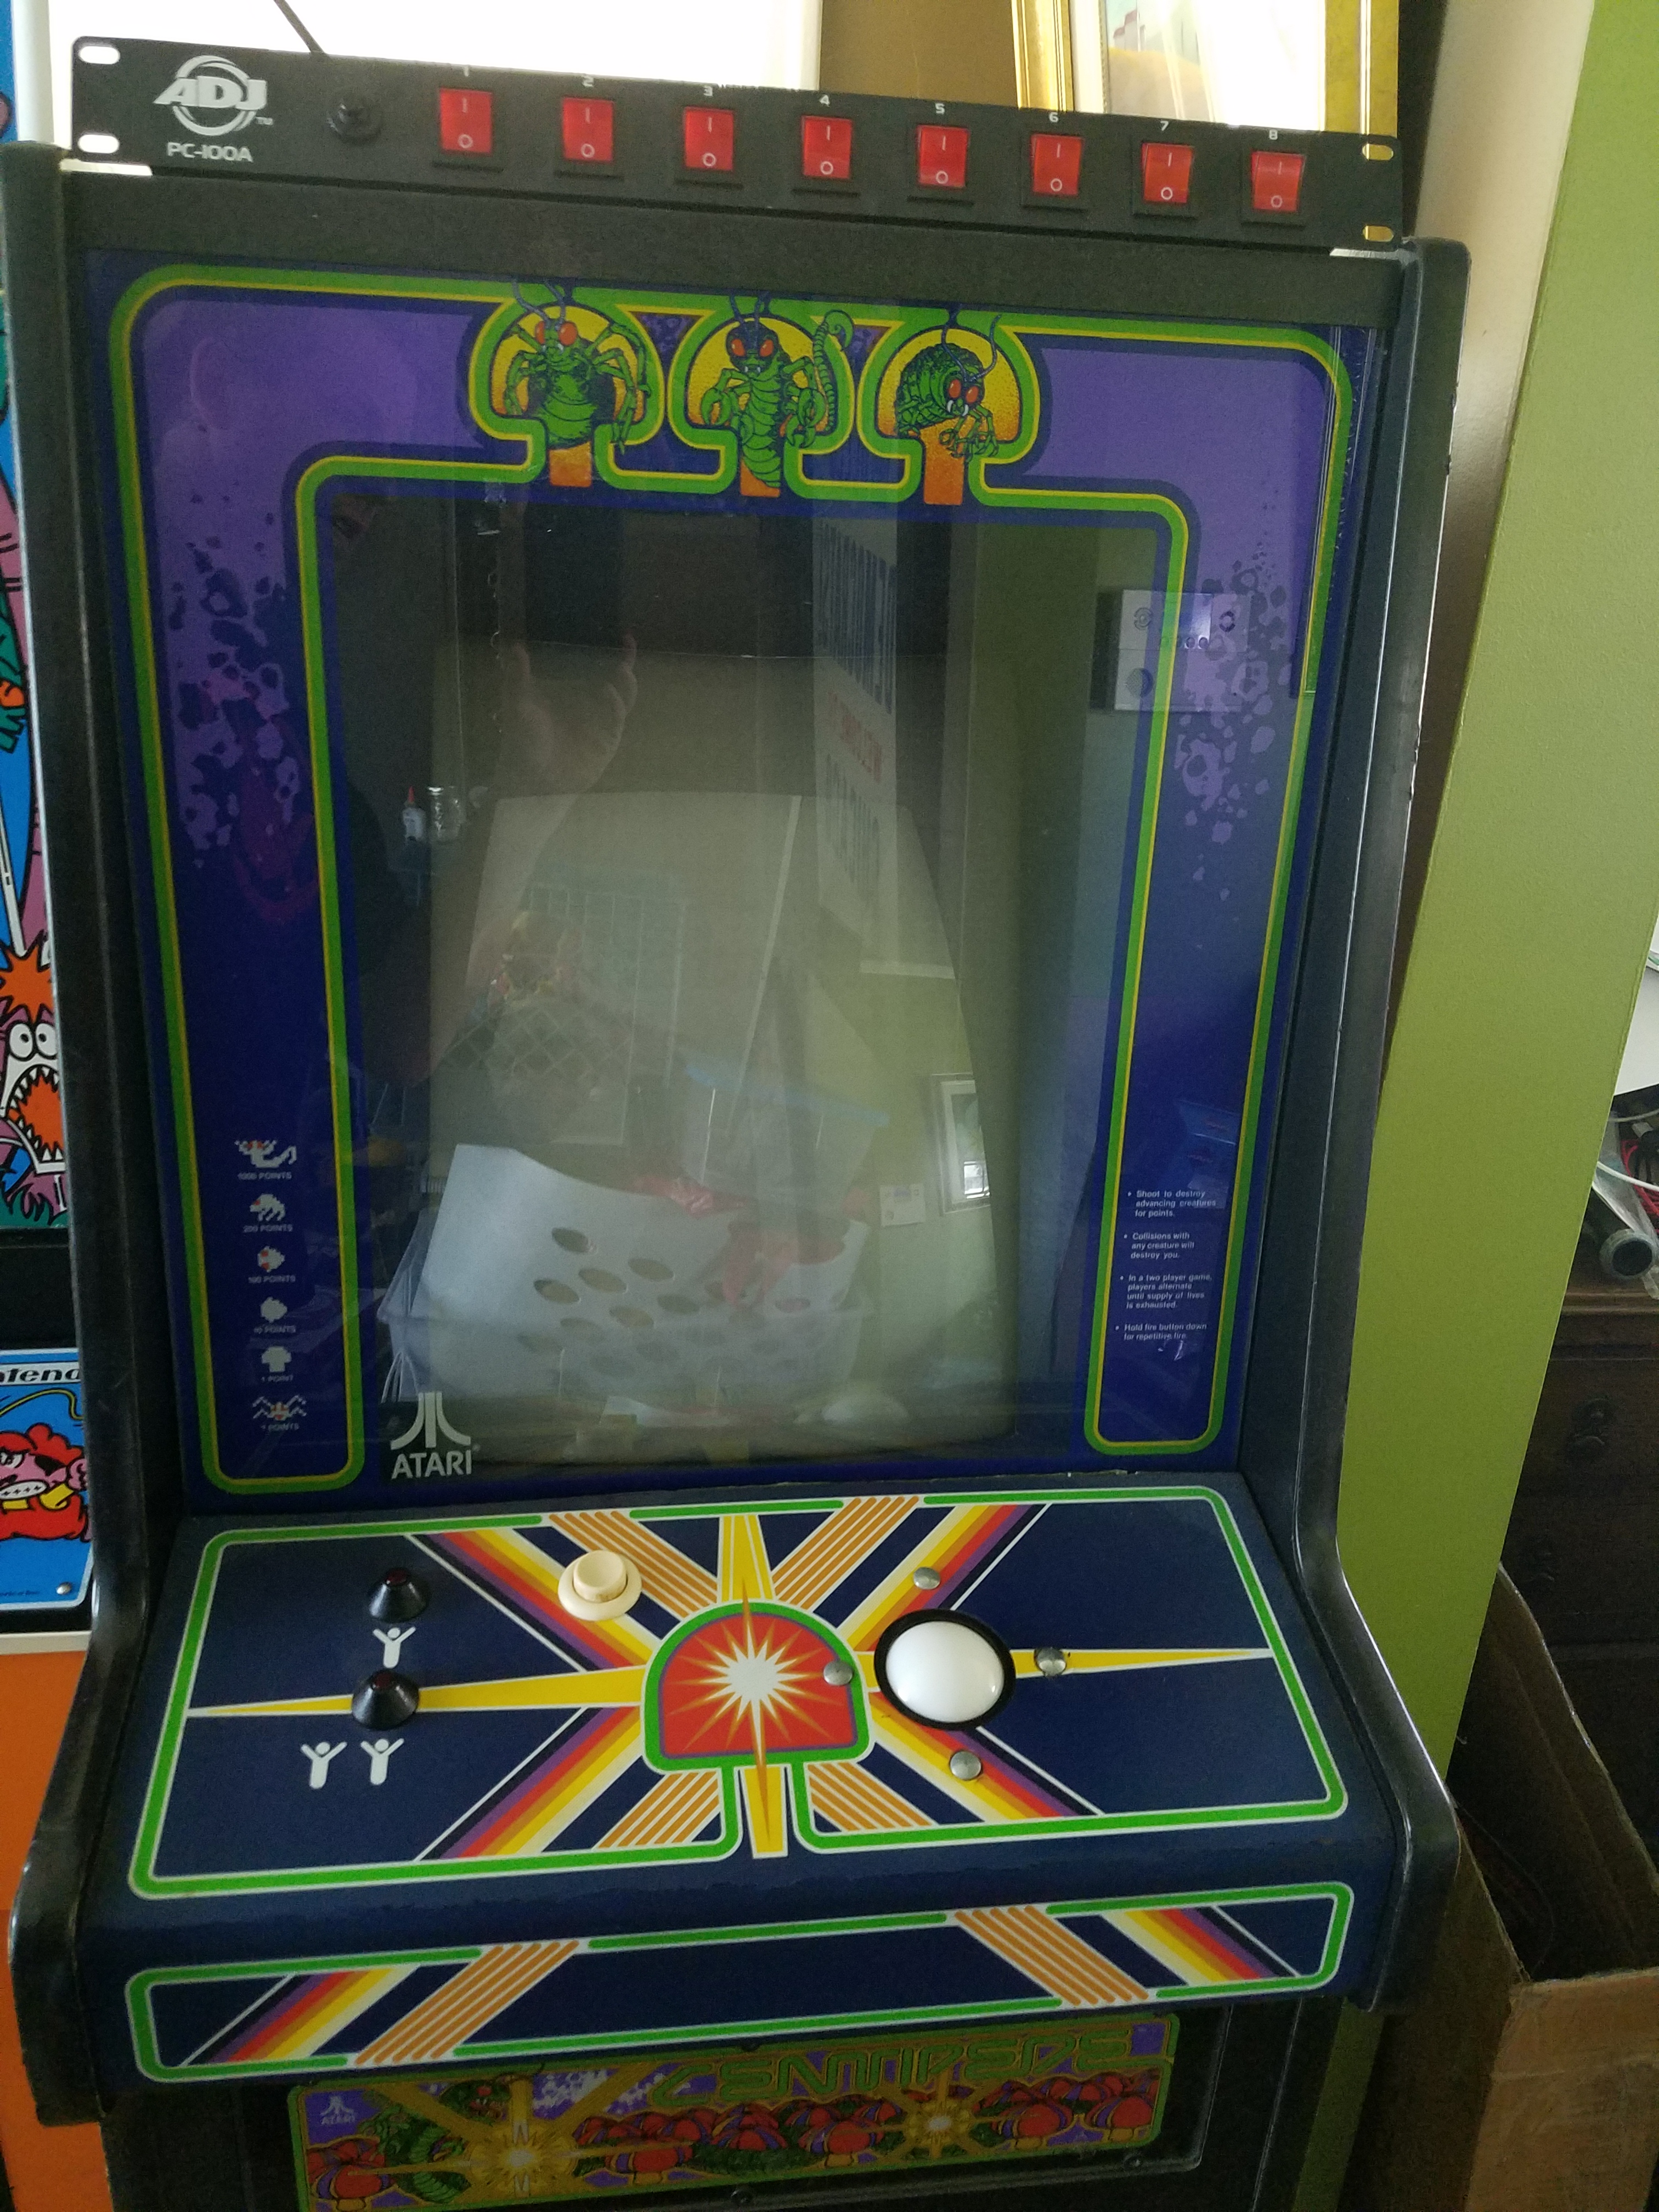
In the hot summer of 2015, I got my first game, a Centipede Cabaret. For those who may not be familiar with the term, a “Cabaret” is a smaller version of an upright game, often with a smaller monitor, and in the case of Atari, plain woodgrain-patterned vinyl on the sides rather than more elaborate side art.

Centipede Cabaret, as it sits in my living room as of 2016.
Technically speaking, the term “Cabaret” really belongs to Atari. Most other manufacturers just called the smaller games “Minis”, or in the case of Taito, the elegant-sounding “Trimline”. These were games that were probably aimed at locations with smaller spaces, such as bars or small shops, where the smaller size would be a real asset.
Anyway, I had been patrolling Craiglist, which remains a primary source of used coin-op video games, when this nice looking Centipede appeared. It seemed to be priced about right, and had no obvious flaws that I could see in the ad, so I contacted the seller. We exchanged a couple of texts, and I set off in my pickup truck, along with a pocket full of cash, a hand truck, and my daughter Maile, who was about to turn 10.
On the drive out, I pondered everything that might be wrong with a game, and since this was my first, there was a lot I could imagine, and a lot about which I had no idea. When we got there , the game was running just like the seller had described. It needed a good cleaning, some new bearings and rollers for the trackball, and the coin door was pretty beat up. All of that was okay, though. We quickly agreed on a price, and Maile and I loaded it up and brought it home.
Once in the house, I could take off the top layer of grime, and see what we were dealing with. The good news: the glass bezel turned out to be nearly flawless. Needless to say, it cleaned up very nicely. With bezel off, I carefully removed the original dark blue monitor shroud, and set to the front of the picture tube with a cloth and some Windex. The amount of dirt and grime on the screen was truly prodigious, and after destroying a couple of cloths, the picture had brightened significantly. It was now apparent that the monitor was really in fantastic shape. The CPO was looking pretty badly stained, but I decided to take a Magic Eraser to it and see what could be done. It brightened almost immediately. There is still some splitting near the bottom of the panel, so it will get replaced at some point, but it’s
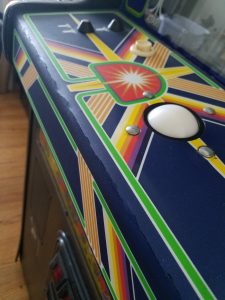
Some cracking along the bend in the control panel overlay.
certainly not a high-priority item. The carriage bolts holding the trackball in place were badly rusted and pitted, beyond the point of saving, so I found some suitable replacements.
It was finally time to plug the game in and let the family have a crack at it.
In a stroke of luck, it turns out that Julie, the love of my life and mother of my child, is really big on Centipede. She very quickly accepted the presence of a 35 year-old video game cabinet in the living room, which has turned out to be very good news in the time since.
It didn’t take long before I had found a source for new bearings and rollers for the trackball, and got them ordered right away. Now the game play was buttery smooth, just like it was supposed to be.
The coin door was next. Centipede uses an “over/under” door arrangement, and the lower door had seen some serious abuse. The edges had been deformed to the point where it wouldn’t close, and there were several spots where the paint had worn through, revealing some noteworthy rust. I spent a few hours in total trying to bend the door back into shape, but never got it to the point where it both looked right and functioned properly. Also adding the door’s problems was a missing reject button and a mangled coin mech mount. None of this was a problem for a home use machine, of course, since it had been set to free play within a few minutes of entering the house, but it would never sit right with me until there was a lighted reject button with an appropriate Atari insert.
The solution ended up being a new coin door purchased from a KLOV member. It appeared to be a few years newer than mine, but I was able to transplant all of the usable parts form the old door to the new, and much more was then right with the world.
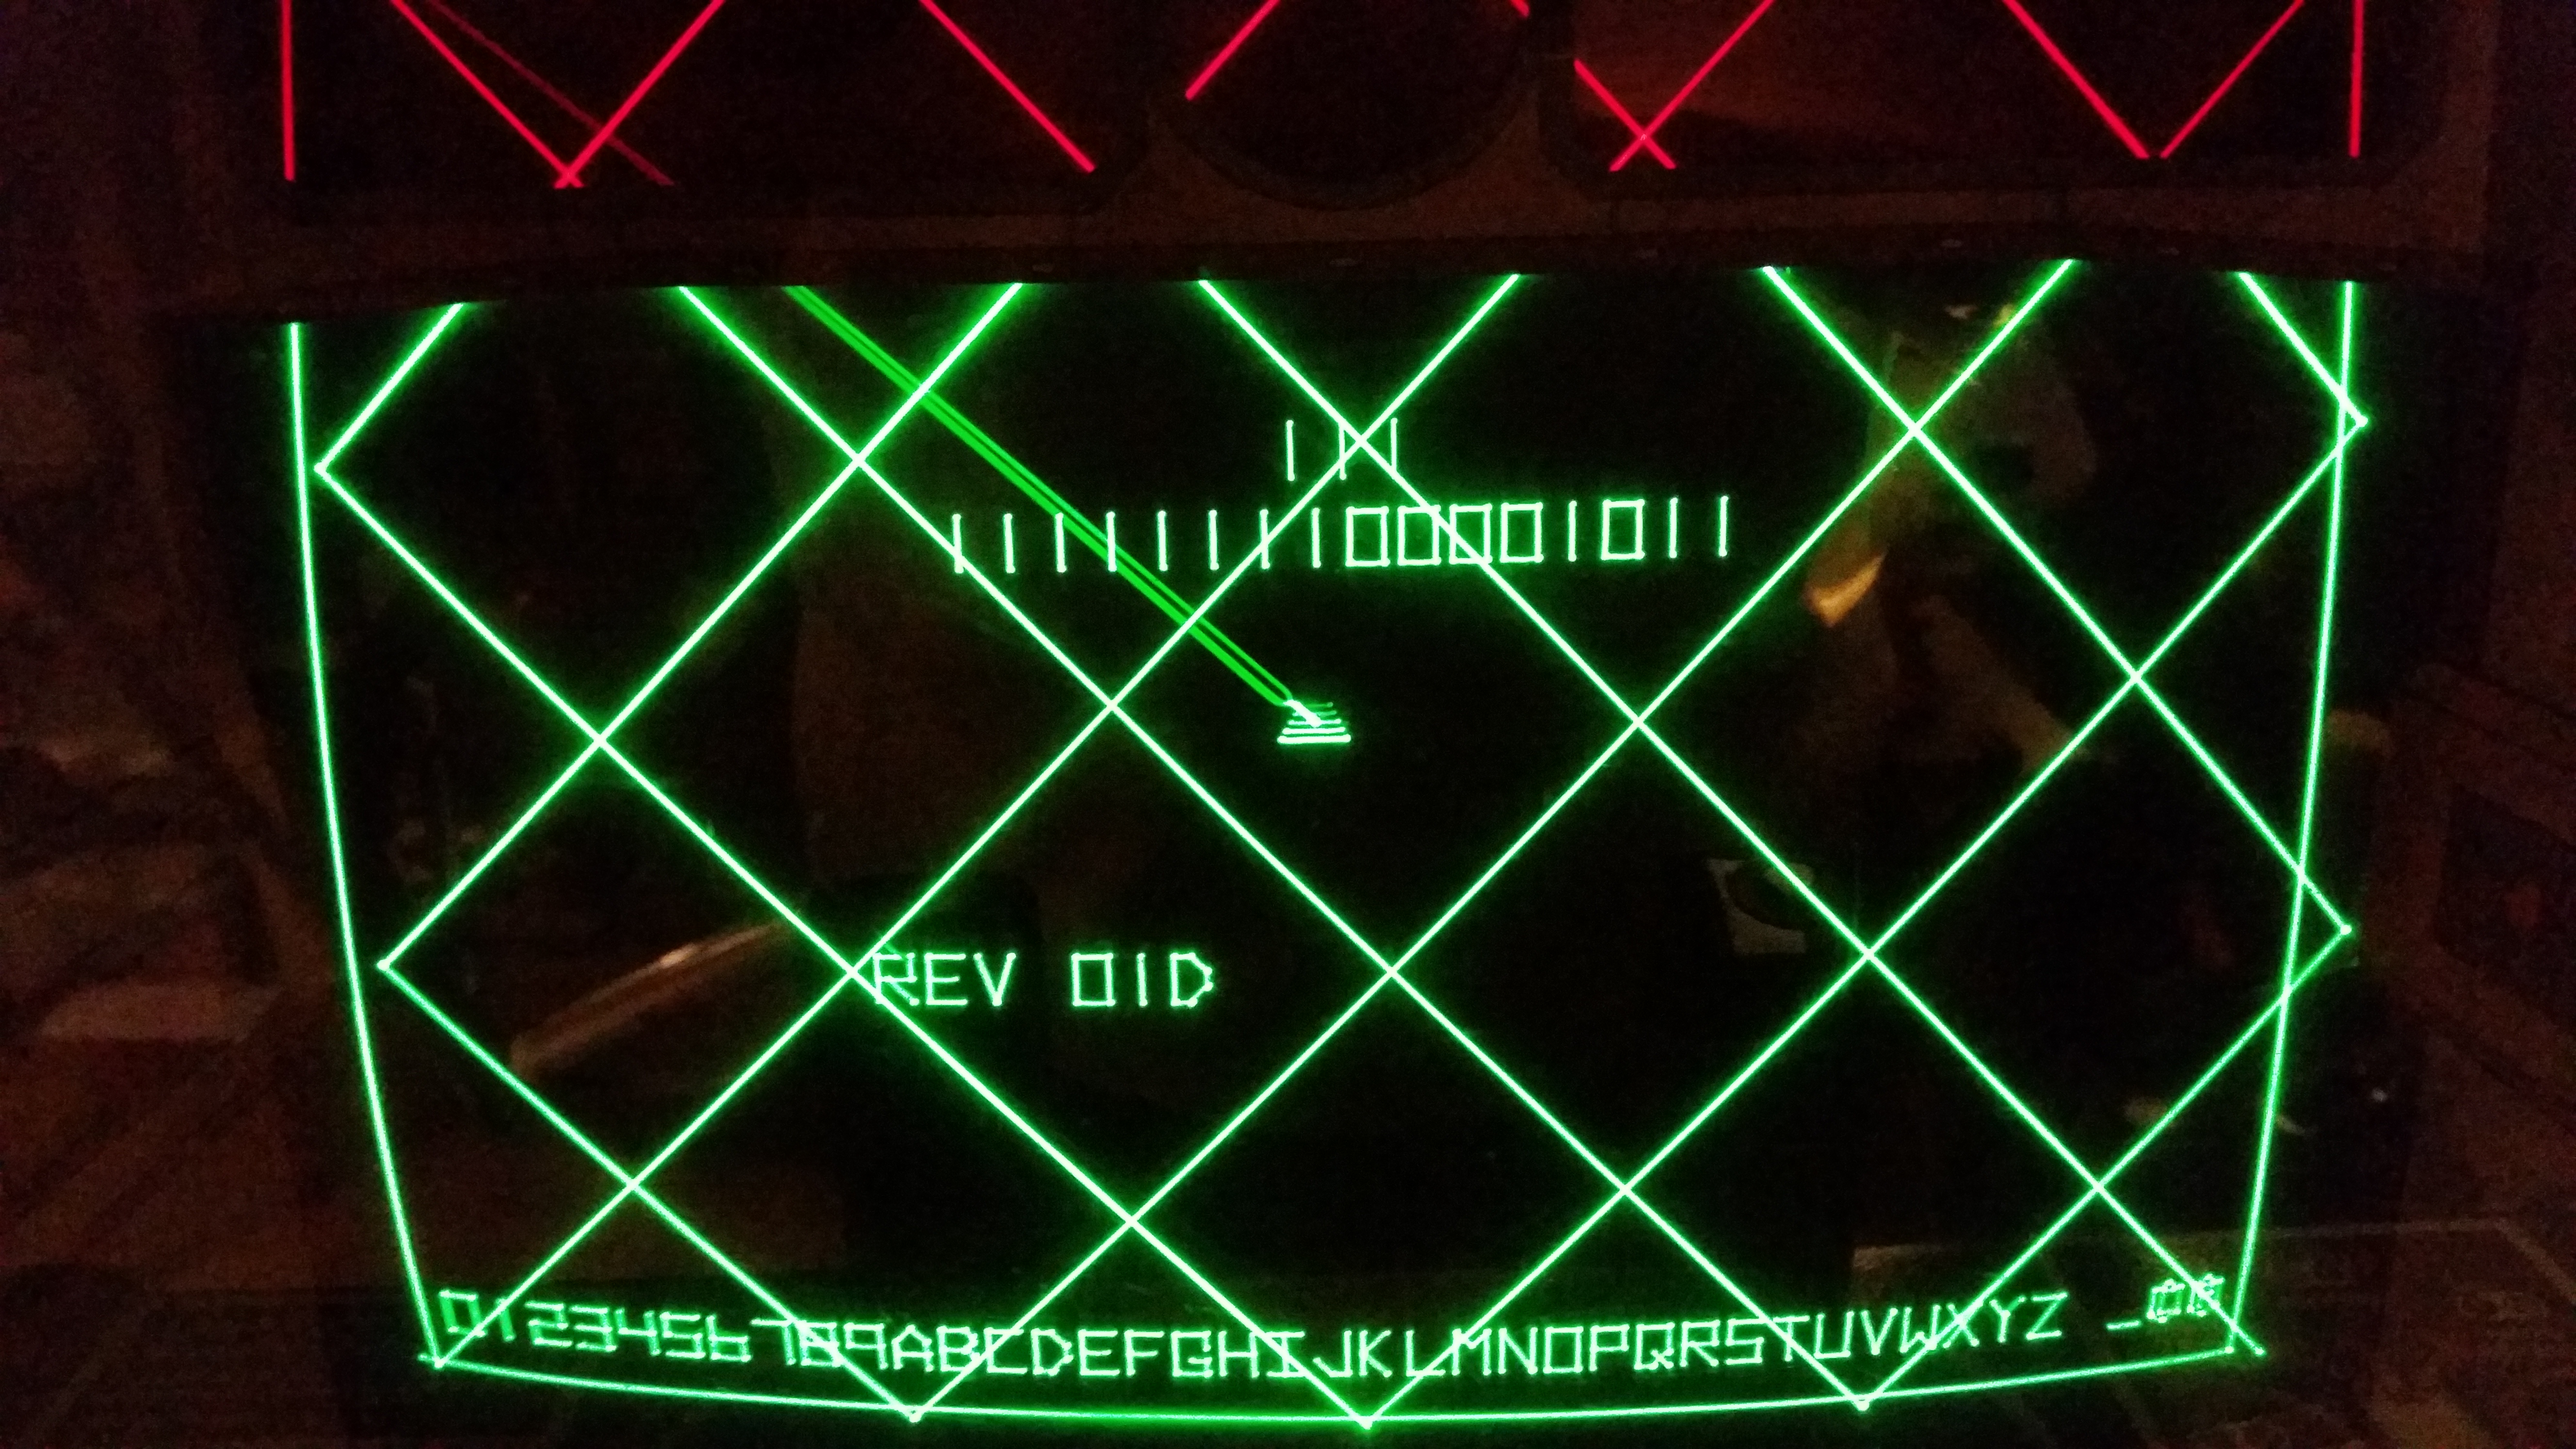
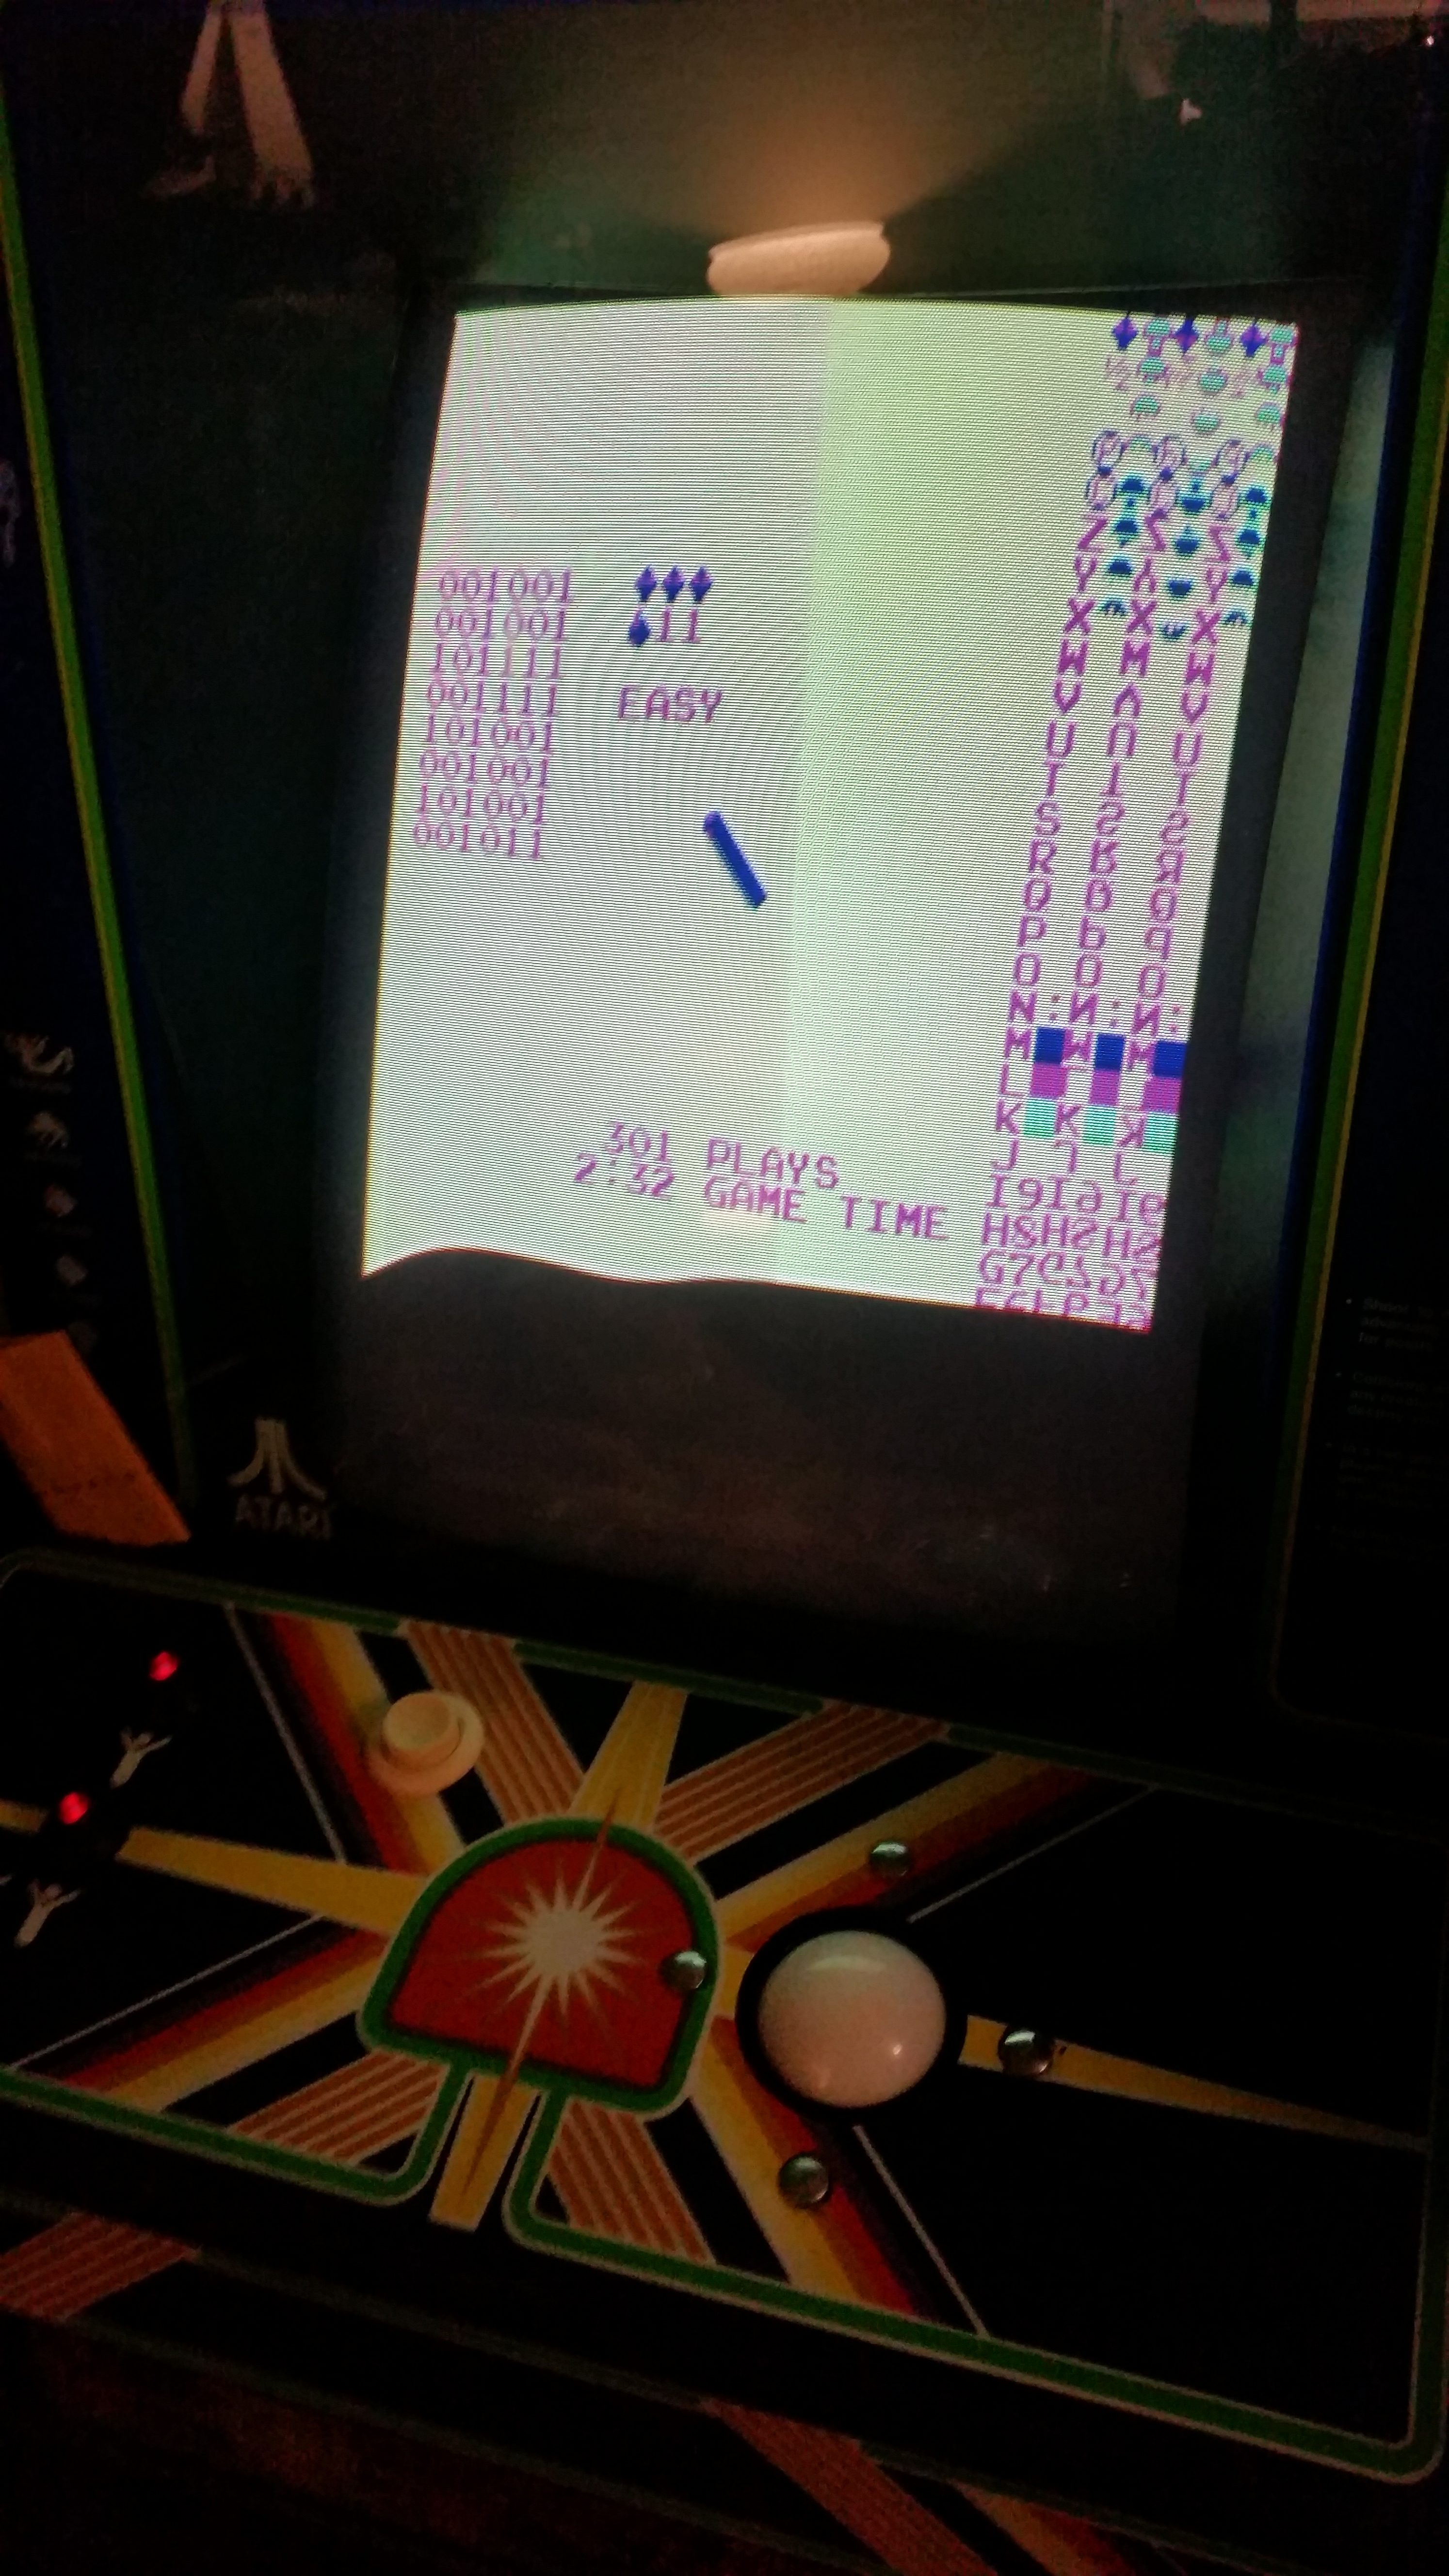
Things looked really good for about two weeks, when suddenly something very strange happened:
Something is not right with this G07! Don’t worry, though, the image is test mode, but check out the tearing at the bottom.
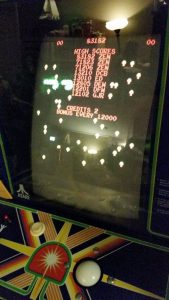
The bottom 3 inches or so are missing. That’s a problem in Centipede!
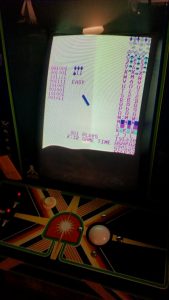
I switched on the game, and while it would start a game, the bottom couple of inches weren’t visible. That’s a pretty big problem for Centipede, since that’s where the player is. Luckily, the KLOV community came through, and in just a few days I had a cap kit and a new flyback in hand, and spent an evening repairing the Elektrohome G07.
After a few hours with the soldering iron, I placed the monitor back in the cabinet. I estimated that there was about a forty percent chance that I would flip the switch and immediately hear a big “pop”, and see that the monitor was now much more dead than it had been before. I also figured it was just as likely that I would fire it up and see no change. The least likely possibility, in my estimation, was that the monitor would come up looking just like it was supposed to. It turned out that that was exactly what it did. I didn’t even mess up a solder joint, it just worked, just like it was supposed to.
We celebrated with a family tournament.
I won…