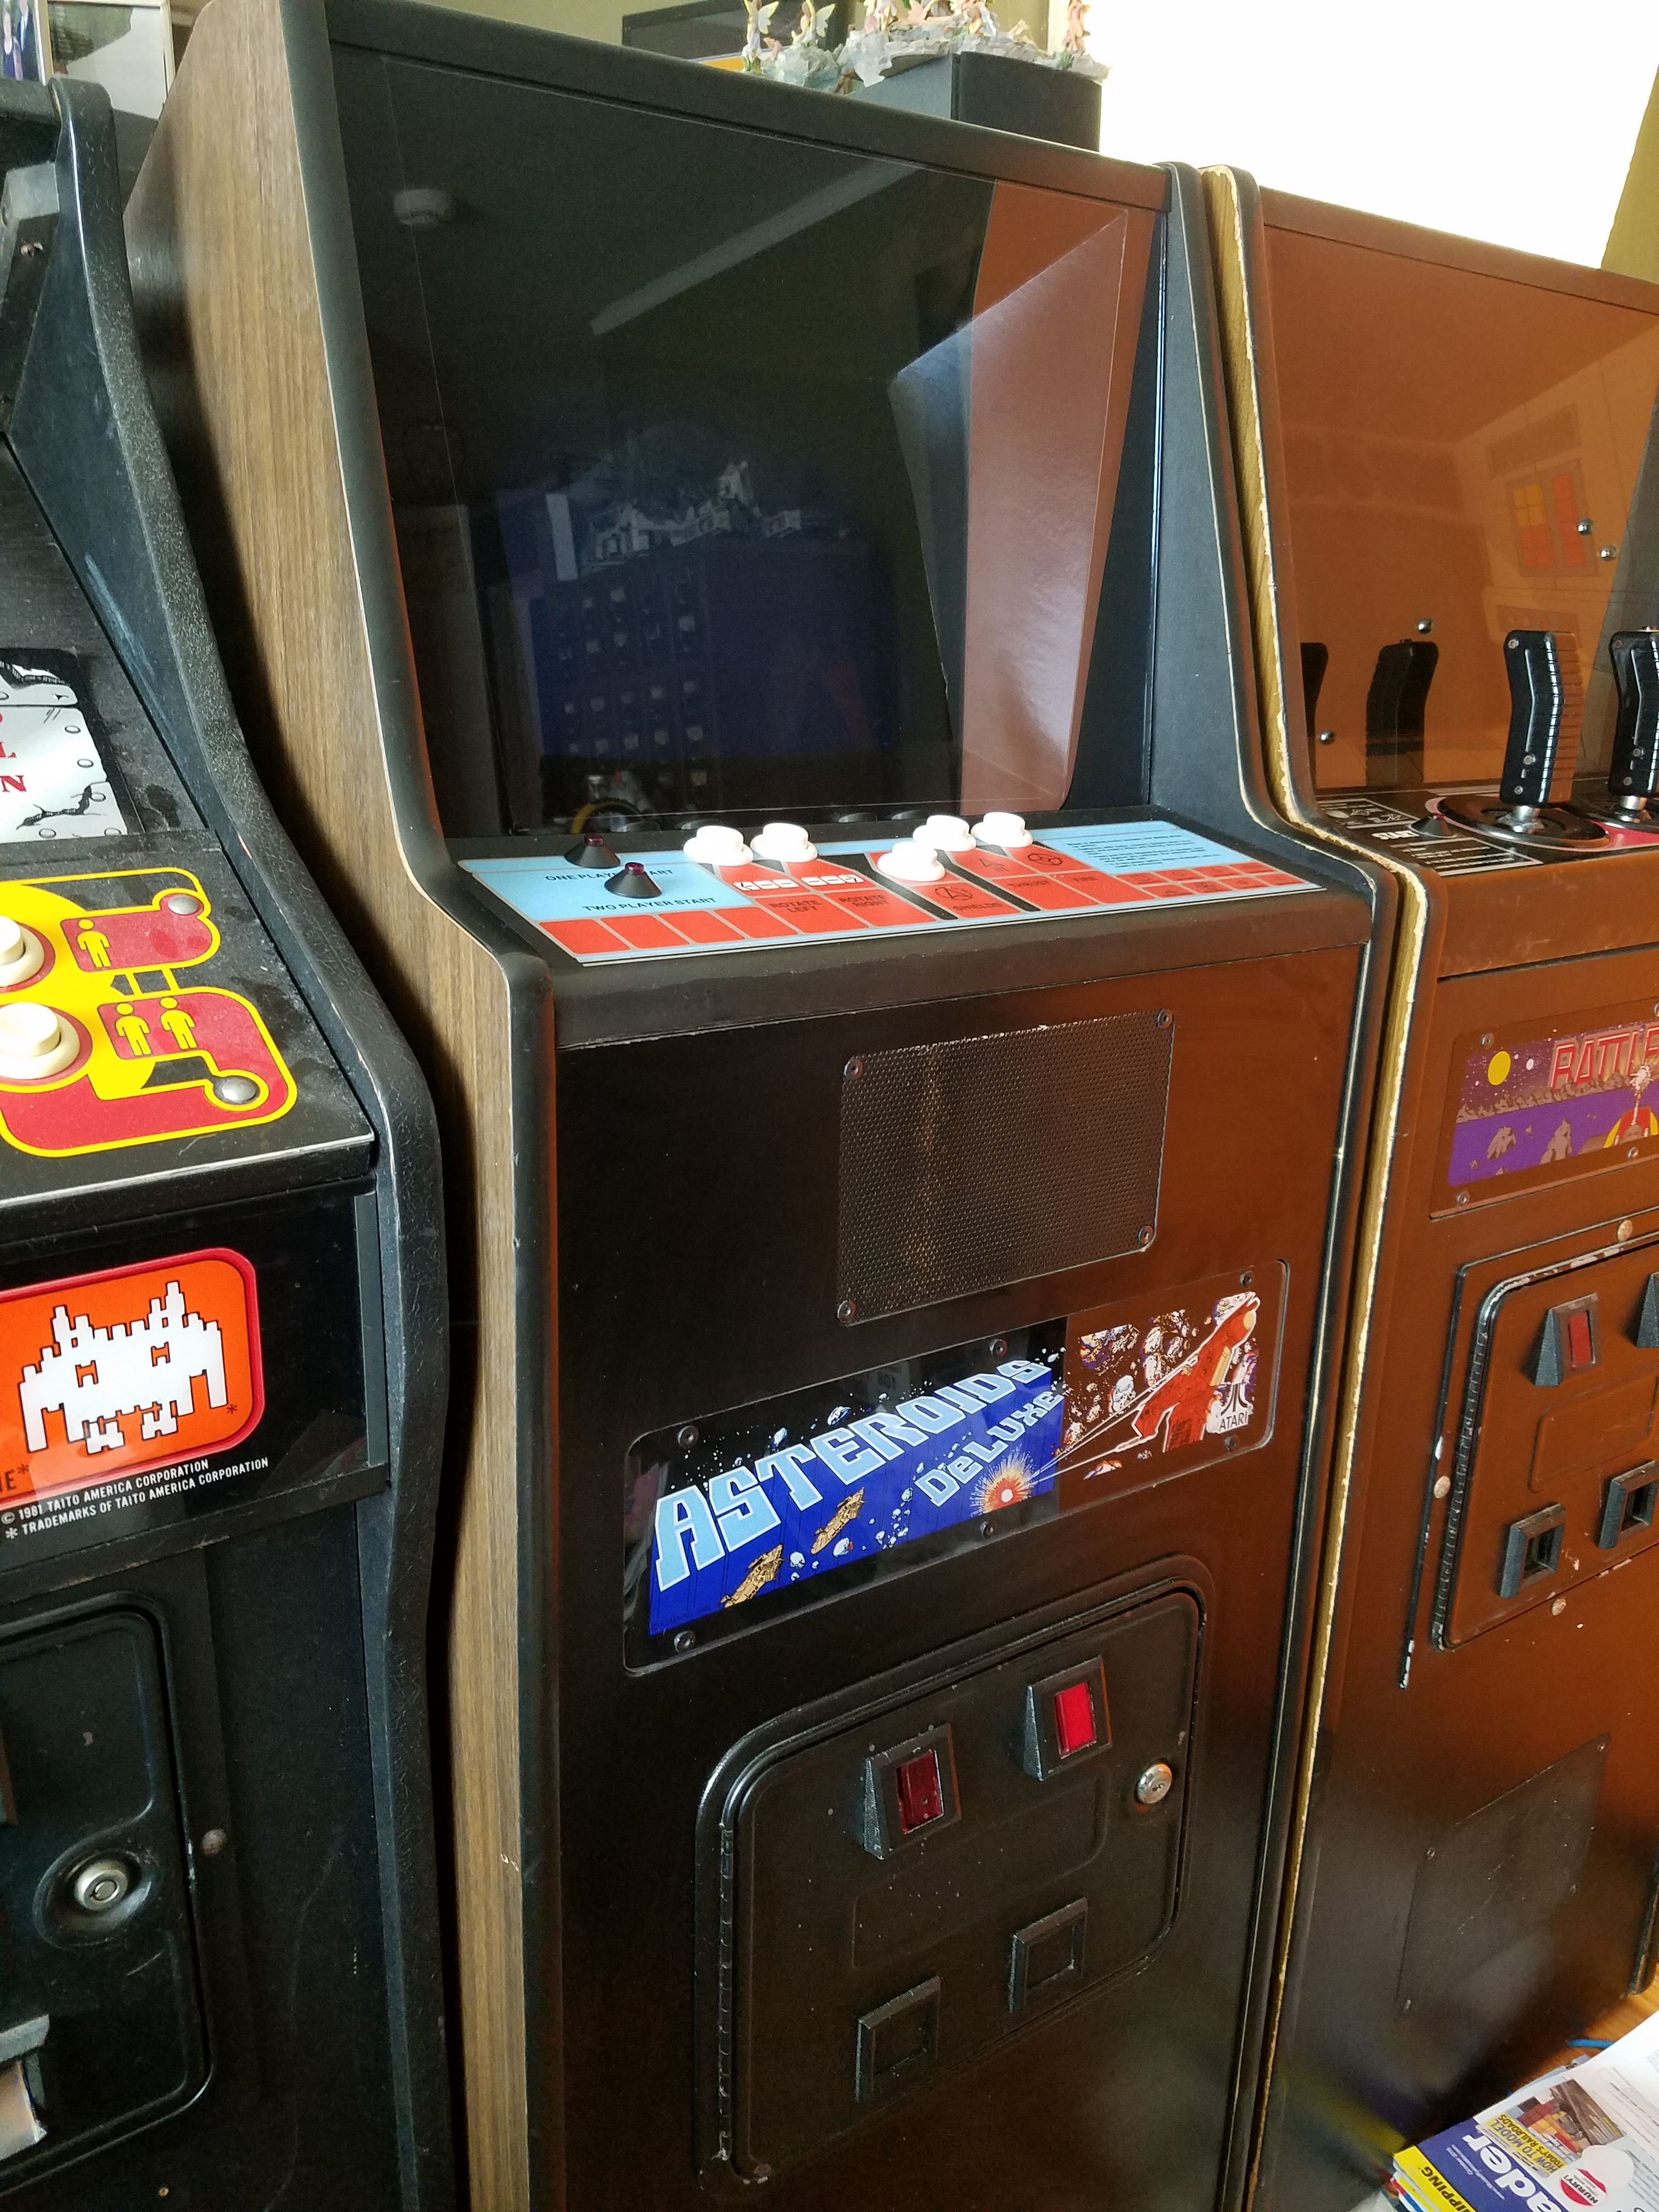
Asteroids Deluxe in its new home.
On April 27th, 2016, along with my good friend Jacob, I set out from Portland to the Central Washington town of Chelan to pick up this Asteroids Deluxe Cabaret. For some reason, I had dramatically underestimated the drive time from Portland to Chelan, so it took an entire day, from 09:00 to 23:00. The good news is that the game is just about immaculate. The woodgrain vinyl is clean, with just a couple little dings here and there, and one spot where it looks like someone had attached some tape to it. That’s a very rare and fortunate thing to find. The woodgrain that Atari used has been out of production for years, and nothing close has been consistently manufactured since, so finding a cabinet in original condition is a great score! The control panel is clean and bright, with almost no perceptible cracking at the corners. The buttons, however, had been replaced with some truly awful ultra-short action microswitch buttons. That’s not going to work for me. The monitor is sharp, although it starts to fade in brightness after a few minutes. I’ll put in a new cap kit just as a purely preventative measure, and while I’m at it I’ll re-flow anything on the monitor chassis that looks suspicious. The bezel shroud has some flaking on it which looks like wood flakes or something had gotten between the cardboard and the shroud. Obviously I’ll need to pull off the glass and clean off the front of the tube and the blue gel overlay. The marquee is flawless, and the light fixture works. The coin mechs are present as well, although as of yet I haven’t tested them. The coin box is also present and complete.
 We got an Asteroids Deluxe Cabaret! |
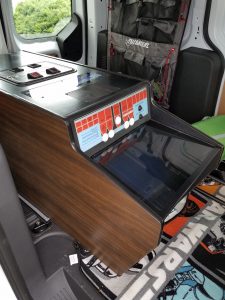 Asteroids Deluxe in the Van. |
When I arrived at the previous owner’s house, the game had already been turned on, and the image was severely stretched vertically, to the point where the score was no longer visible. That really didn’t seem like a big deal or a difficult fix. We had agreed on a price before I left Portland, and since the game was pretty much exactly as described, I handed over the cash, and away we went with the game!
By the time we got back to town, it was way too late to try to bring the game inside, so it spent the night in the van.
The next morning I made ready to bring the game into the house.
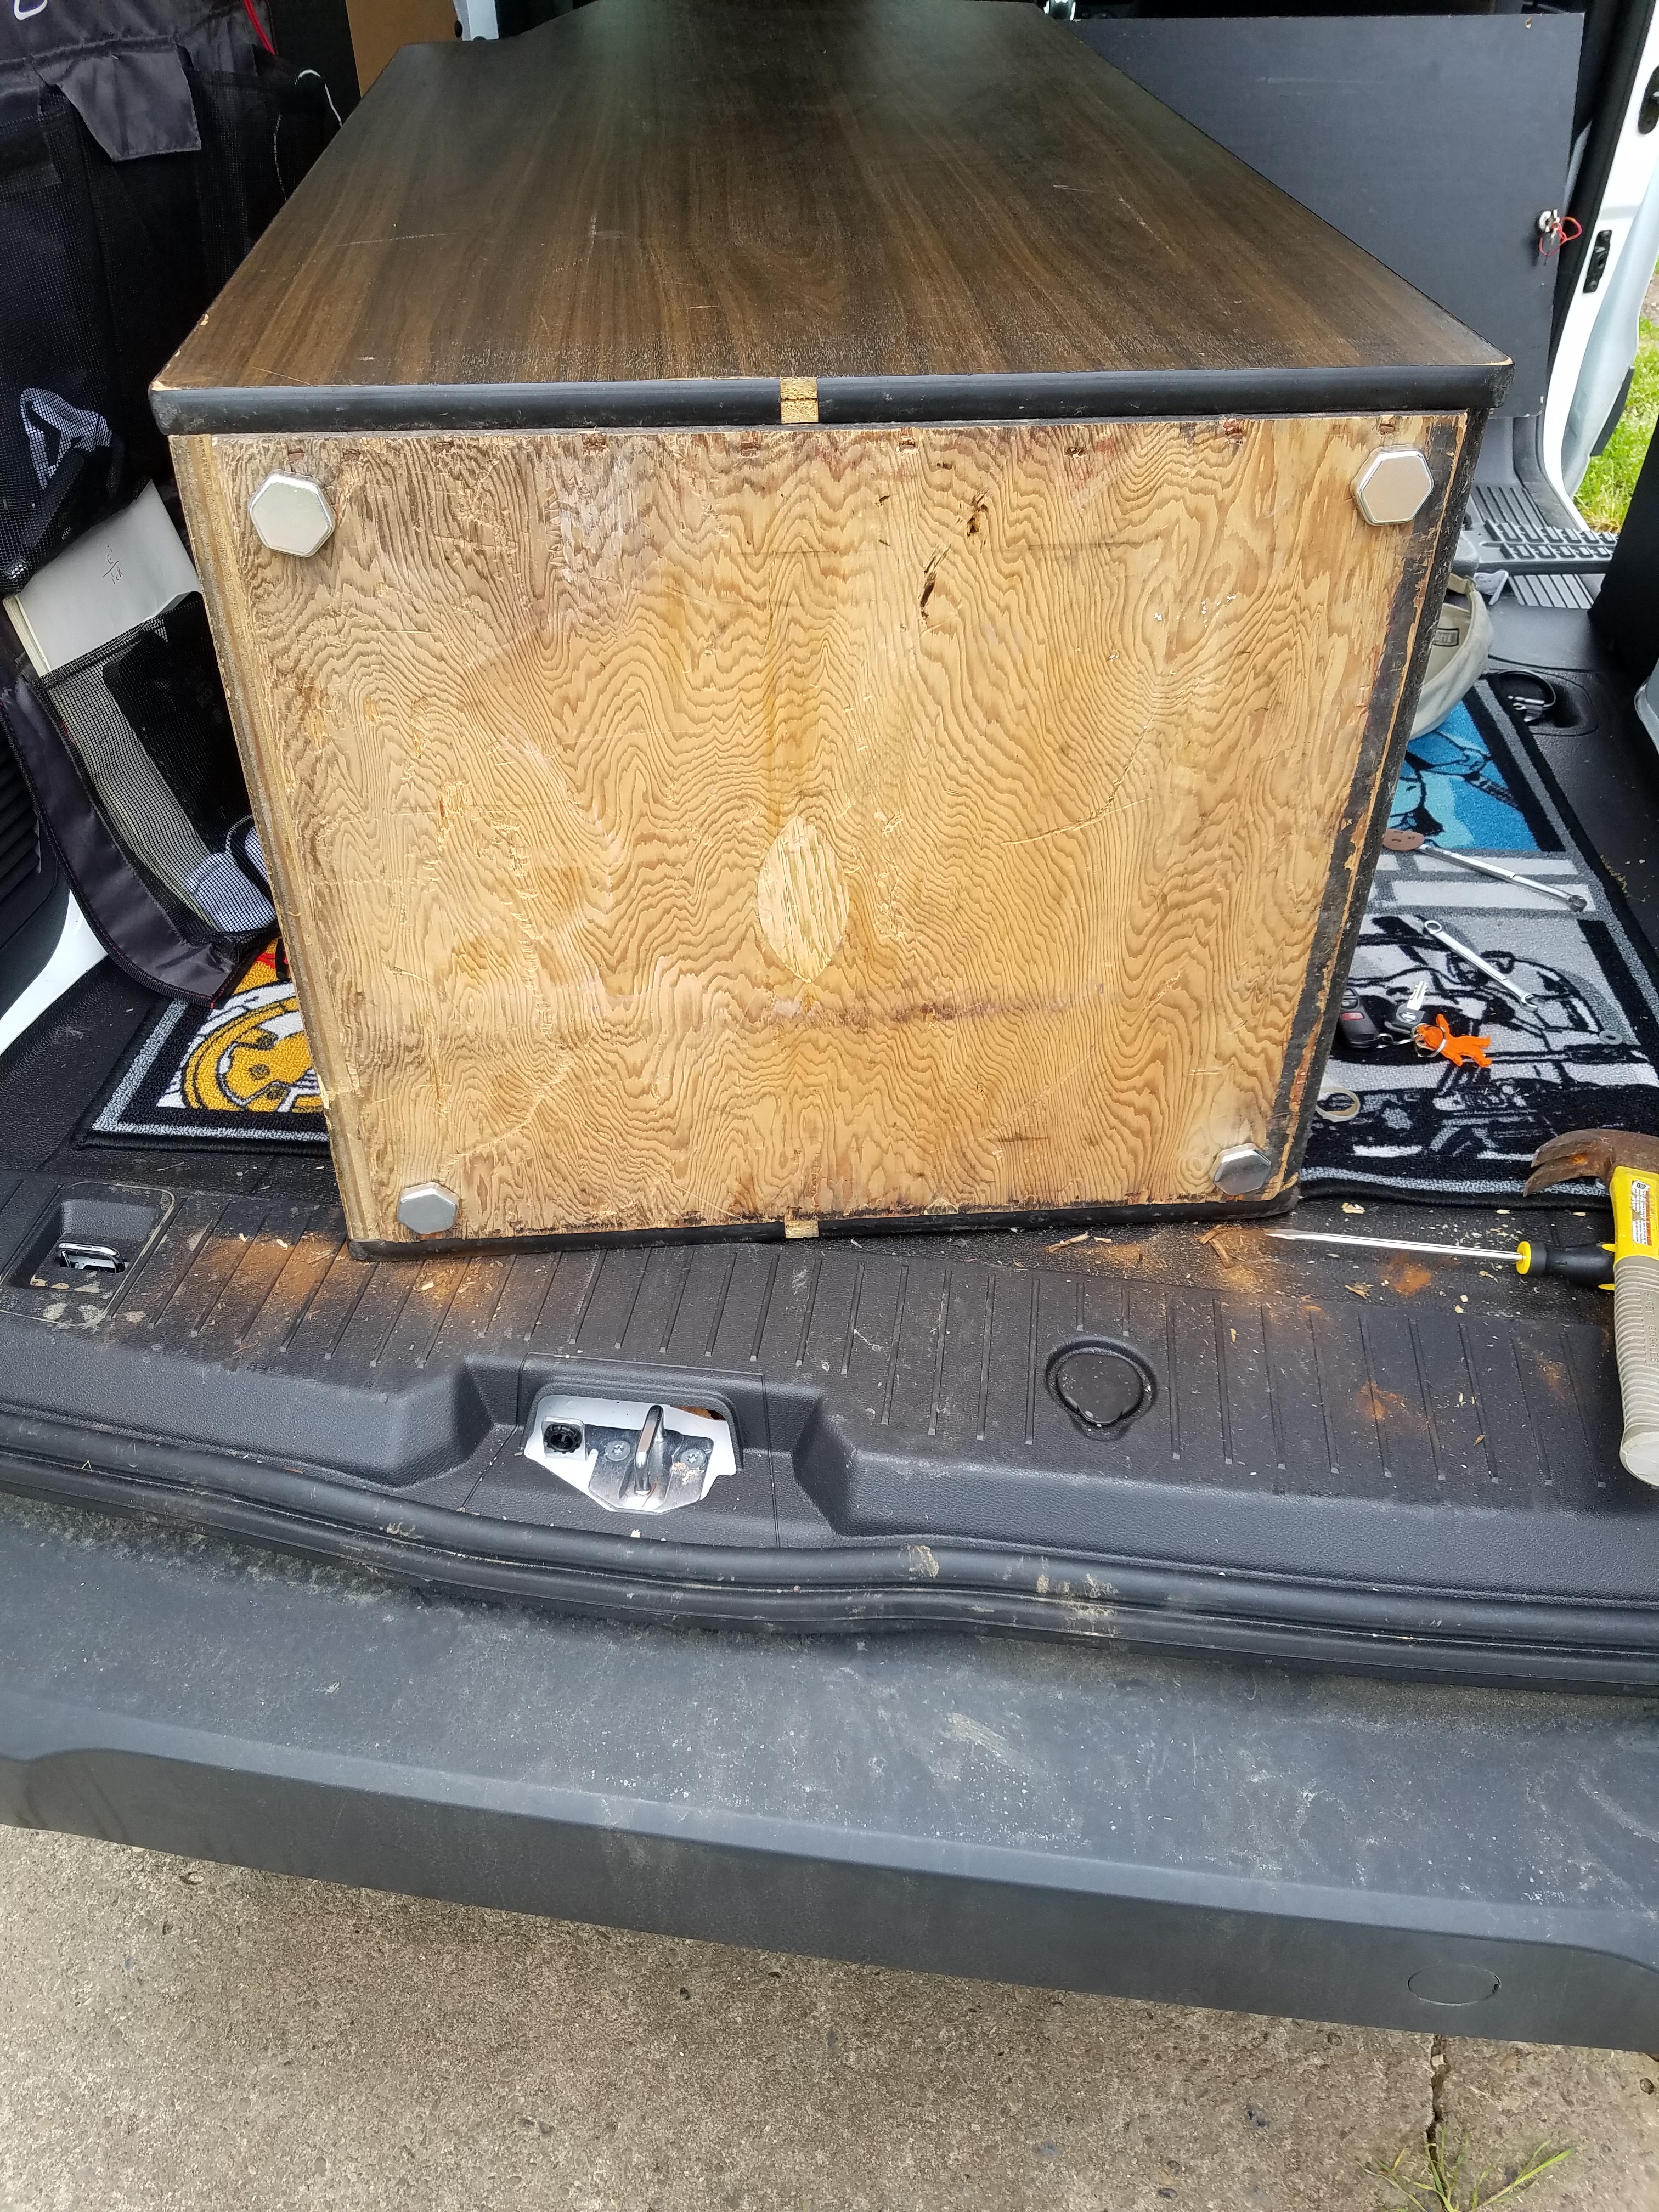 New feet on the Cabaret. |
 The old leg levelers. |
The only real sign of serious wear that I could find anywhere on the game was on the very bottom of the cabinet. The leg levelers were in pretty horrific shape. Two of them had lost their feet completely, so it was just broken studs protruding from the base. The other two weren’t far behind. I tried to spin them out of their T-nuts, but they had actually seized in the threads under a thick blanket of rust. Seeing as there was no part of any of the leg leveler assemblies that was going to make it, I pried them all out and replaced them with stainless steel t-nuts and appliance feet.
With the bottom of the game now much more compatible with the hardwood floors in my house, I strapped it onto the furniture hand truck that I keep around for just such occasions.
Once in the house, I slid the game into its new home, right next to the Battlezone Cabaret.
My loyal assistant, my 10 year old daughter was a great help in addressing the most immediate and likely easiest concern: getting the screen stretch under control. As with almost all Atari first-party games, Asteroids Deluxe has a great, easy to use and powerful test mode. In this case, the mode displays a nice grid pattern. Once we saw this, it would be quite simple to see when the adjustments were correct.

Test mode showing that the X and X gain pots are now where they are supposed to be.
On Asteroids Deluxe, there are a pair of pots on the back of the PCB, which are easily accessible from the open back door, which adjust the X and Y gain (which means the amount of “stretch” along each axis. It took all of about 25 seconds, with Maile’s help, to get the stretch back under control.
That was about all we were going to be able to do for the night, so we called it, but first we played a couple of games. Good times!
Still to do:
- Get a new cap kit in the monitor and reflow the connections to address the fade.
- Install new leaf switches and buttons
- Clean up the bezel glass, shroud and gel overlay.
- Decide if it’s worth it to address a gouge in the lower left of the kickplate.