A first pinball machine is a special thing, to be sure. It’s even more so when it comes with a story.
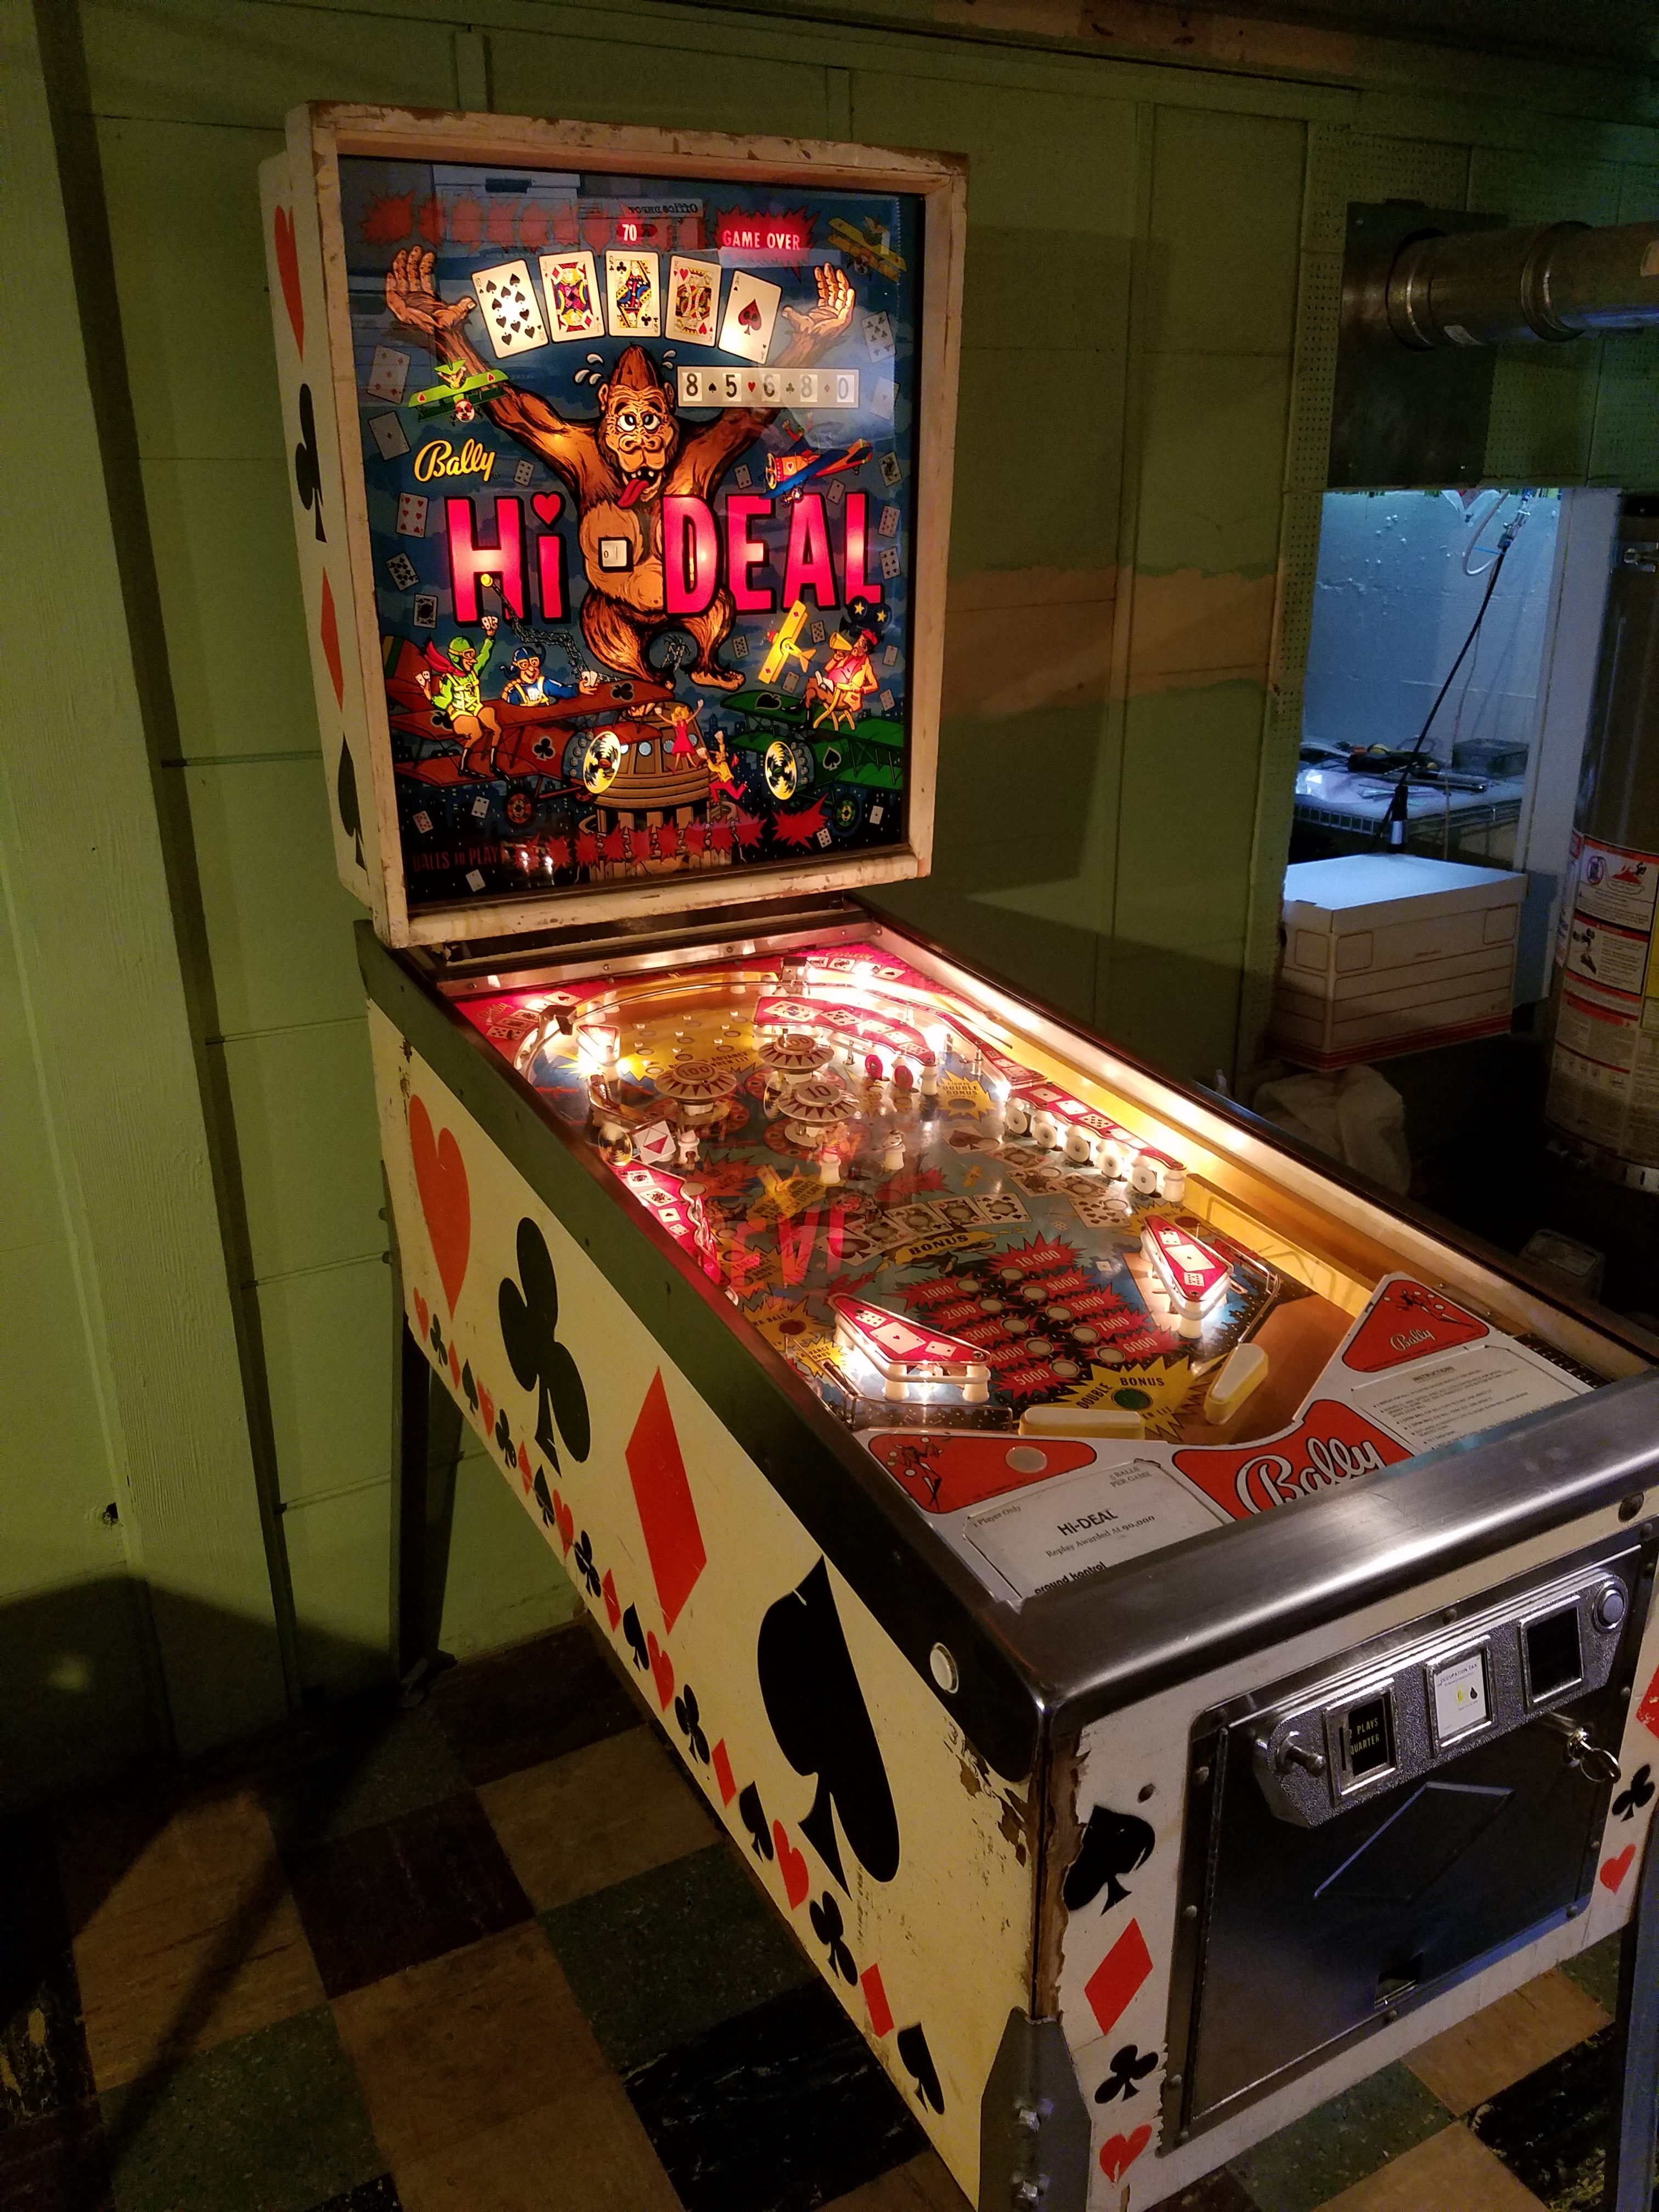
In November of 2016, my cousin Brendan reached out to me with an offer I couldn’t refuse. He was working at the time in a youth home, to which someone had donated a somewhat worse-for-wear Bally Hi-Deal. It lived in the common area of the home for a time, but eventually developed some sort of issue, as EM pinball machines all eventually do. One of the residents attempted to fix it, and got as far as disassembling it into a number of component pieces before parting ways with the project for reasons that have become lost to history. Being that my cousin Brendan was a professional counselor, and not a “Pin Guy”, we arrived at a reasonable “Get-it-out-of-here” price, and I quickly jumped in the van. When I came to get it, the backbox and the playfield had been removed, as had the backglass and of course the playfield glass. Thankfully, there was no “box of parts”, so it seemed that the disassembly had not yet progressed beyond the “macro” level before it stopped. My friend and partner in all things arcade, Jacob, helped me load it in and away we went.
This was my first pin, and knowing the limits of my ability, as well as the limits of my time and available space, I elected to put the project in the capable hands of Curt Gardner at Portland Pinball Repair. I told him “No hurry”, and a couple of months later, he called me with some great news: the game was ready!
It turns out that this particular game had some interesting tales to tell. The price card indicated that it had once collected coins at Ground Kontrol, which is one of Portland’s most well-known and popular arcades, and one of the first “barcades” to open for business anywhere in the country. I shared this discovery on Portland’s arcade collector email list, and Anthony Dandrea, one of the owners and operators of Ground Kontrol remembered the game arriving, and also remembered selling it when its time on the floor had ended. Between the two of us, we were able to account for nearly all of the moves it had made since 2004.
It’s got some pretty significant wear on the cabinet, and the playfield is worn through to the wood in spots, but it plays nice and smooth, and everything works.
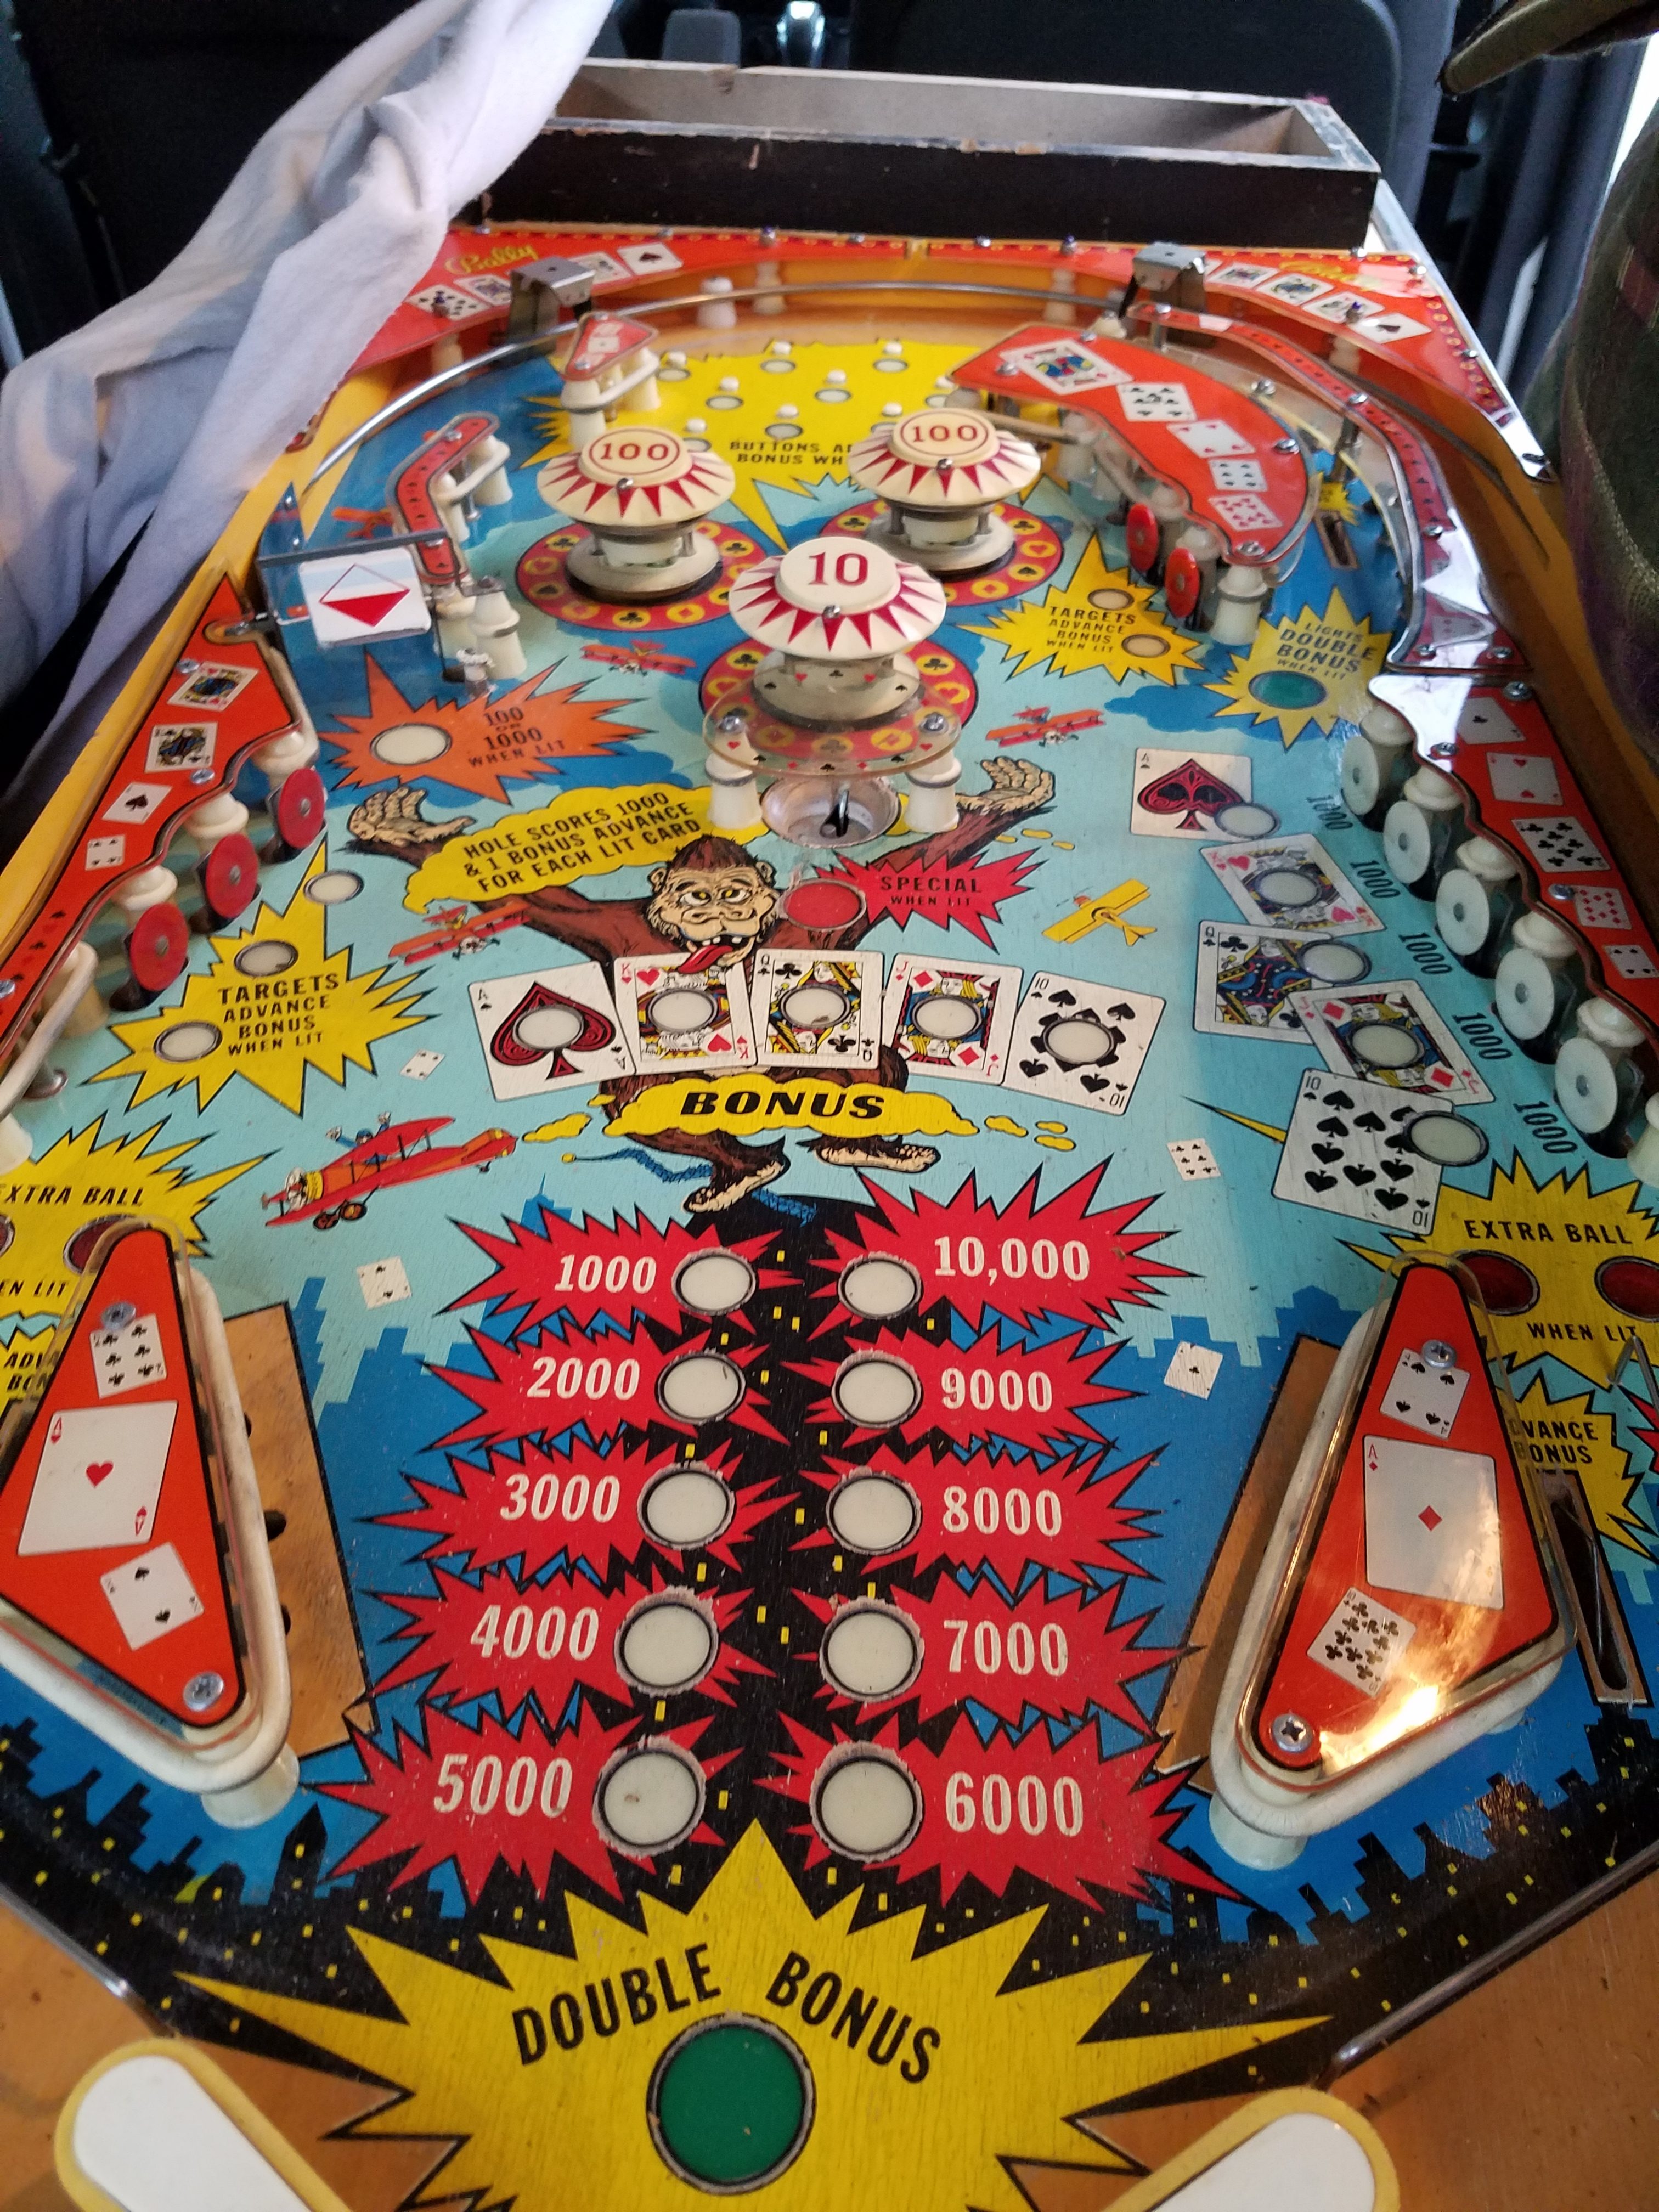
Playfield Detail
Maile tearing up the High-Deal
The High-Deal coming home. The Van isn’t tall enough to haul a pin with the head attached and upright, which is probably a good thing anyway.
High-Deal playfield
If you’re curious about the details of this game, here is the IPDB link:
Since EMs don’t generally have a free play setting, and I had no intention of ever routing this game, I did the “Free pay mod”, which essentially involves connecting the credit and start switches, so that the start switch adds a credit at the same time it starts the game.
I know this will cause some people to gasp and gag, but in the interest of lowering the heat emitted by the game (some of the plastics are warped), I replaced the incandescent lights with non-ghosting warm white LEDs. I don’t mind the look at all, and I feel a lot better about the longevity of the game with the cooler, lower power bulbs installed. If I decide to become a purist about such things later, it’s a simple matter to change the bulbs back.
Other than regular cleaning and waxing, that’s about all I’ve done to the high deal since it came to the Zencade. I really enjoy the more modern pins, and I doubt I will soon become an EM “specialist”, but I do enjoy having this one around. Sometimes it’s nice to just keep things simple and enjoy a slow roll. I think I’ll hang onto it for a while.
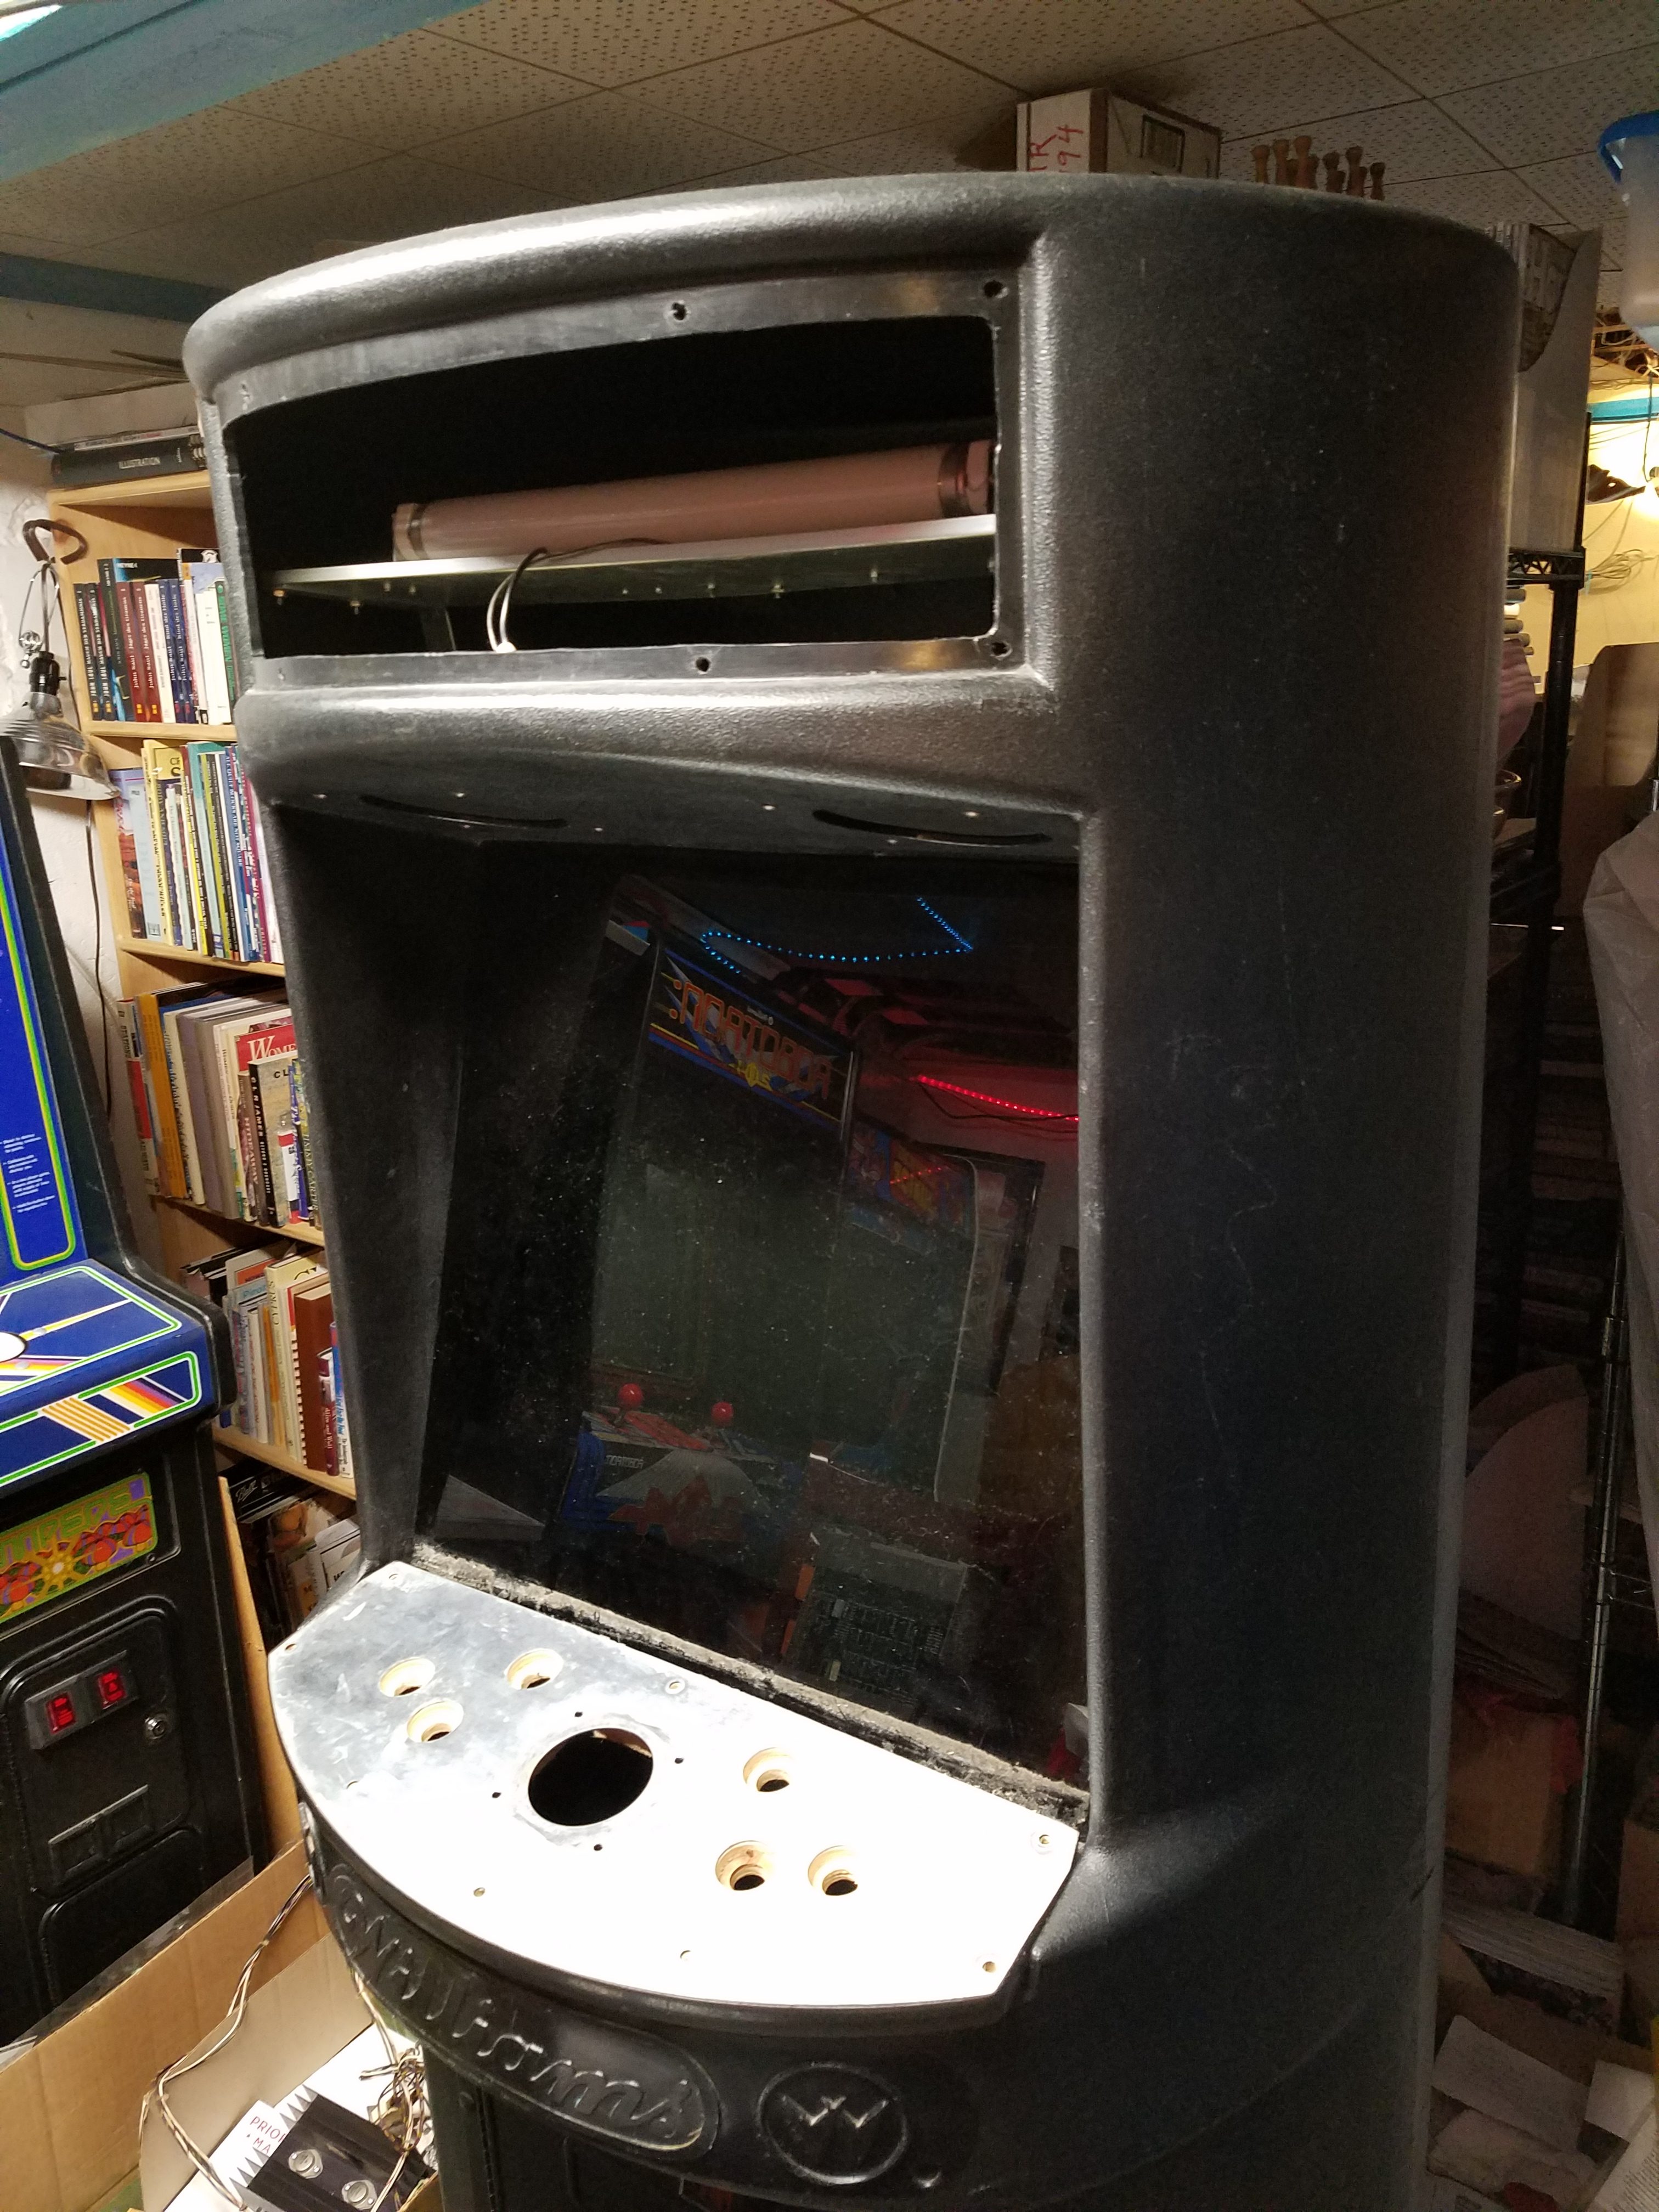
In early November of 2016, my friend Jacob and I saddled up and headed into the far north of Vancouver Island in BC, Canada. A few weeks earlier, I had managed to strike a deal with Ken Falta, the proprietor of Golden Age Arcade Parts, which involved, among other things, trading some 3D printing equipment for a Battlezone Cabaret project, as well as a Williams Duramold. For those who may not know what I’m talking about, Williams Duramold cabinets were cylindrical arcade game cabinets made out of plastic, rather than the more usual wood. Unfortunately, they were produced just as the arcade market was starting to crash, so they never really caught on, despite their eye-catching style. as a result, they are generally highly sought-after by arcade collectors. Three games were originally available from Williams in Duramold: Blaster, which was in a black cabinet, Bubbles, which came in blue, and Sinistar, which came in black. None of them were produced in large numbers, but Sinistar is, by any measure the rarest of the three. It appears that it was never actually produced in quantity, and there are only three known original examples in existence. The one that I was about to acquire had started as a Blaster game, but had then been converted to a fighting game, and had finally become the home to a rebuilt Sinistar board set. Both games were complete projects, and both had me quite excited.
Largely because of a favorable exchange rate, most things we found to be less expensive in Canada than in the US. Gasoline was a major exception, so we fueled up before crossing the border.
We left in the morning of the first day, and after realizing that we had forgotten a few things (I did NOT want to get in trouble with anybody’s Customs services on this trip!), we managed to get across the border before dark. We had a small disagreement with Google maps about exactly where the ferry terminal was, but despite out best efforts, we managed to arrive into Campbell River, BC, by mid-evening, where we stayed in a surprisingly nice hotel. I wasn’t expecting much given the price, but this was the beginning of my education about all things Canadian.
The following morning, we made it to Ken’s place, and sure enough, there was a big beautiful black plastic cylinder there! Ken and his wife, Noreena, really are great people. I felt like we had gotten to know each other pretty well on-line, and it’s always great when you meet face-to-face and discover that person is just like the image they put forth on the internet. If “rule number one” among arcade game collectors is “Pictures or it didn’t happen”, then Rule number 2 has to be that whenever a game is getting picked up, the visiting party gets a tour of the host’s collection. Ken has almost exactly the same arcade interests that I do, so I found his collection to be extremely tasteful and properly focused.
I gave Ken a quick inventory of the gear I was dropping off, then we got the games loaded into the van, and we were off! We knew we would be in violation of some kind of Canadian law if we didn’t have some poutine before leaving the country, and we had a couple of hours to kill on the ferry, which had a full-on food court, so we had a snack while we made our way back to the mainland. We made it back late that night, and it was a couple of days before I was able to get the games into the basement.
The Duramold cabinet with a blank control panel and no marquee.
At that point, I was able to take careful stock of just what was going to have to happen with the game.
The problems:
During the initial conversion, someone had chopped off the wires between the transformer and the power supply board. There are a couple of inches of stub left, which will be sufficient to figure out what goes where, but the wires will need to be replaced when I attach the new connector.
The harness is currently absent. as part of our arrangement, Ken has the harness for a while longer, in order to document it for reproduction, as well as to make some adjustments to neaten things a bit.
The monitor (G07)has some Time Pilot burn, but it’s not visible behind the tinted bezel glass.
There is no artwork: none on the control panel, no bezel except for tinted glass (Normal for Blaster), and no marquee.
On the other hand, there are some very good things:
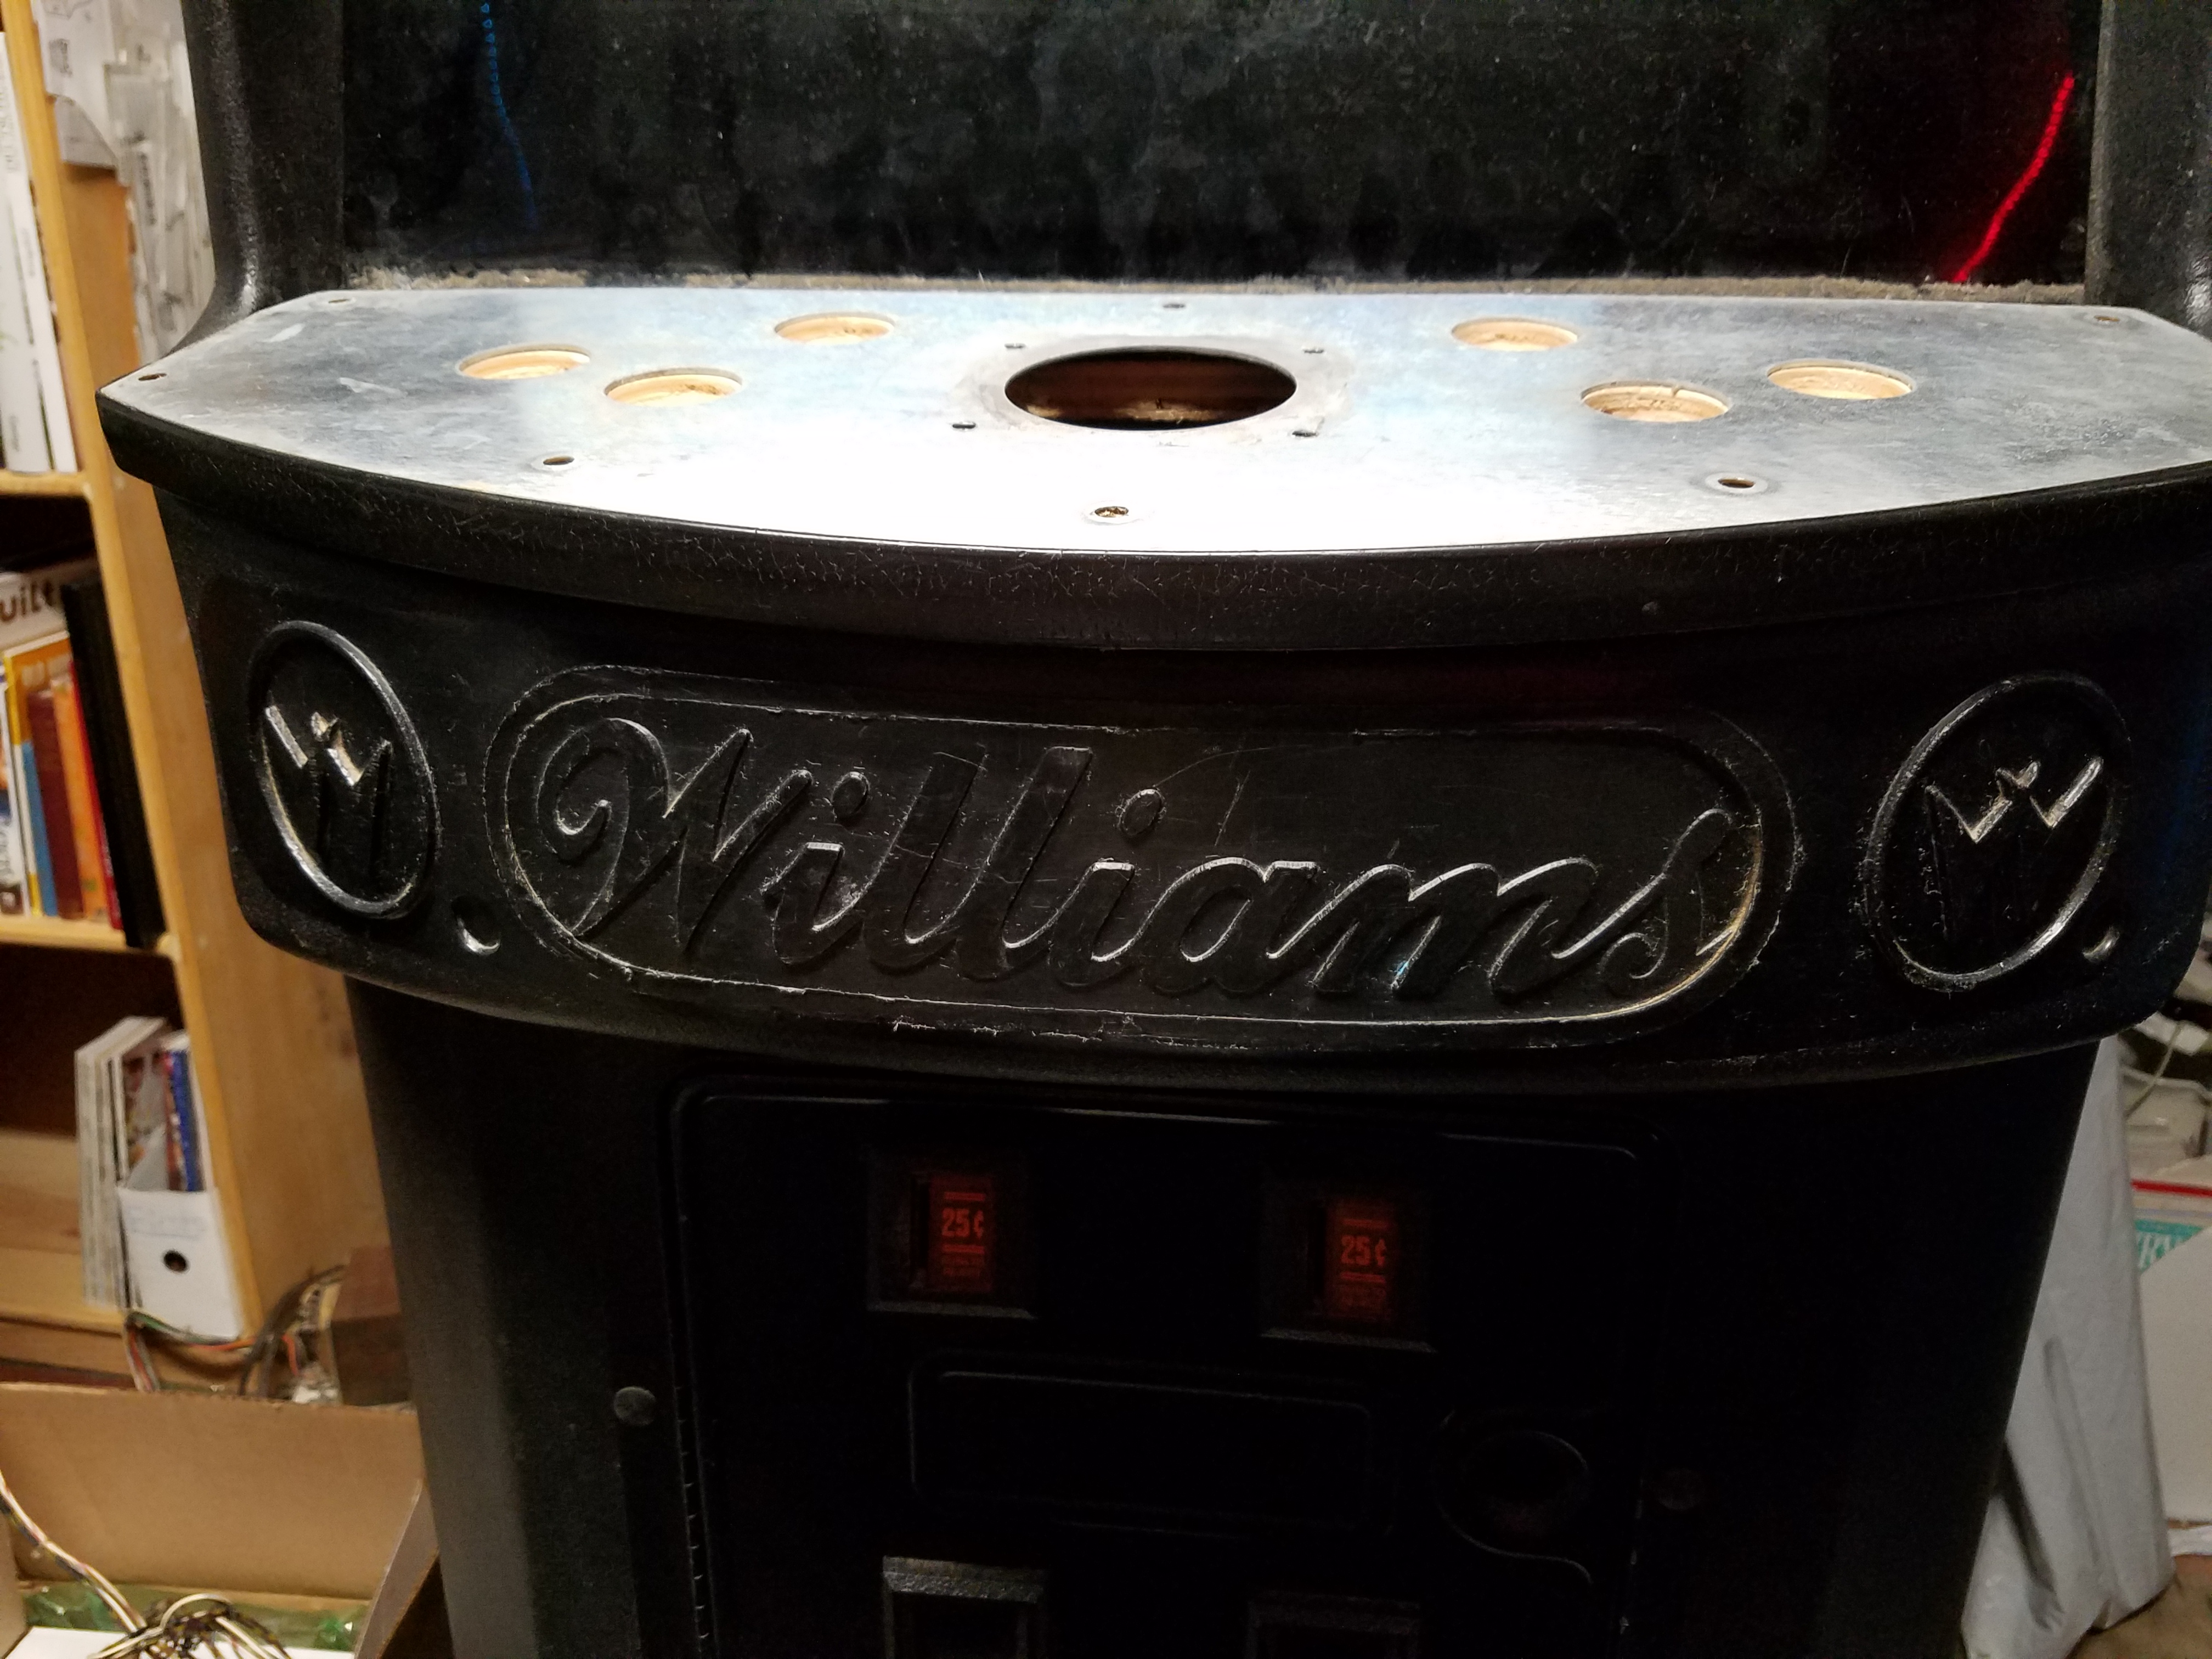
The “Williams” logo, molded into the cabinet under the control panel.
Somehow, against all odds, during all of its various conversions, the control panel was never drilled. That is highly unexpected, and since Blaster and Sinistar use the same panel layout, it’s really a good situation.
The cabinet is in overall very nice shape, without any major dents, holes, or really even many scratches.
The Sinistar board set was rebuilt by someone with a significant reputation in the arcade community, and I have every confidence that it will work. That is great, but not really necessary, as I actually plan to use a JROK board for its reliability and flexibility
With the known exception of the harness and the power connector, the game is complete.
The two-speaker setup is one way to identify this unit as a former Blaster cabinet.
The first step will be to repair the power brick, and ensure that there will be electrons flowing through the game as they should be. I suspect that process will involve installing a cap kit on the PS board, and very likely the monitor will need some work.
At the end of this process, I am very much looking forward to having a highly unusual Sinistar game in the Zencade!
The Sinistar Duramold harness, which was hiding in my house the whole time!
UPDATE: 1/2/2017 – Only hours after I posted this, Ken Falta read over it, and expressed that he recalled putting the harness into a box which included the various parts of the game that weren’t installed. Sure enough, after a very brief search, I found the harness, right next to the 49-way joystick and a few other parts. Once again, Ken, I am in your debt. I’m not sure how long I would have sat around waiting for a part that had been in my possession the whole time! Watch this space, as the Sinistar project has now moved significantly higher on my list of projects in the Zencade!
When the GORF came home, there was really only one problem with it: the trigger on the flight stick had broken, and was hanging loosely in the stick, held in by a rubber band. The previous owner had purchased, and included with our deal a replacement part.
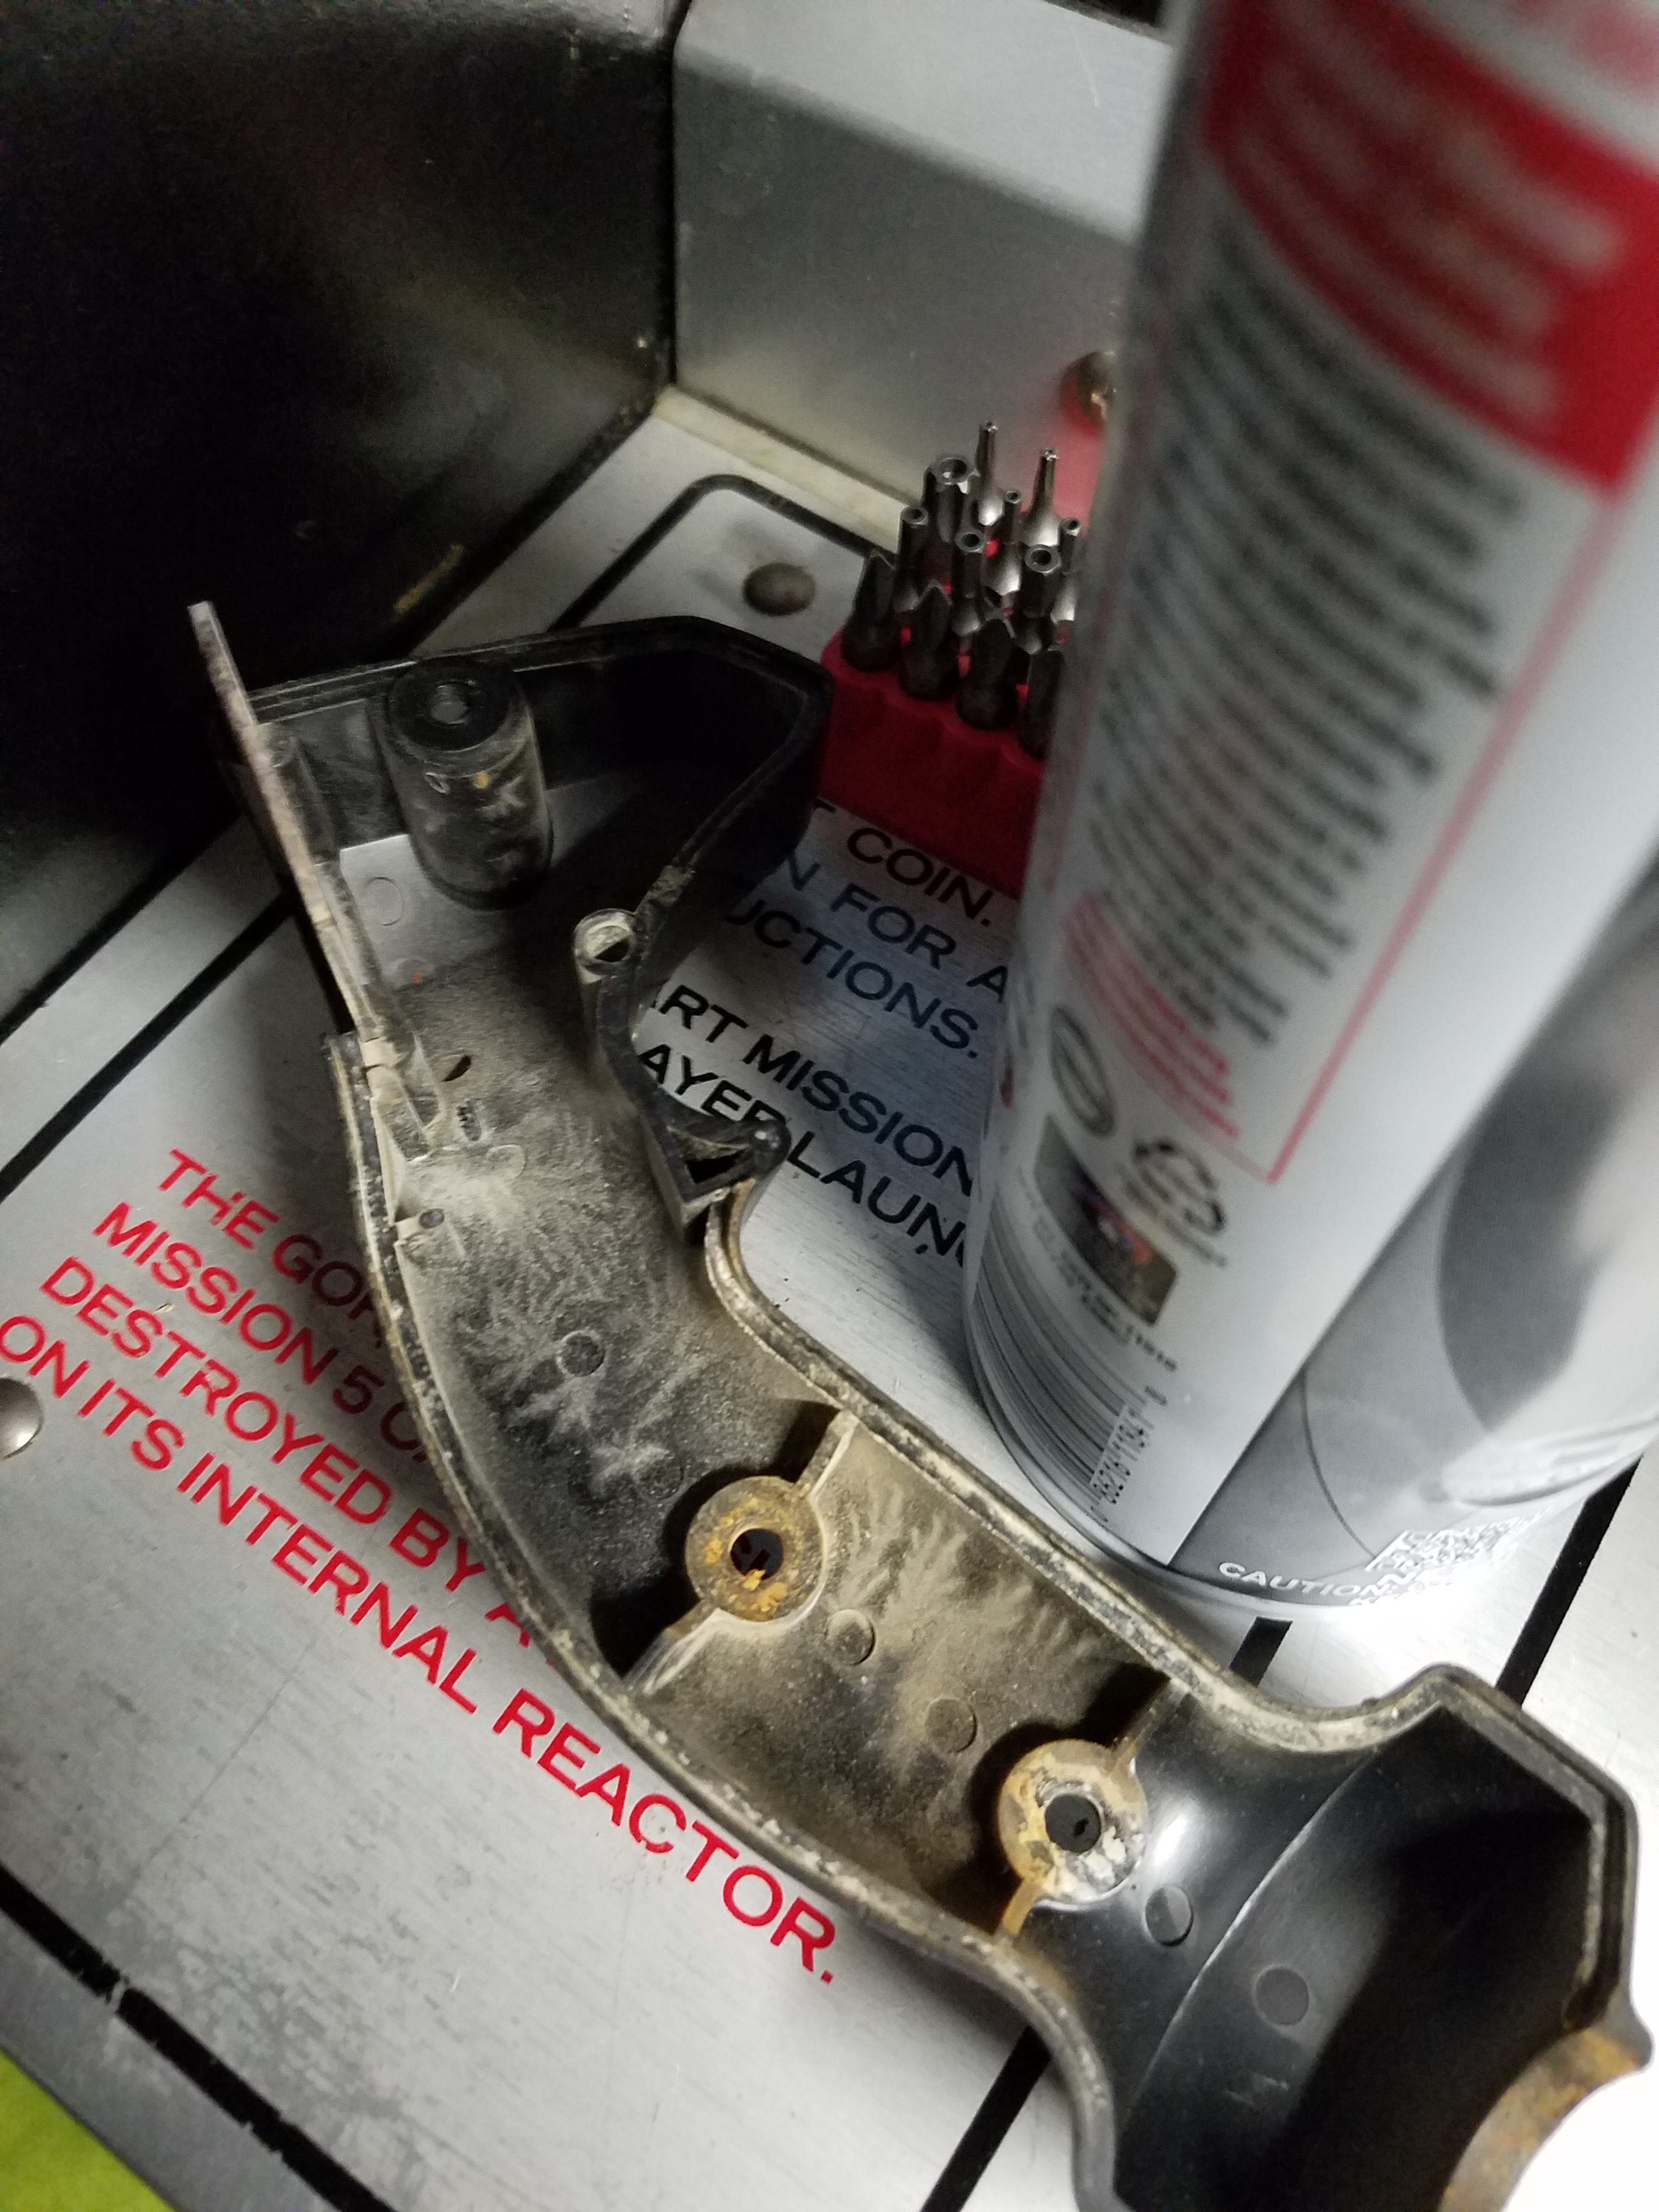
Getting the stick apart was something of a challenge. The stick itself is held together by two bolts on the right side, and three on the left. The drive looked at first like a security Torx, but in actuality is a security hex. This is something of an unusual drive, but fortunately, my local Sears store had a 33 piece screwdriver set that included the bit I needed, and it was on sale for just under ten bucks. Just to be safe, I bought three sets. You never know.
Once into attack mode on the stick, there was good news and bad news. The bad news was that someone had attacked the bolts on the right side of the stick with the completely wrong tool, so the drive heads were stripped. These will have to be drilled out at some point. The good news was that the bolts on the left side were pretty near perfect, and came off with the appropriate level of effort. That was enough to get to the trigger mechanism, and it was an easy fix after that. I will still need to address the bolts on the right side, and no major maintenance of the stick’s mechanism will be possible before this happens.
The left side of the flight stick came off without excessive difficulty.
At this time, I also got a look at the insert, which was clearly broken in half. I ordered a replacement from Groovy Game Gear, and it looks like it’s going to work out nicely. After getting the stick back together, the game plays just like it should. Success!
As long as I have enjoyed arcade games, I’ve liked games with a little variety. One that not everyone appreciates as much as I do is Midway’s 1981 release, GORF. Supposedly, the name was an abbreviation for “Galactic Orbital Robot Force”, but personally I think it really has to do with spelling something backward. I dunno. Anyway, it’s a game that I’ve always enjoyed.
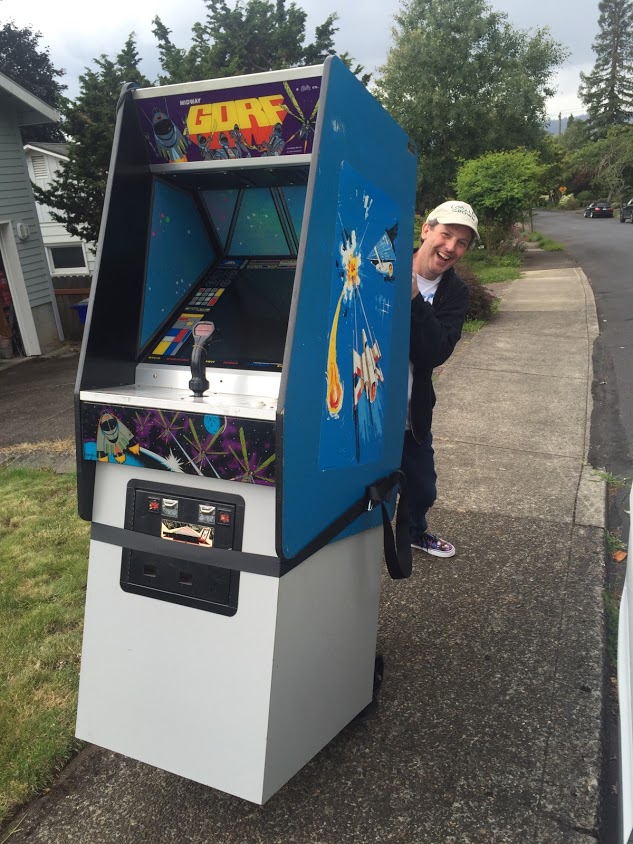
GORF has five different screens, all of which are of the basic, Space Invaders, vertical shooter theme, but each of which is significantly different from the last. When one became available in nearly perfect shape, the only question I had was how fast I could get the cash out of the bank.
Me and my new GORF!
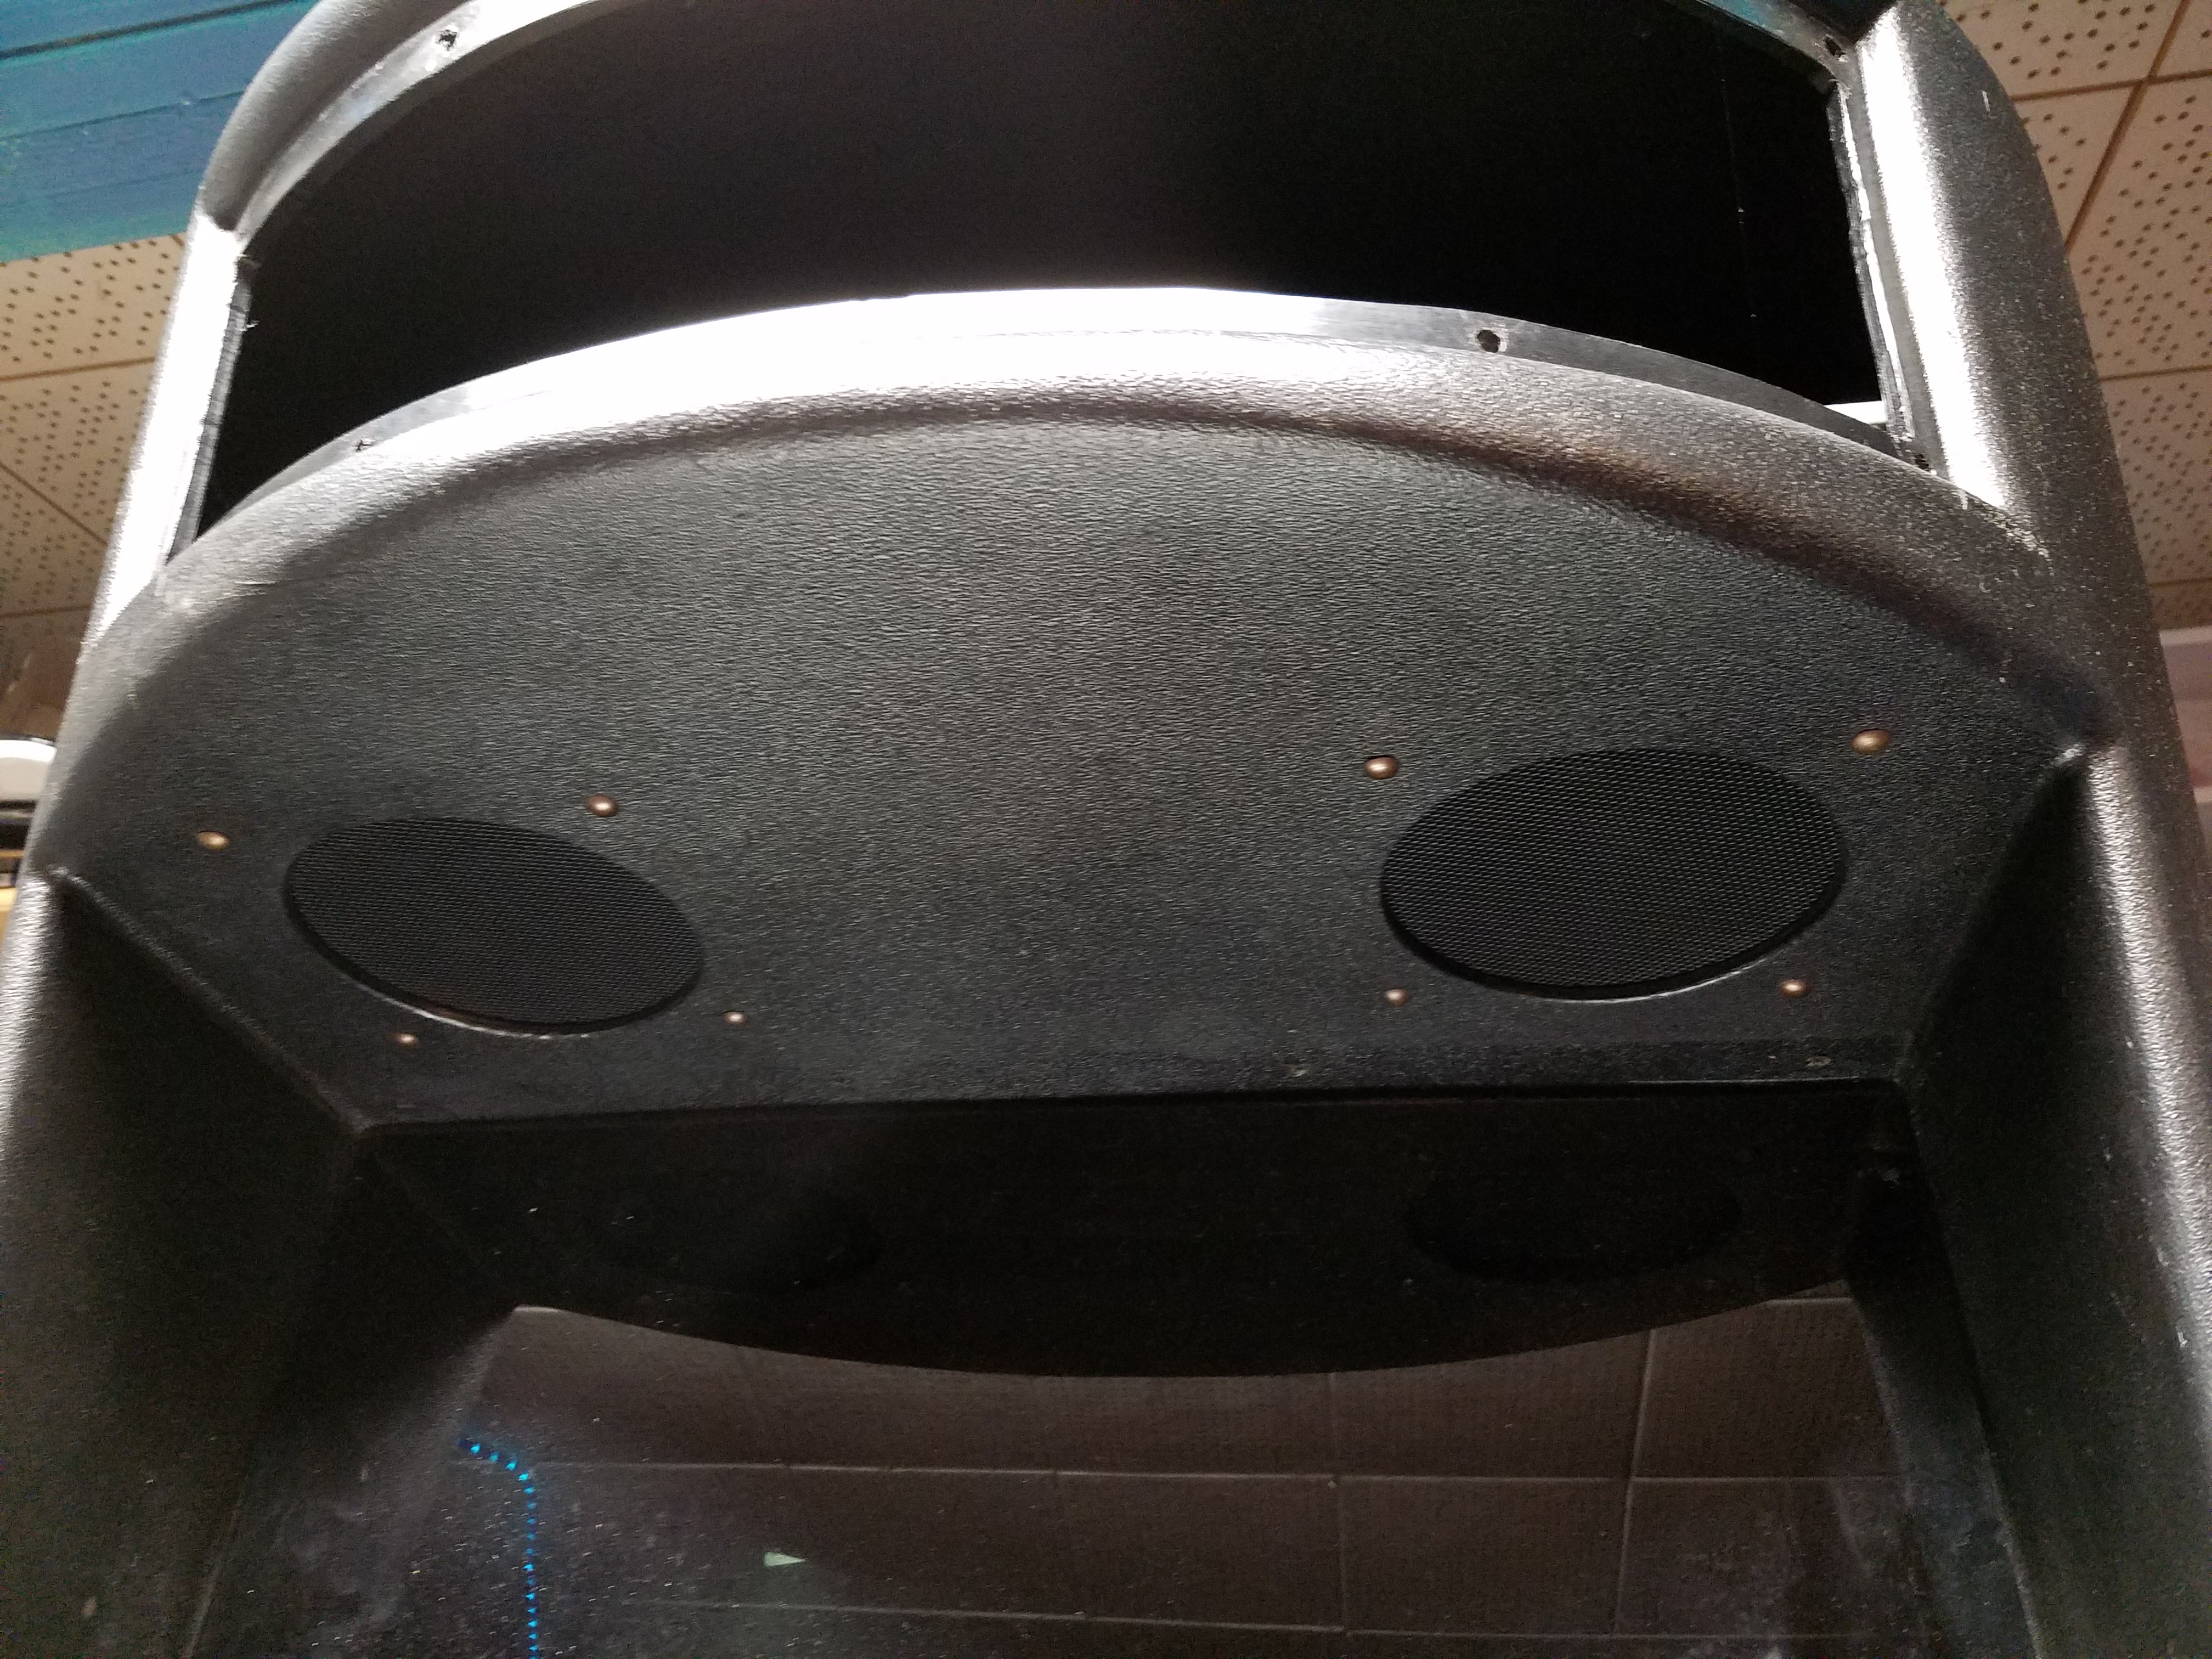
This particular unit was in immaculate shape. I’m not sure I’ve ever seen an unrestored game that looked as good as this one does. The only real problems were a missing upper back door and a broken trigger on the flight stick. The various lights in the cabinet were burned out or missing, which is not in the least surprising in a game of this vintage. With any new arrival, I always assume I’ll be replacing bulbs and starters. On the issue of the trigger, the previous owner had acquired the replacement part, but never got around to replacing it. The trigger came along in the deal, as well as a full extra PCB set, including the cage (GORF is one of several games that midway produced which housed a six-board set in a rack-style cage arrangement, called the “Midway Card Rack” or MCR system). The G07 monitor is quite possibly the best example I have ever seen as well. The tube has no perceptible burn, the colors are bright, and all the lines look just like they’re supposed to. The sound is clean, and all the speech functions work. This was a great find!
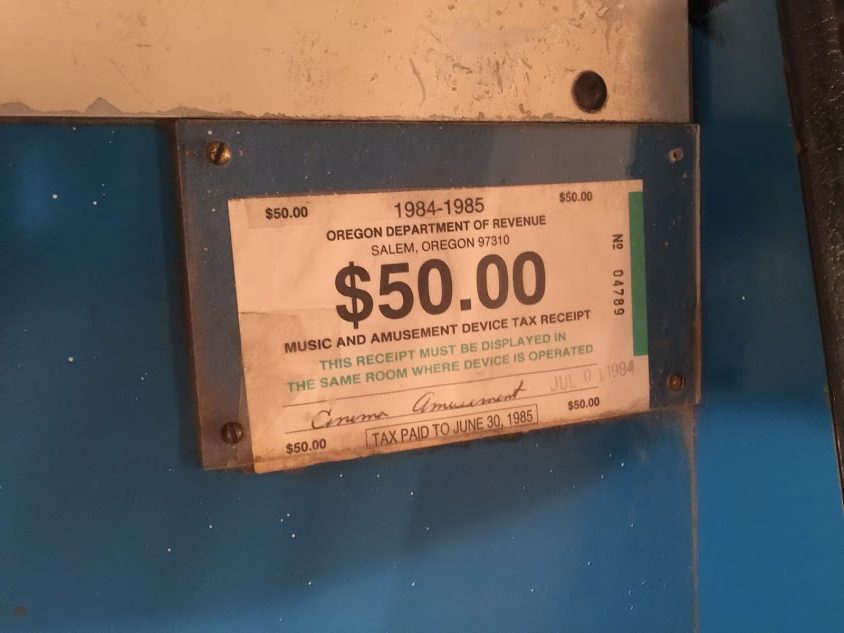
It appears that this particular game was in fact routed for a year or two, based on the license stickers that are still present on the cabinet, as well as some original scribbles on the cabinet bottom from the Midway factory:
The day I picked up the Battlezone Cabaret was big. On the long drive to Northern Washington, I stopped off in the town of Centralia (so called because it is just about halfway between Portland and Seattle), to pick up a change dispenser that had been advertised on Craigslist. When i got there, it turned out that the dispenser was owned by an arcade collector whose garage arcade is still one of the best I have ever seen.
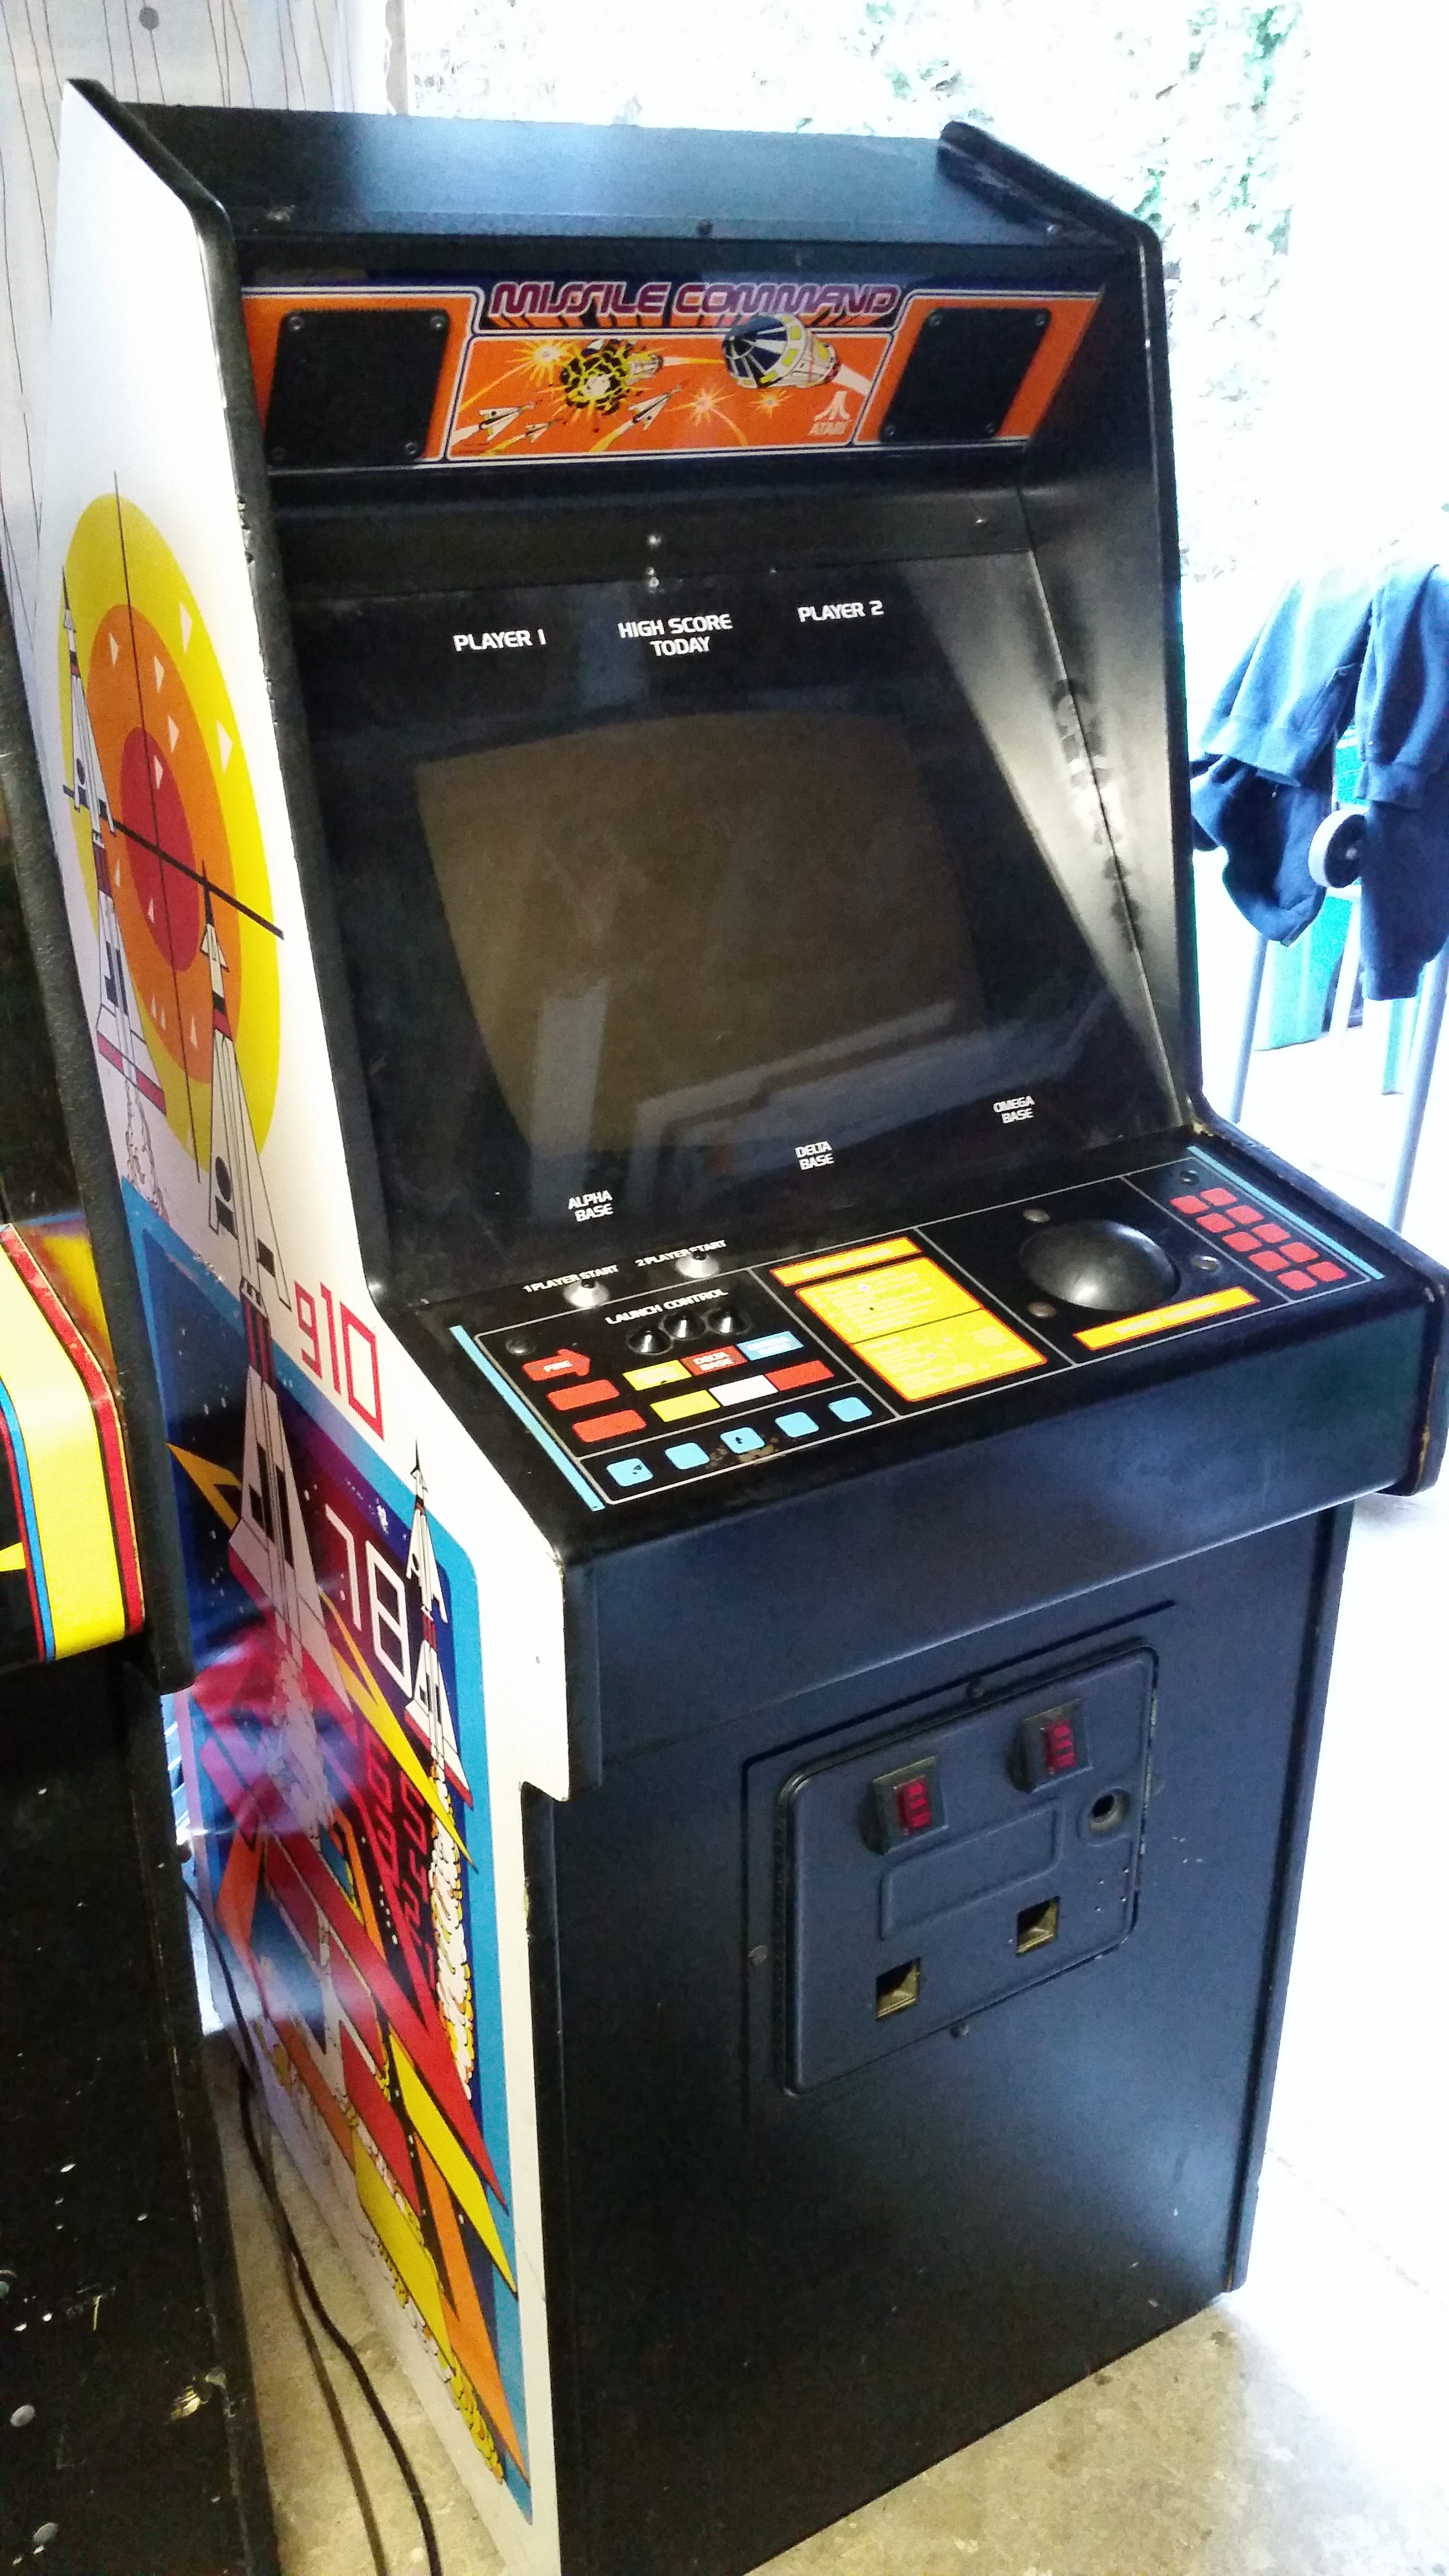
Missile Command!
As he was showing us around, he also mentioned that he was looking to sell his Missile Command, and was hoping to replace it with a Centipede. It didn’t take me long at all to agree that the classic would soon be mine.
In general, the game was in pretty good shape. The PCB seemed to be functioning perfectly, the cabinet was in good structural shape and clean on the inside, the coin door and marquee lights worked, and the game was complete. The side art is a little rough, but not nearly as bad as some others I have seen. Missile Command seems to be a particularly attractive target for vandals, and as such is often pretty thrashed. The track ball was also in need of a rebuild, the Plexiglas bezel was a little crazed and scratched, and the monitor showed some significant burn-in, but overall the game was perfectly serviceable. I left with a handshake promise to come back the next day for the pickup.
The next morning, Maile and I set off in the Xterra with cash in hand, and came back a few hours later with a Missile Command!
This is a game that had been on every version of my “gotta have it” list, and I was quite happy to get it into the collection. The first order of business was to get a Braze multi-game HSS kit installed, which also added “Super Missile Attack” to the game, which is a nice hack by the same group that developed Ms. Pac Man. If you ever find that regular MC is just too easy, Super Missile Attack is the game for you. I know it’s going to be quite a while before I’m worried about that…
Old track ball roller on top, new roller on the bottom.
Also, I replaced the Plexiglas bezel with a glass one from This Old Game, and rebuilt the trackball using new bearings and rollers purchased from The Real Bob Roberts. Finally, I ordered a new cardboard monitor shroud from a KLOV member who makes them.
I do still want to swap the tube, and I’ll probably throw on some new T-molding. After that, I may or may not decide to redo the side art. Once I’ve done that, there’s nothing left but to start trying to improve my high score.
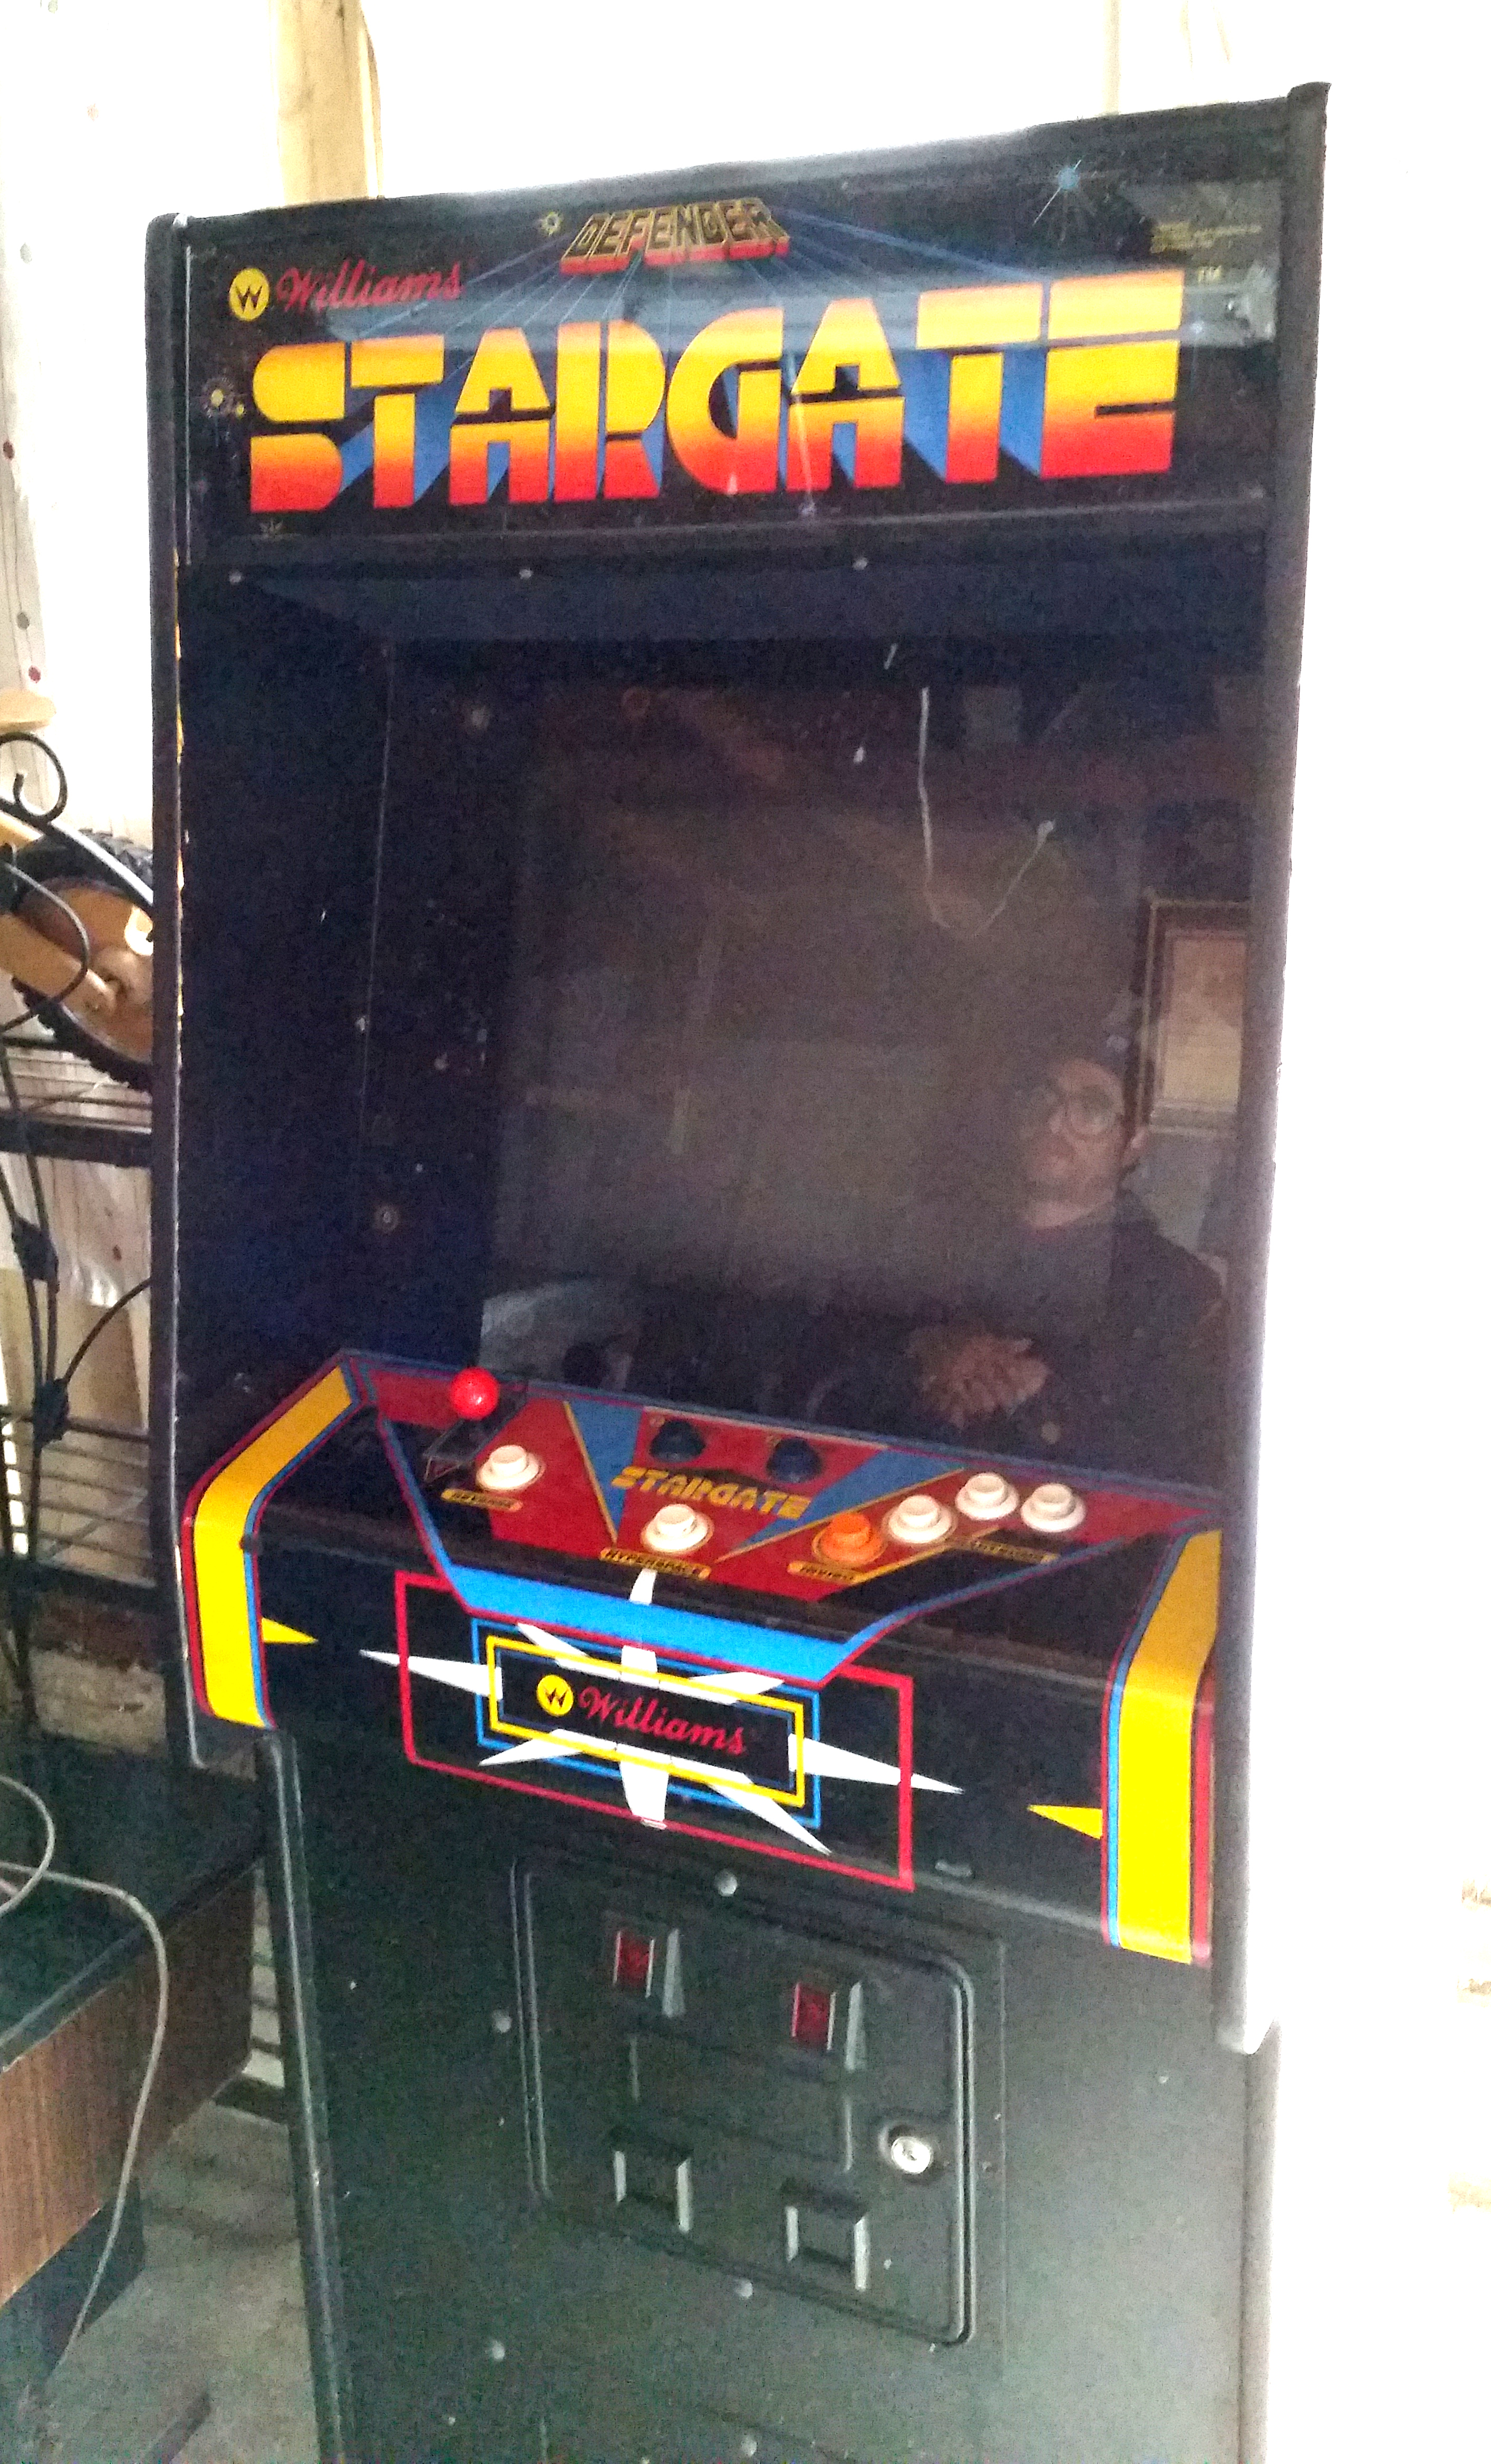
Shortly after I brought the Centipede Cabaret home, My friend Jacob was approached by a co-worker who, hearing about his interest in arcade games, let him know that there was a Williams Stargate in his mother’s basement that she was looking to get rid of.
Stargate arrives.
Stargate wasn’t a game that I was especially interested in, as it is by and large a much more difficult version of Defender, which is already a really hard game. I have some great memories of playing Defender, but Stargate was never something I was really into. Nonetheless, the price was certainly right, and I figured this would be a good project, and very likely would end up as trade material for something that I really was excited about. In any case, the monitor sure looked to be in good shape, and the price of the entire game was less than I would have expected to pay for just that G07, so I really couldn’t figure out how to say no.
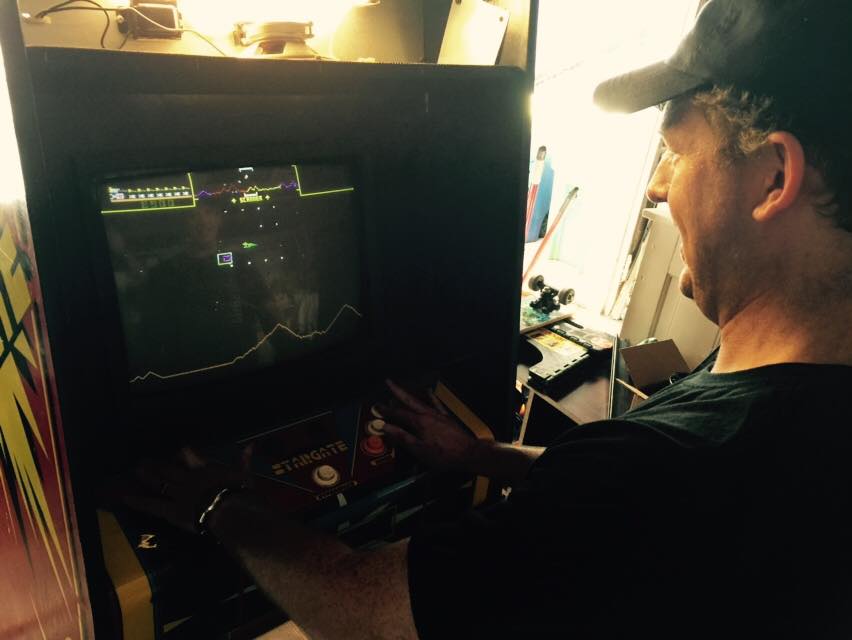
We brought it back to Jacob’s garage, and after drilling out the locks, discovered a cabinet that was in as pristine condition as I could have hoped to find. Starting at the beginning, which is usually the power supply, we discovered that, of all things, it was in fact a $2.00 fuse that had blown. A quick trip to the hardware store, and we were playing Stargate!
Unfortunately, there was still some work to be done. The game would boot, and would coin up, but wouldn’t save high scores or settings. Also, and somewhat strangely, the game would start with infinite ships and smart bombs, which was not what was supposed to happen.
After replacing a fuse on the power supply:
A little bit of internet research suggested that we were looking at a CMOS problem, which is non-volatile RAM that the game uses to store things like settings and high scores. Exactly what it wasn’t storing. On most Williams games, the CMOS is powered by three AA batteries. This is a weak spot in the design, as the batteries will leak if not changed, and it’s almost certain that any game that has been stored for an extended period has the batteries still in place. If they do leak, the acid can follow the copper traces on the printed circuit board, and cause extensive damage through corrosion, sometimes bad enough to completely ruin the board.
As a precaution, I ordered a conversion kit from The Real Bob Roberts, which replaces the AA batteries with a single 2032 watch-style battery. In addition to lasting much longer, the 2032 is much less likely to leak, and this is generally considered a good upgrade for any surviving Williams board.
Unfortunately, that did not solve the problem. The next place to look was the CMOS RAM chip itself, which is normally a 5514 chip. A KLOV member has developed a battery eliminator kit which replaces the CMOS chip with an NVRAM module which completely removes the need for a battery. I went this route, and used my then brand new Hakko FR-300 desoldering tool to remove the old chip. I then soldered in a socket and installed the 6514 module, and all was right with the Stargate!
Of course, that was about the time I started thinking about how cool it would be to be able to play both Stargate and Defender in the same cabinet. Stay tuned for more on that in future posts!
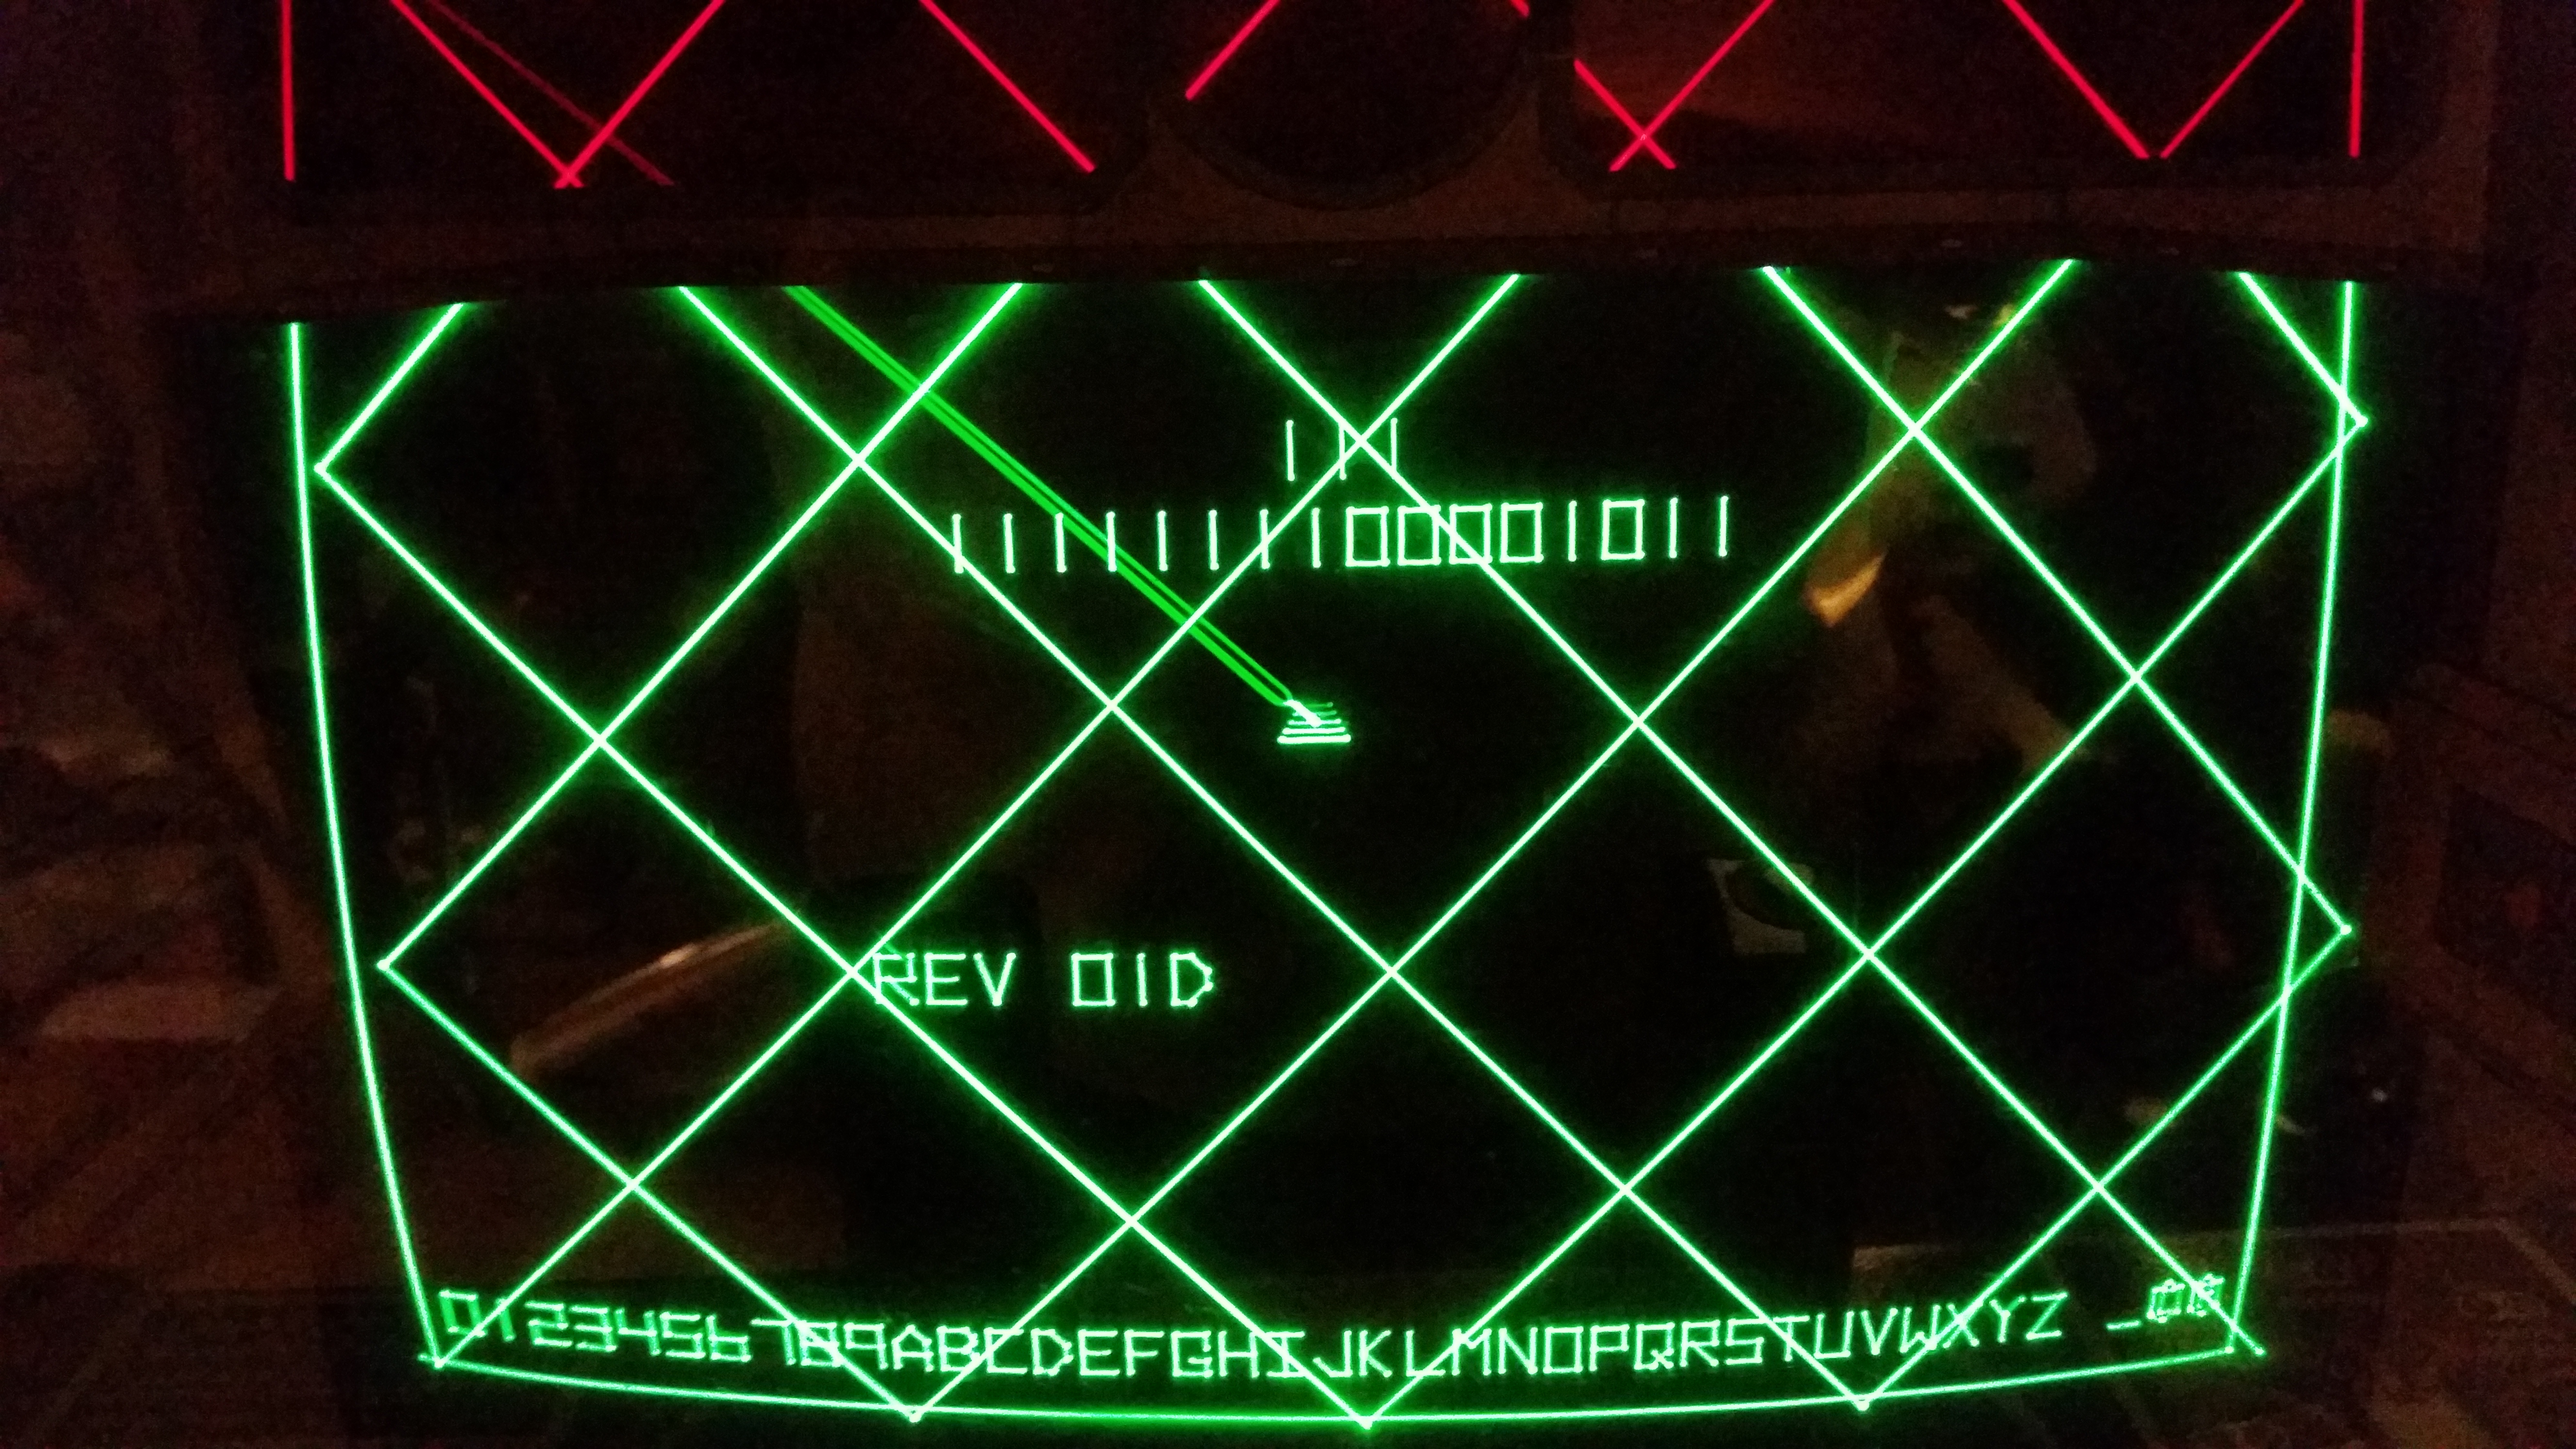
On my game, there was something going on with the Z-axis video circuit, which was causing a line to remain visible between vectors. These are known as Retrace Lines. This was something that was completely tolerable at first, since I was going from NO Battlezone to an imperfect Battlezone, but I was also quite aware that this would be a serious annoyance before too long. Most of the time this can be addressed by adjusting the brightness and contrast pots on the monitor’s deflection board. In my case, adjusting wasn’t doing the trick, so something else was at work.
I was lucky enough to be able to run some tests on the PCB which excluded the monitor as the source of the problem, so I knew I was looking at a board issue. This is a great example of a time when the game’s schematics would be really handy. Luckily, these are available widely on the web. If you can’t find them, look right here:
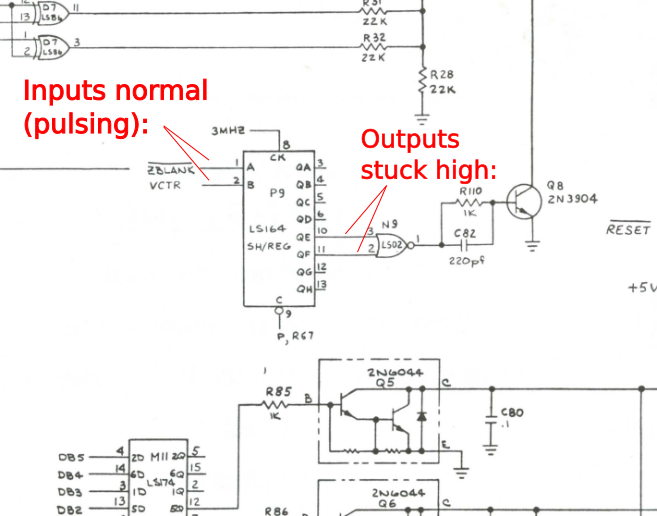
Close up of schematic sheet 2B, including IC P9.
With a little guidance from some KLOV members, I was able to use my logic probe to work my way back through the Z-circuit, and after making a few missteps, and replacing some parts that turned out not to be the source of the issue, I eventually discovered that the connections from the IC at location P9 on the PCB to the IC at N9 were being held high when they should be pulsing. The inputs to P9 were were normal, which suggested that P9 (which is a 74LS164) was likely the source of the problem. I removed the IC, soldered in a socket and inserted a new 74LS164. Happily, this seems to have solved the issue completely.
With that issue fixed, the PCB was now running pretty much perfectly. The next step was to address the joysticks, which, while functional, also showed some signs they they were in need of some help.
On February 3rd, 2016, I scored a Donkey Kong machine. The price was a bit lower than they seemed to be going for, and the seller was very up front about the reason: He said it was playing blind just fine, but the video was scrambled, and he wasn’t sure how to go about fixing it. That is not the kind of story that scares me off, and so off I went with my friend and arcade collaborator, Jacob, up to the Seattle area to pick up this Kong.
As soon as we pulled around the corner by the seller’s house, we could see the garage door open, and inside, all nicely warmed up, was a very clean-looking Donkey Kong, with an obvious sync issue. As we got closer, the seller seemed a bit wistful about getting rid of it. He explained that he had owned it for over twenty years, and it had worked fine until he moved it to the house he was obviously still in the process of moving into, at which point he turned it on and found the monitor in its current state. He also explained that he had painted the game a few years back. He did an okay job, and it’s probably fine for most people, but I think I’ll want to sand the sides a bit before I put side art on.
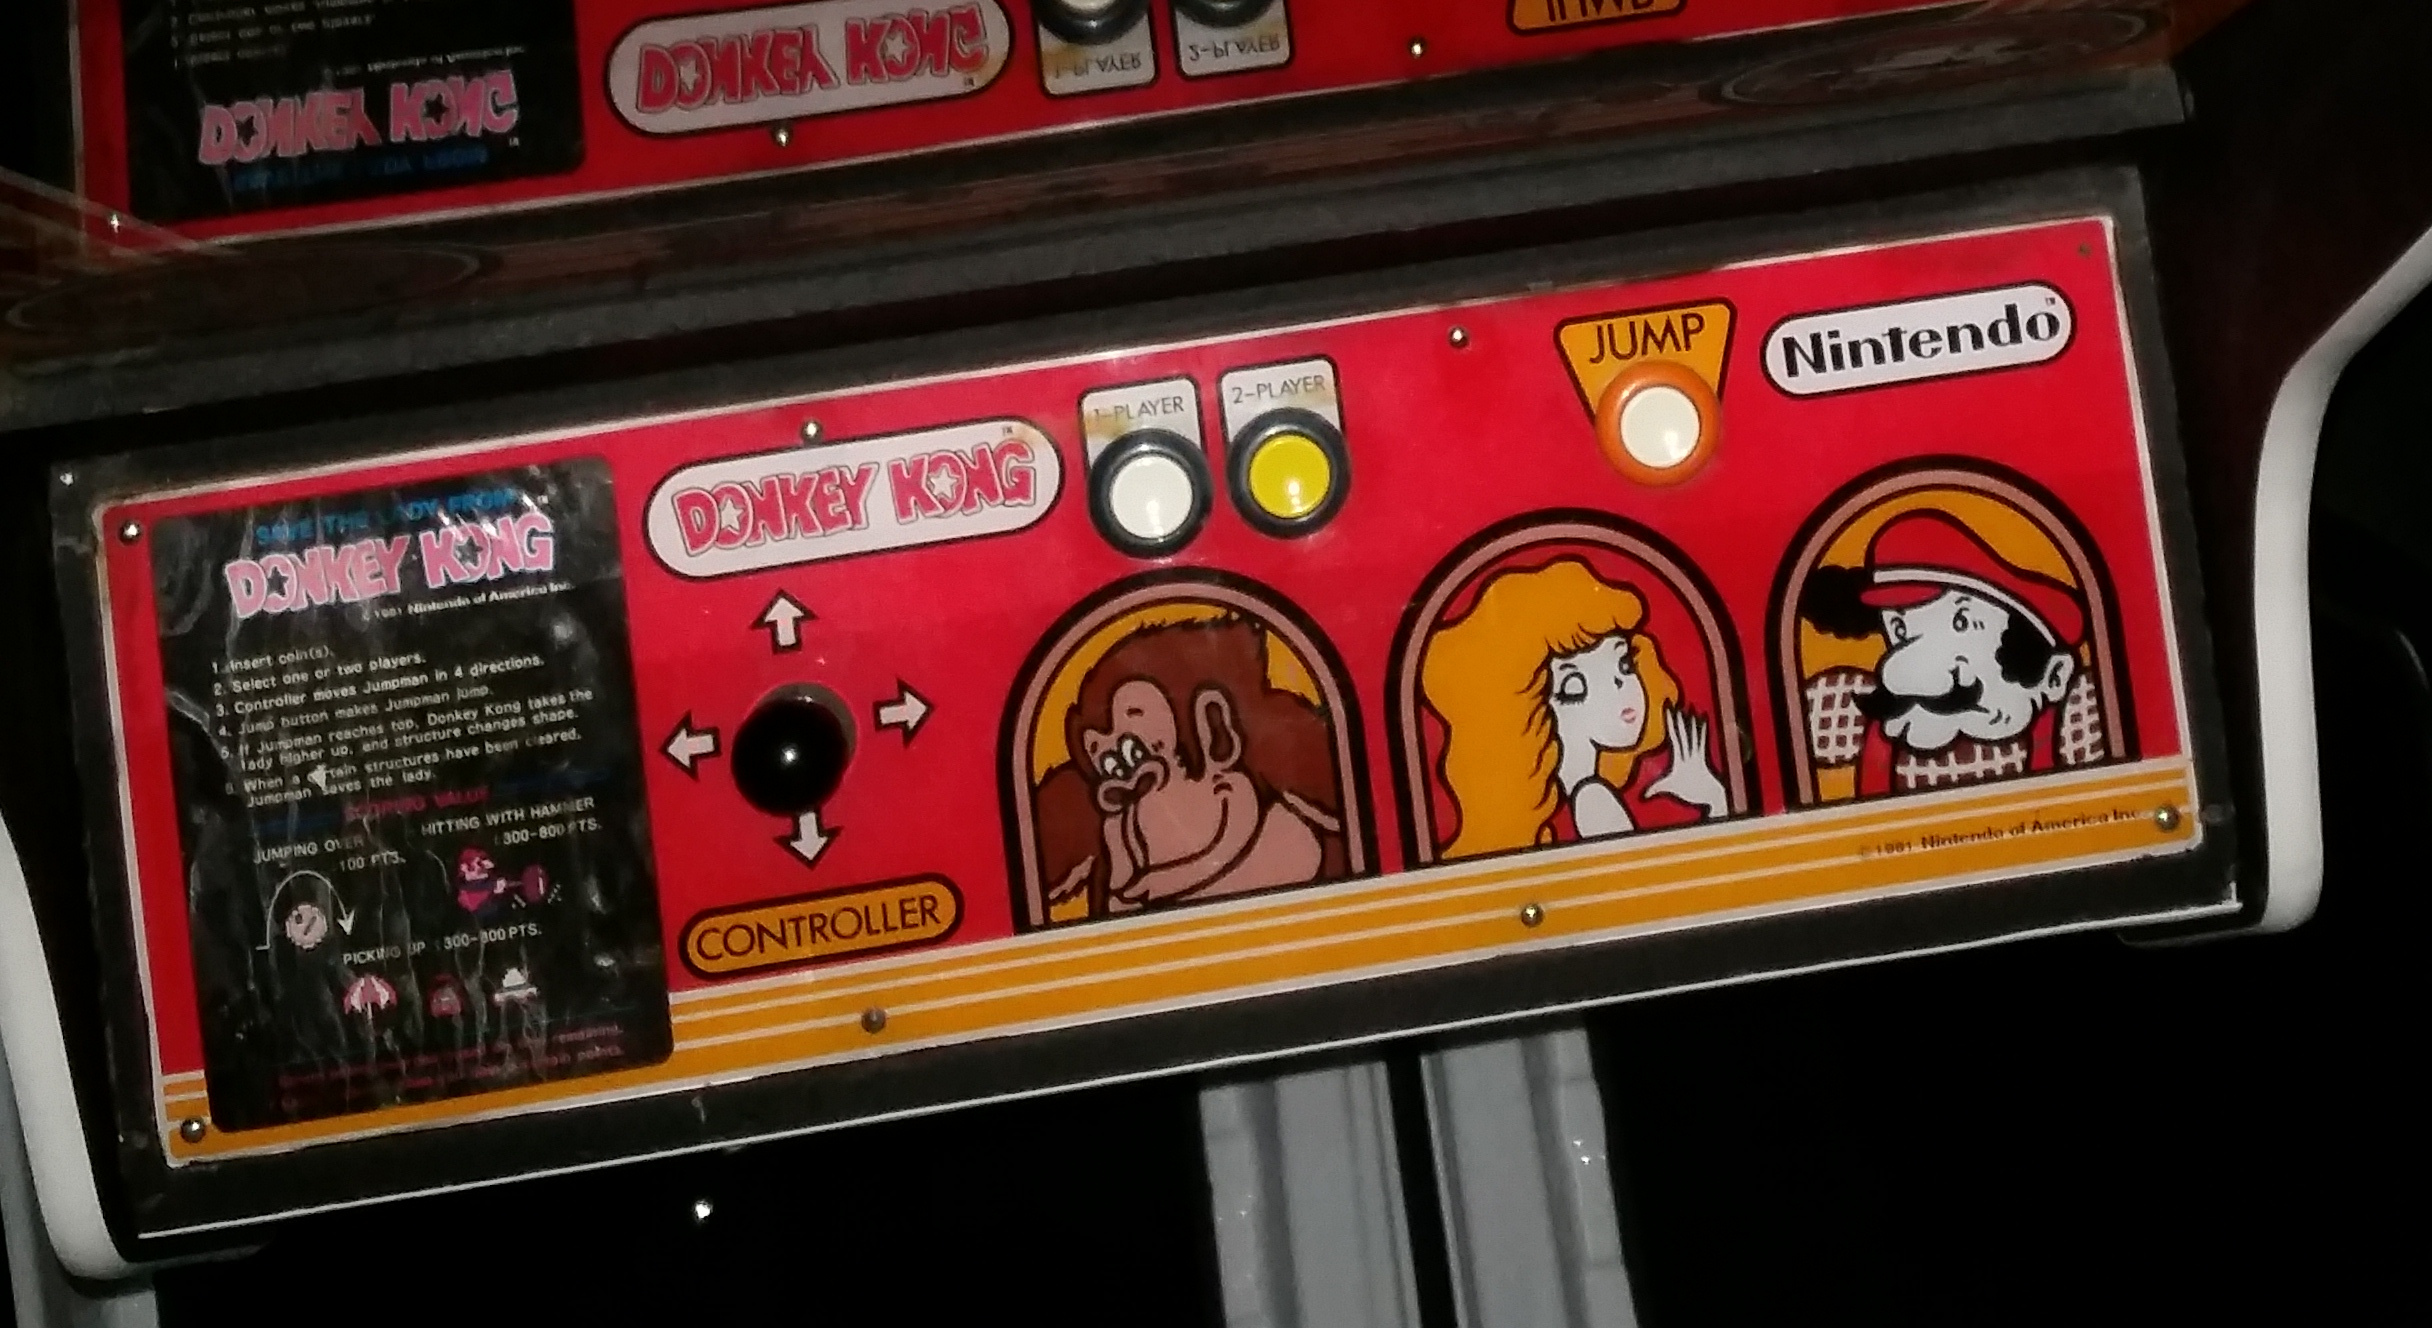
The control panel was in reasonable shape, with the usual incorrect buttons, a few cigarette burns which established its authenticity as a genuine survivor.
The Donkey Kong control panel when I got it. Note the cigarette burns, the incorrect buttons, and the wrinkled rule sheet.
It was quite late by the time we got the game to Jacob’s garage, but it only took us about 15 minutes to adjust the sync, and we had a perfectly playing Donkey Kong! Well, Almost… On the first “cement factory” level, the fireballs weren’t behaving like they were supposed to, spawning at the very top of the screen, as well as right where Mario spawns. So that’s a problem.
The next day, I ordered a Braze high score save kit, which is something I intend to install in any game I own for which one is available. In addition to saving high scores, the Braze kits also bypass the game ROMs in favor of a set on the kit itself, which are housed in much more contemporary chips, and are a lot more stable and robust. In addition, at least for Nintendo games, the Braze kits include some very useful test functions. In this case, the kit was able to tell me that the game threw errors on two RAMs, which would explain the sprite issues we had been seeing.
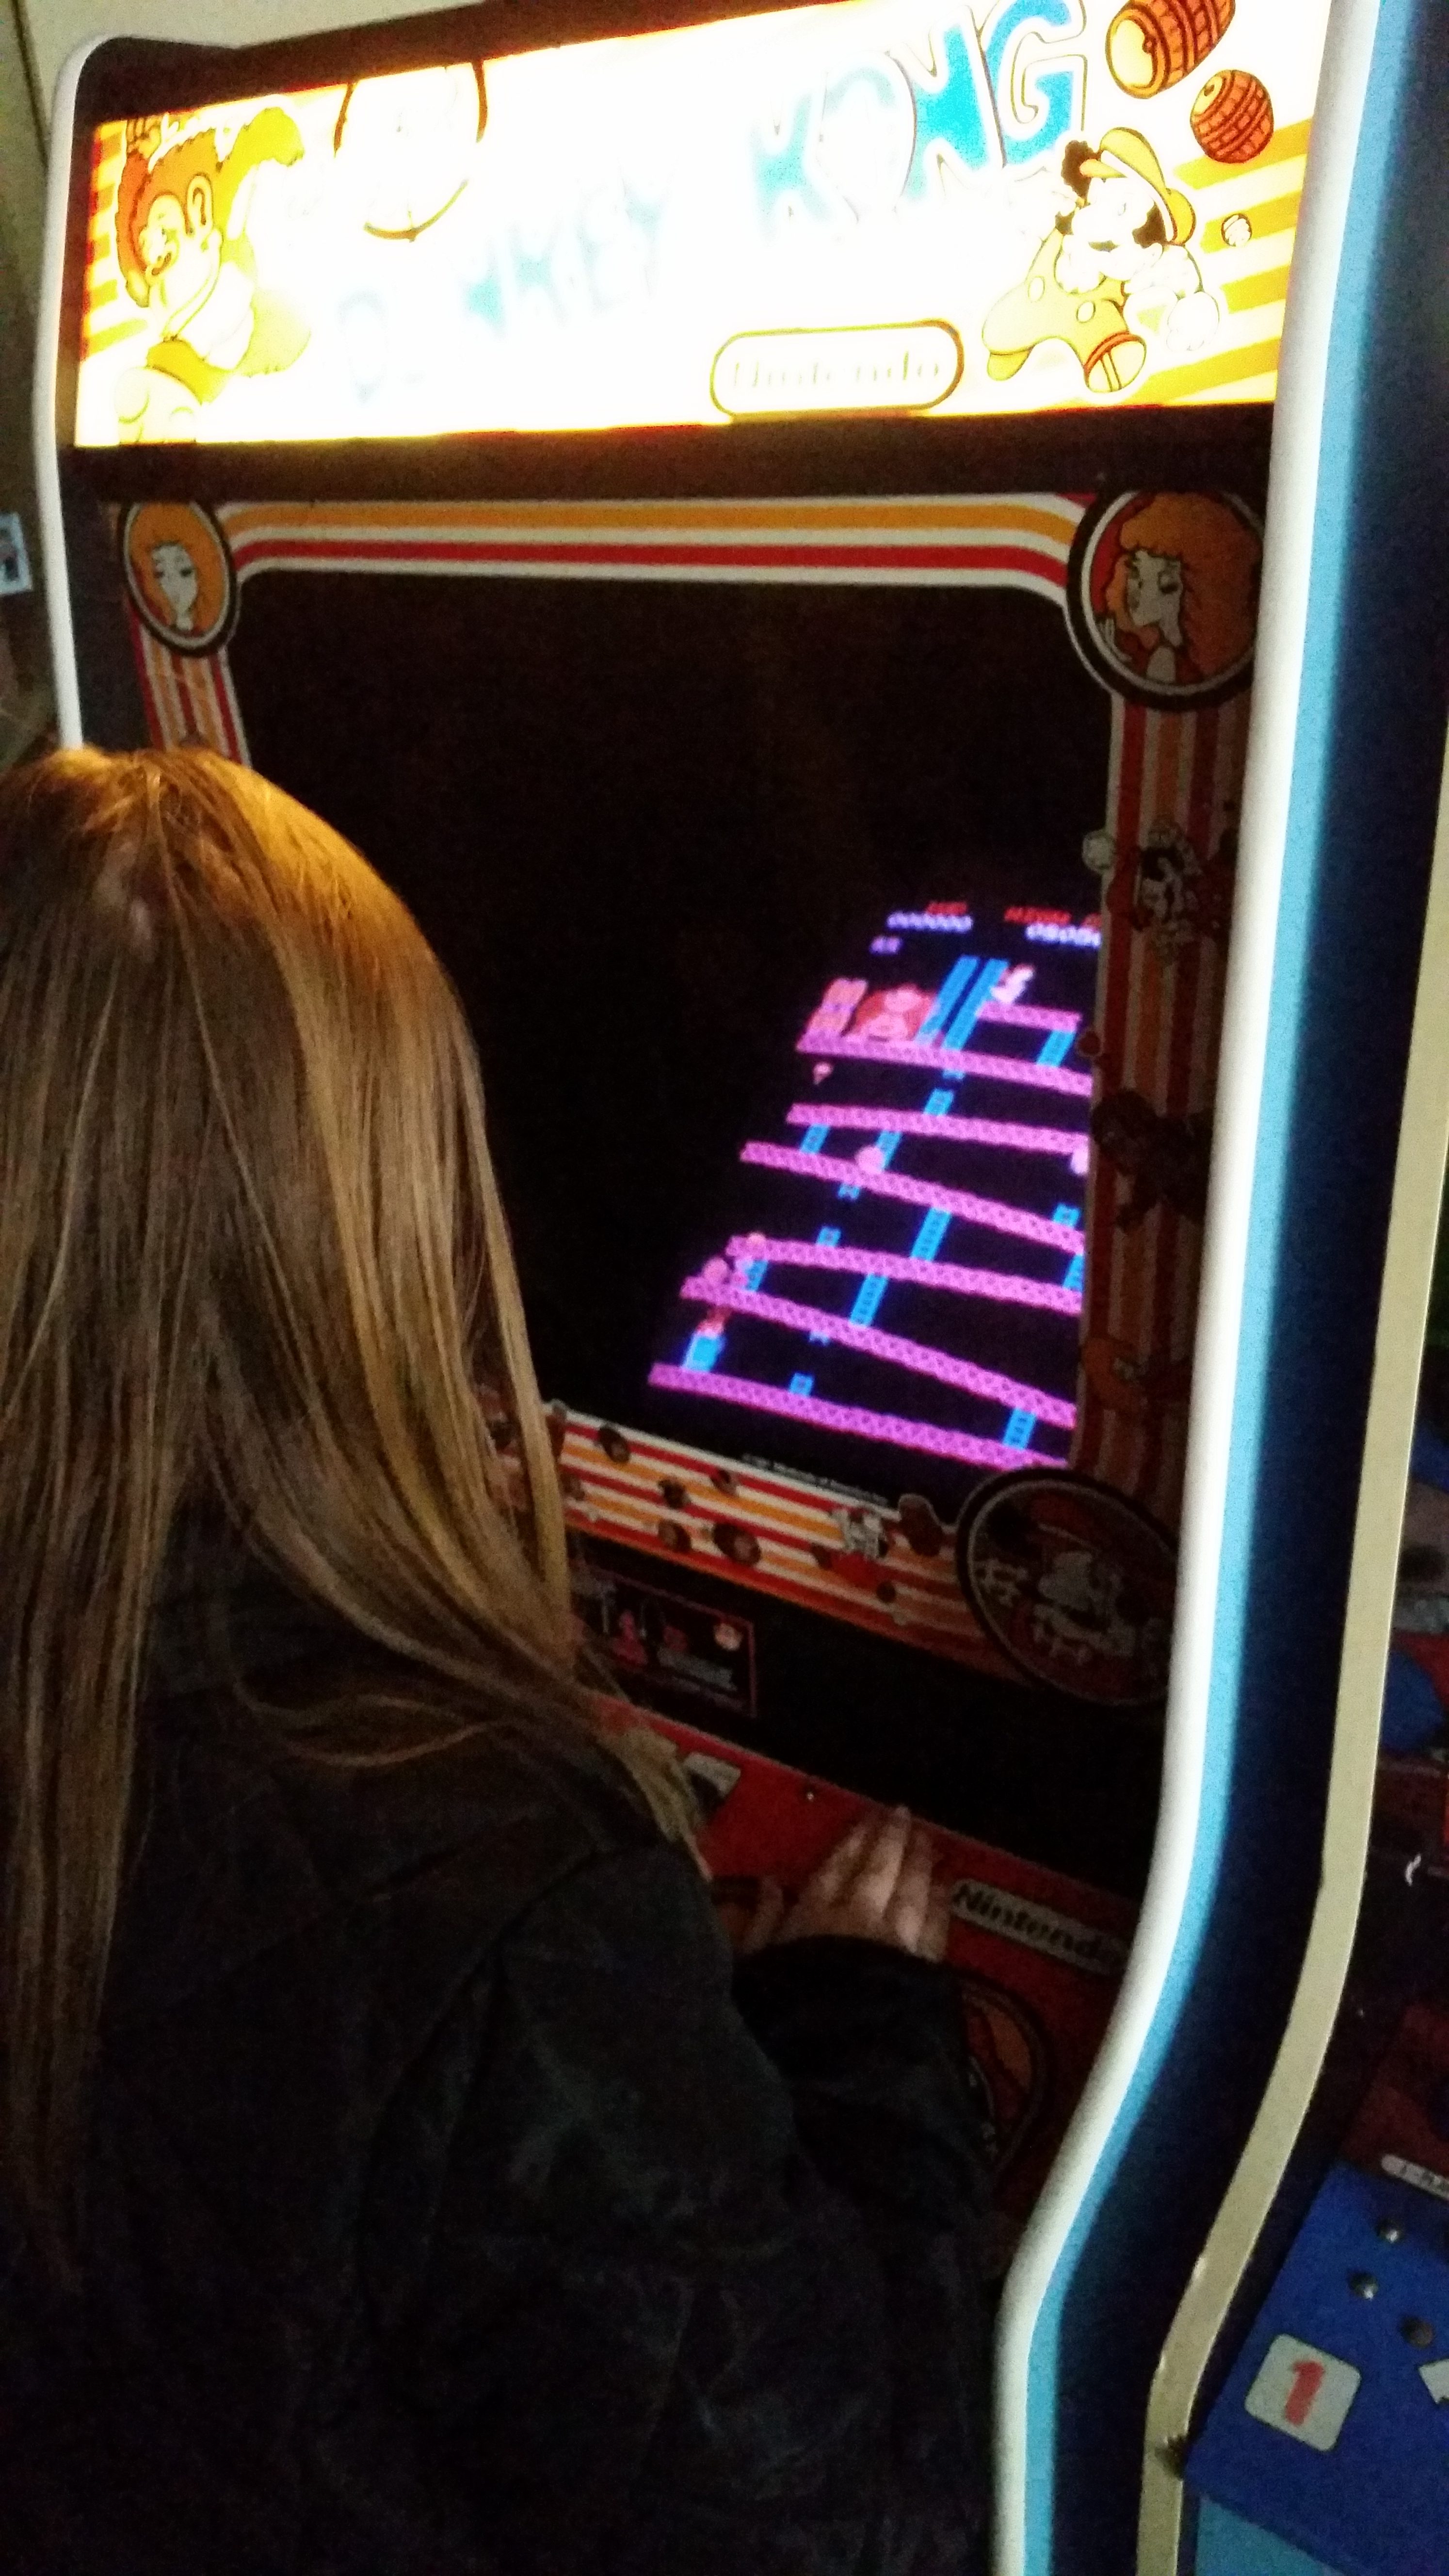
Donkey Kong is currently on Maile’s short llist of favorite games.
I removed the offending RAMs, and installed sockets and new 2114s. Just like that, the game play was perfect.
Still left to do:
Rehab the monitor, which, since the pick-up has been sort of faint. I would be highly surprised if the caps had ever been replaced, so it’s probably about time anyway.
Go over the control panel, tighten up the joystick, which seems a little loose, and replace the buttons with some that are at least closer to what they should be
Acquire and apply a new rule sheet and the standard DK sticker set.
Figure out how much I care about the paint job, and what I want to do about applying side art.
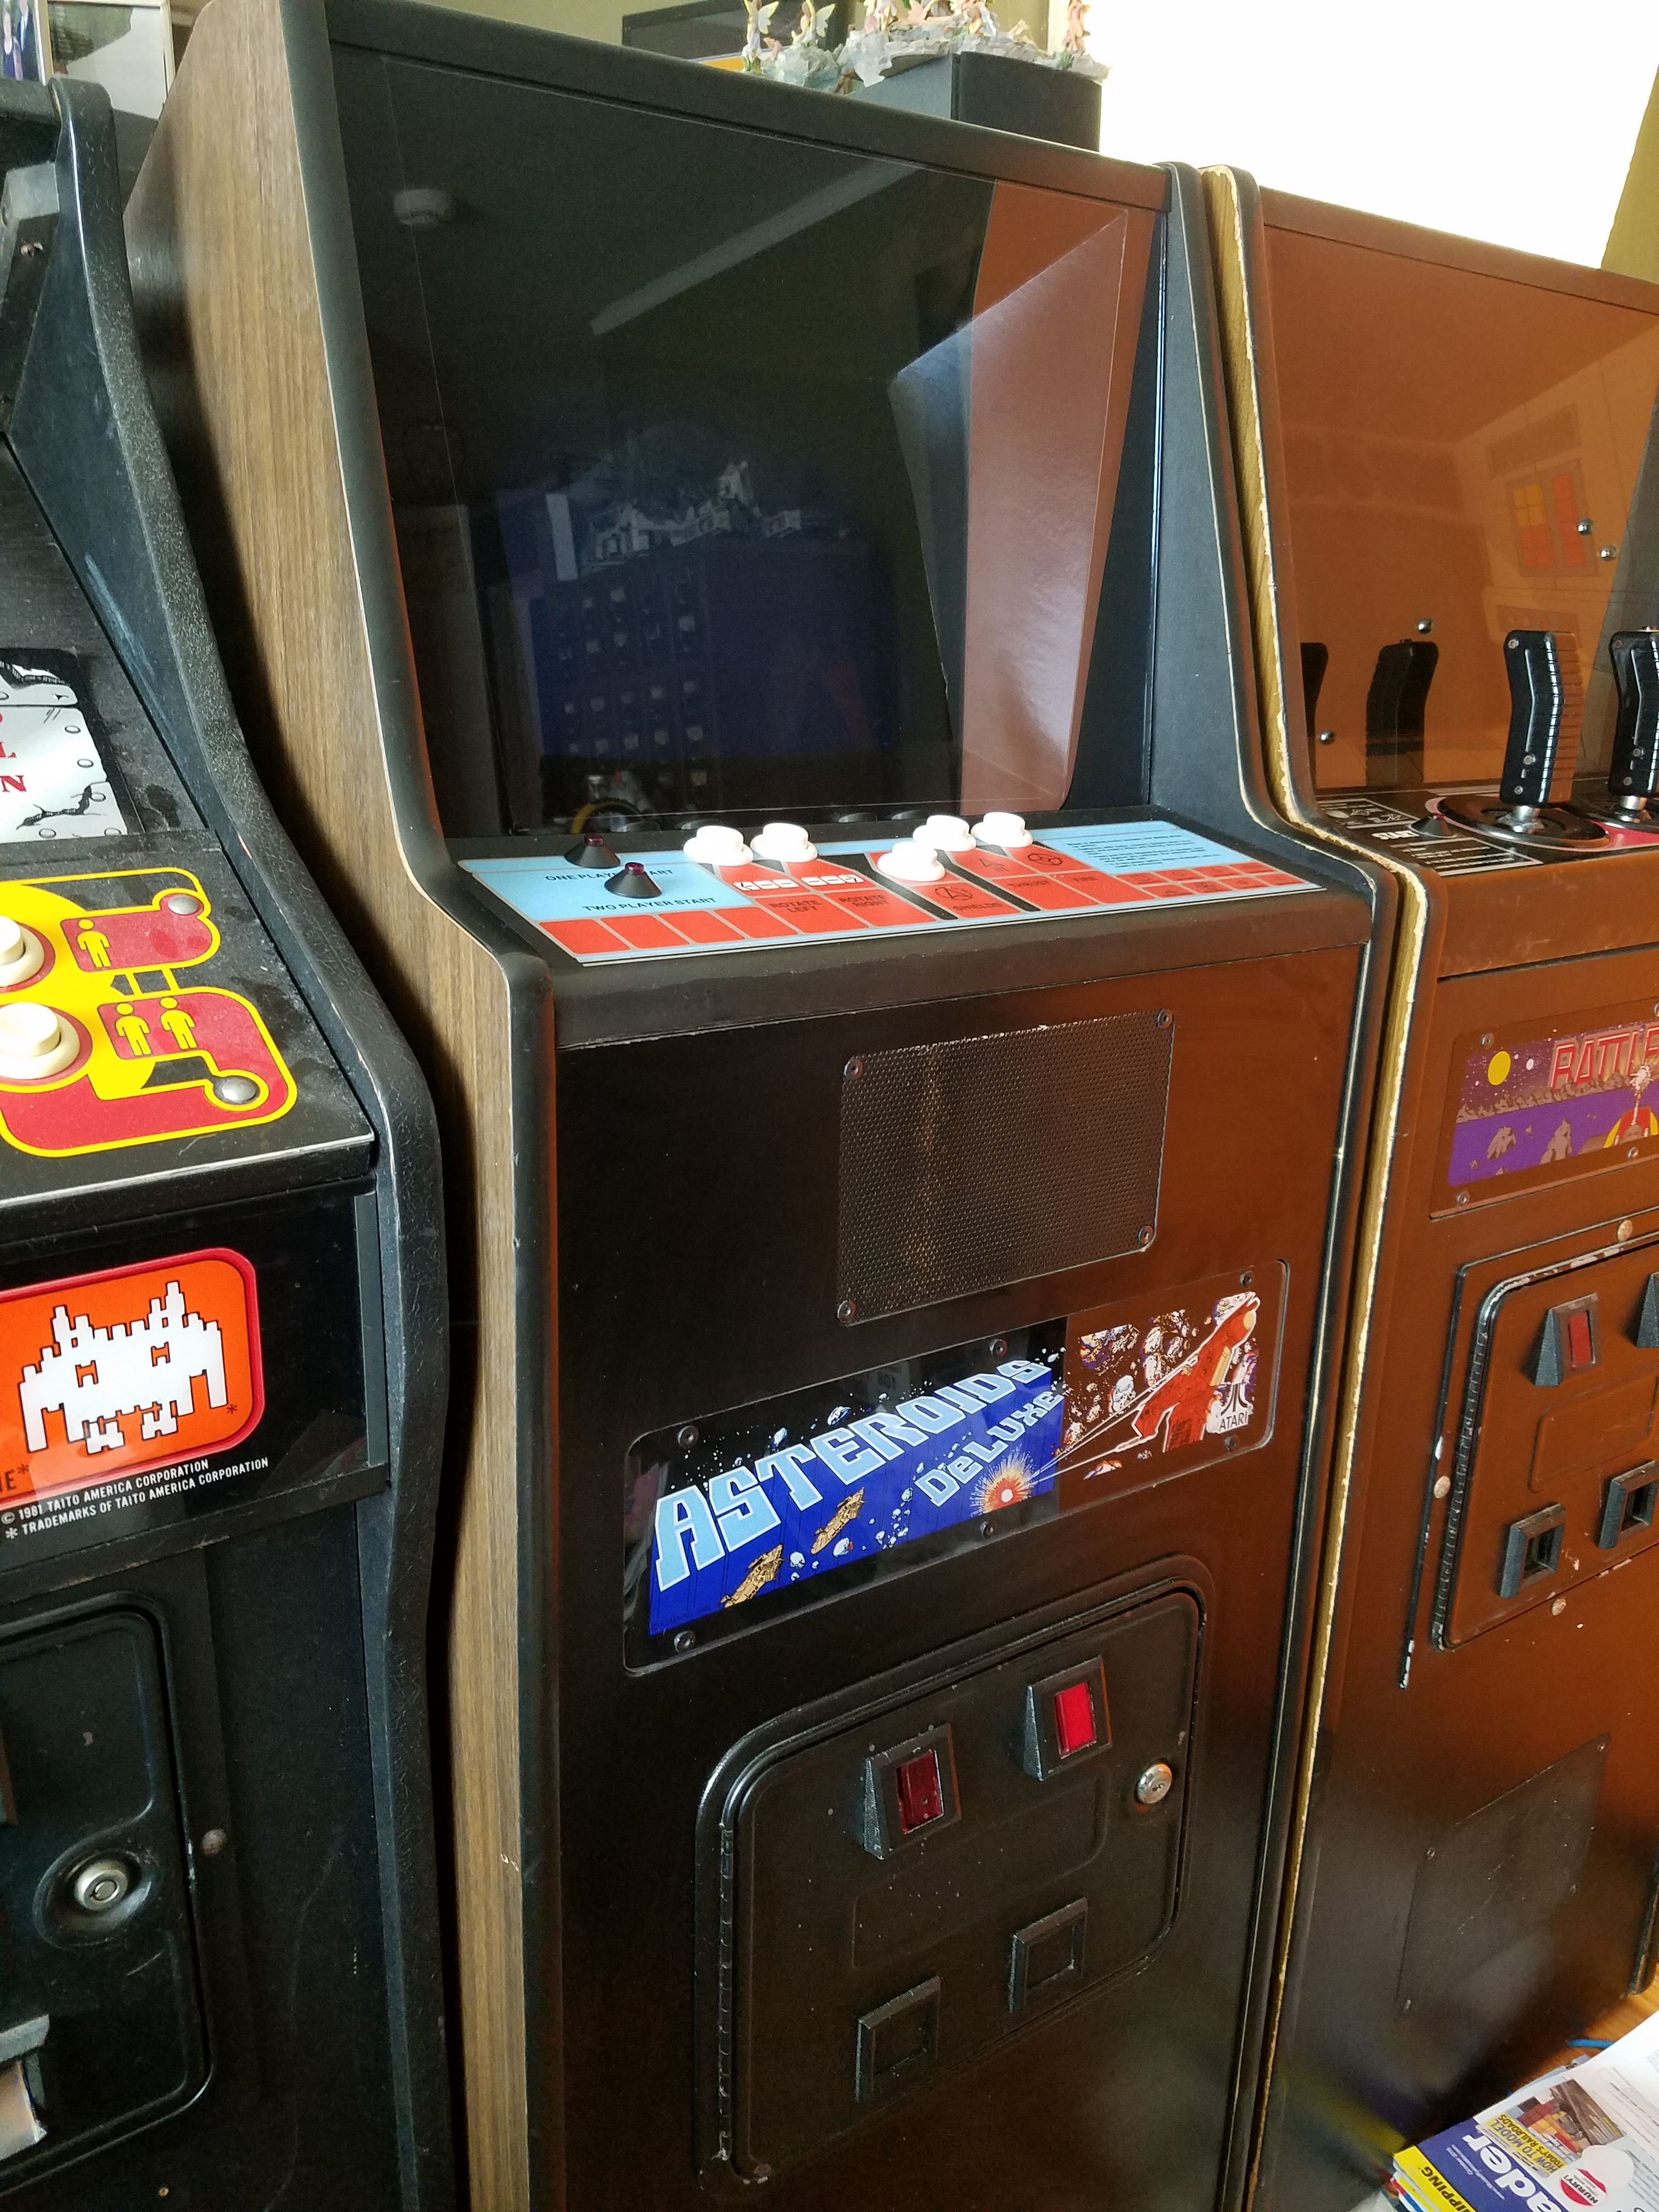
On April 27th, 2016, along with my good friend Jacob, I set out from Portland to the Central Washington town of Chelan to pick up this Asteroids Deluxe Cabaret. For some reason, I had dramatically underestimated the drive time from Portland to Chelan, so it took an entire day, from 09:00 to 23:00. The good news is that the game is just about immaculate. The woodgrain vinyl is clean, with just a couple little dings here and there, and one spot where it looks like someone had attached some tape to it. That’s a very rare and fortunate thing to find. The woodgrain that Atari used has been out of production for years, and nothing close has been consistently manufactured since, so finding a cabinet in original condition is a great score! The control panel is clean and bright, with almost no perceptible cracking at the corners. The buttons, however, had been replaced with some truly awful ultra-short action microswitch buttons. That’s not going to work for me. The monitor is sharp, although it starts to fade in brightness after a few minutes. I’ll put in a new cap kit just as a purely preventative measure, and while I’m at it I’ll re-flow anything on the monitor chassis that looks suspicious. The bezel shroud has some flaking on it which looks like wood flakes or something had gotten between the cardboard and the shroud. Obviously I’ll need to pull off the glass and clean off the front of the tube and the blue gel overlay. The marquee is flawless, and the light fixture works. The coin mechs are present as well, although as of yet I haven’t tested them. The coin box is also present and complete.
We got an Asteroids Deluxe Cabaret!
Asteroids Deluxe in the Van.
When I arrived at the previous owner’s house, the game had already been turned on, and the image was severely stretched vertically, to the point where the score was no longer visible. That really didn’t seem like a big deal or a difficult fix. We had agreed on a price before I left Portland, and since the game was pretty much exactly as described, I handed over the cash, and away we went with the game!
By the time we got back to town, it was way too late to try to bring the game inside, so it spent the night in the van.
The next morning I made ready to bring the game into the house.
New feet on the Cabaret.
The old leg levelers.
The only real sign of serious wear that I could find anywhere on the game was on the very bottom of the cabinet. The leg levelers were in pretty horrific shape. Two of them had lost their feet completely, so it was just broken studs protruding from the base. The other two weren’t far behind. I tried to spin them out of their T-nuts, but they had actually seized in the threads under a thick blanket of rust. Seeing as there was no part of any of the leg leveler assemblies that was going to make it, I pried them all out and replaced them with stainless steel t-nuts and appliance feet.
With the bottom of the game now much more compatible with the hardwood floors in my house, I strapped it onto the furniture hand truck that I keep around for just such occasions.
Once in the house, I slid the game into its new home, right next to the Battlezone Cabaret.
My loyal assistant, my 10 year old daughter was a great help in addressing the most immediate and likely easiest concern: getting the screen stretch under control. As with almost all Atari first-party games, Asteroids Deluxe has a great, easy to use and powerful test mode. In this case, the mode displays a nice grid pattern. Once we saw this, it would be quite simple to see when the adjustments were correct.
Test mode showing that the X and X gain pots are now where they are supposed to be.
On Asteroids Deluxe, there are a pair of pots on the back of the PCB, which are easily accessible from the open back door, which adjust the X and Y gain (which means the amount of “stretch” along each axis. It took all of about 25 seconds, with Maile’s help, to get the stretch back under control.
That was about all we were going to be able to do for the night, so we called it, but first we played a couple of games. Good times!
Still to do:
Get a new cap kit in the monitor and reflow the connections to address the fade.
Install new leaf switches and buttons
Clean up the bezel glass, shroud and gel overlay.
Decide if it’s worth it to address a gouge in the lower left of the kickplate.
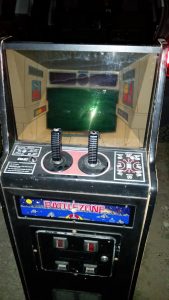
The Battlezone Cabaret, just off the truck. It definitely needed a bath.
Many of us who grew up during the Golden Age of arcade games have fond memories of a particular game at a particular location. One of my own such memories is of Atari’s 1980 title Battlezone. The time was 1981, and the place was the game room attached to a beach house that we used to stay at when I was a kid. Battlezone was a futuristic tank combat simulator set on a flat plane with active volcanoes and a crescent moon overhead. The battlefield was also littered with geometric shapes which could act as either shelter or obstacles. The single player controlled their tank by way of two joysticks, one of which was topped with a fire button. Battlezone was big, and had a cool plastic periscope bezel that the player would look through for a more immersive experience. The game used a monochrome vector monitor with a green gel overlay at the bottom, where the action was, and a red overlay across the top, where the game displayed the information systems of the players tank. These included a radar display which showed the player the relative position of the enemy, and a small screen that displayed important messages about the tank’s situation in the battlefield. Adding to the early VR-like experience was deep, bassy audio that included rumbling engine noises, ballistic-sounding pops when the player fired, and, my favorite, a rousing rendition of 1812 Overture, which was a player’s reward for scoring an extra tank at 100,000 points, and also for scoring high enough to enter the player’s initials in the top ten score board.
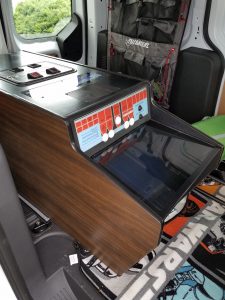
While I truly love Battlezone, the enormous size of the standard upright cabinet made it unrealistic that I would be owning one any time soon. Atari did, however, produce a cabaret version of the game, and utilized the smaller of their two basic mini cabinet designs.
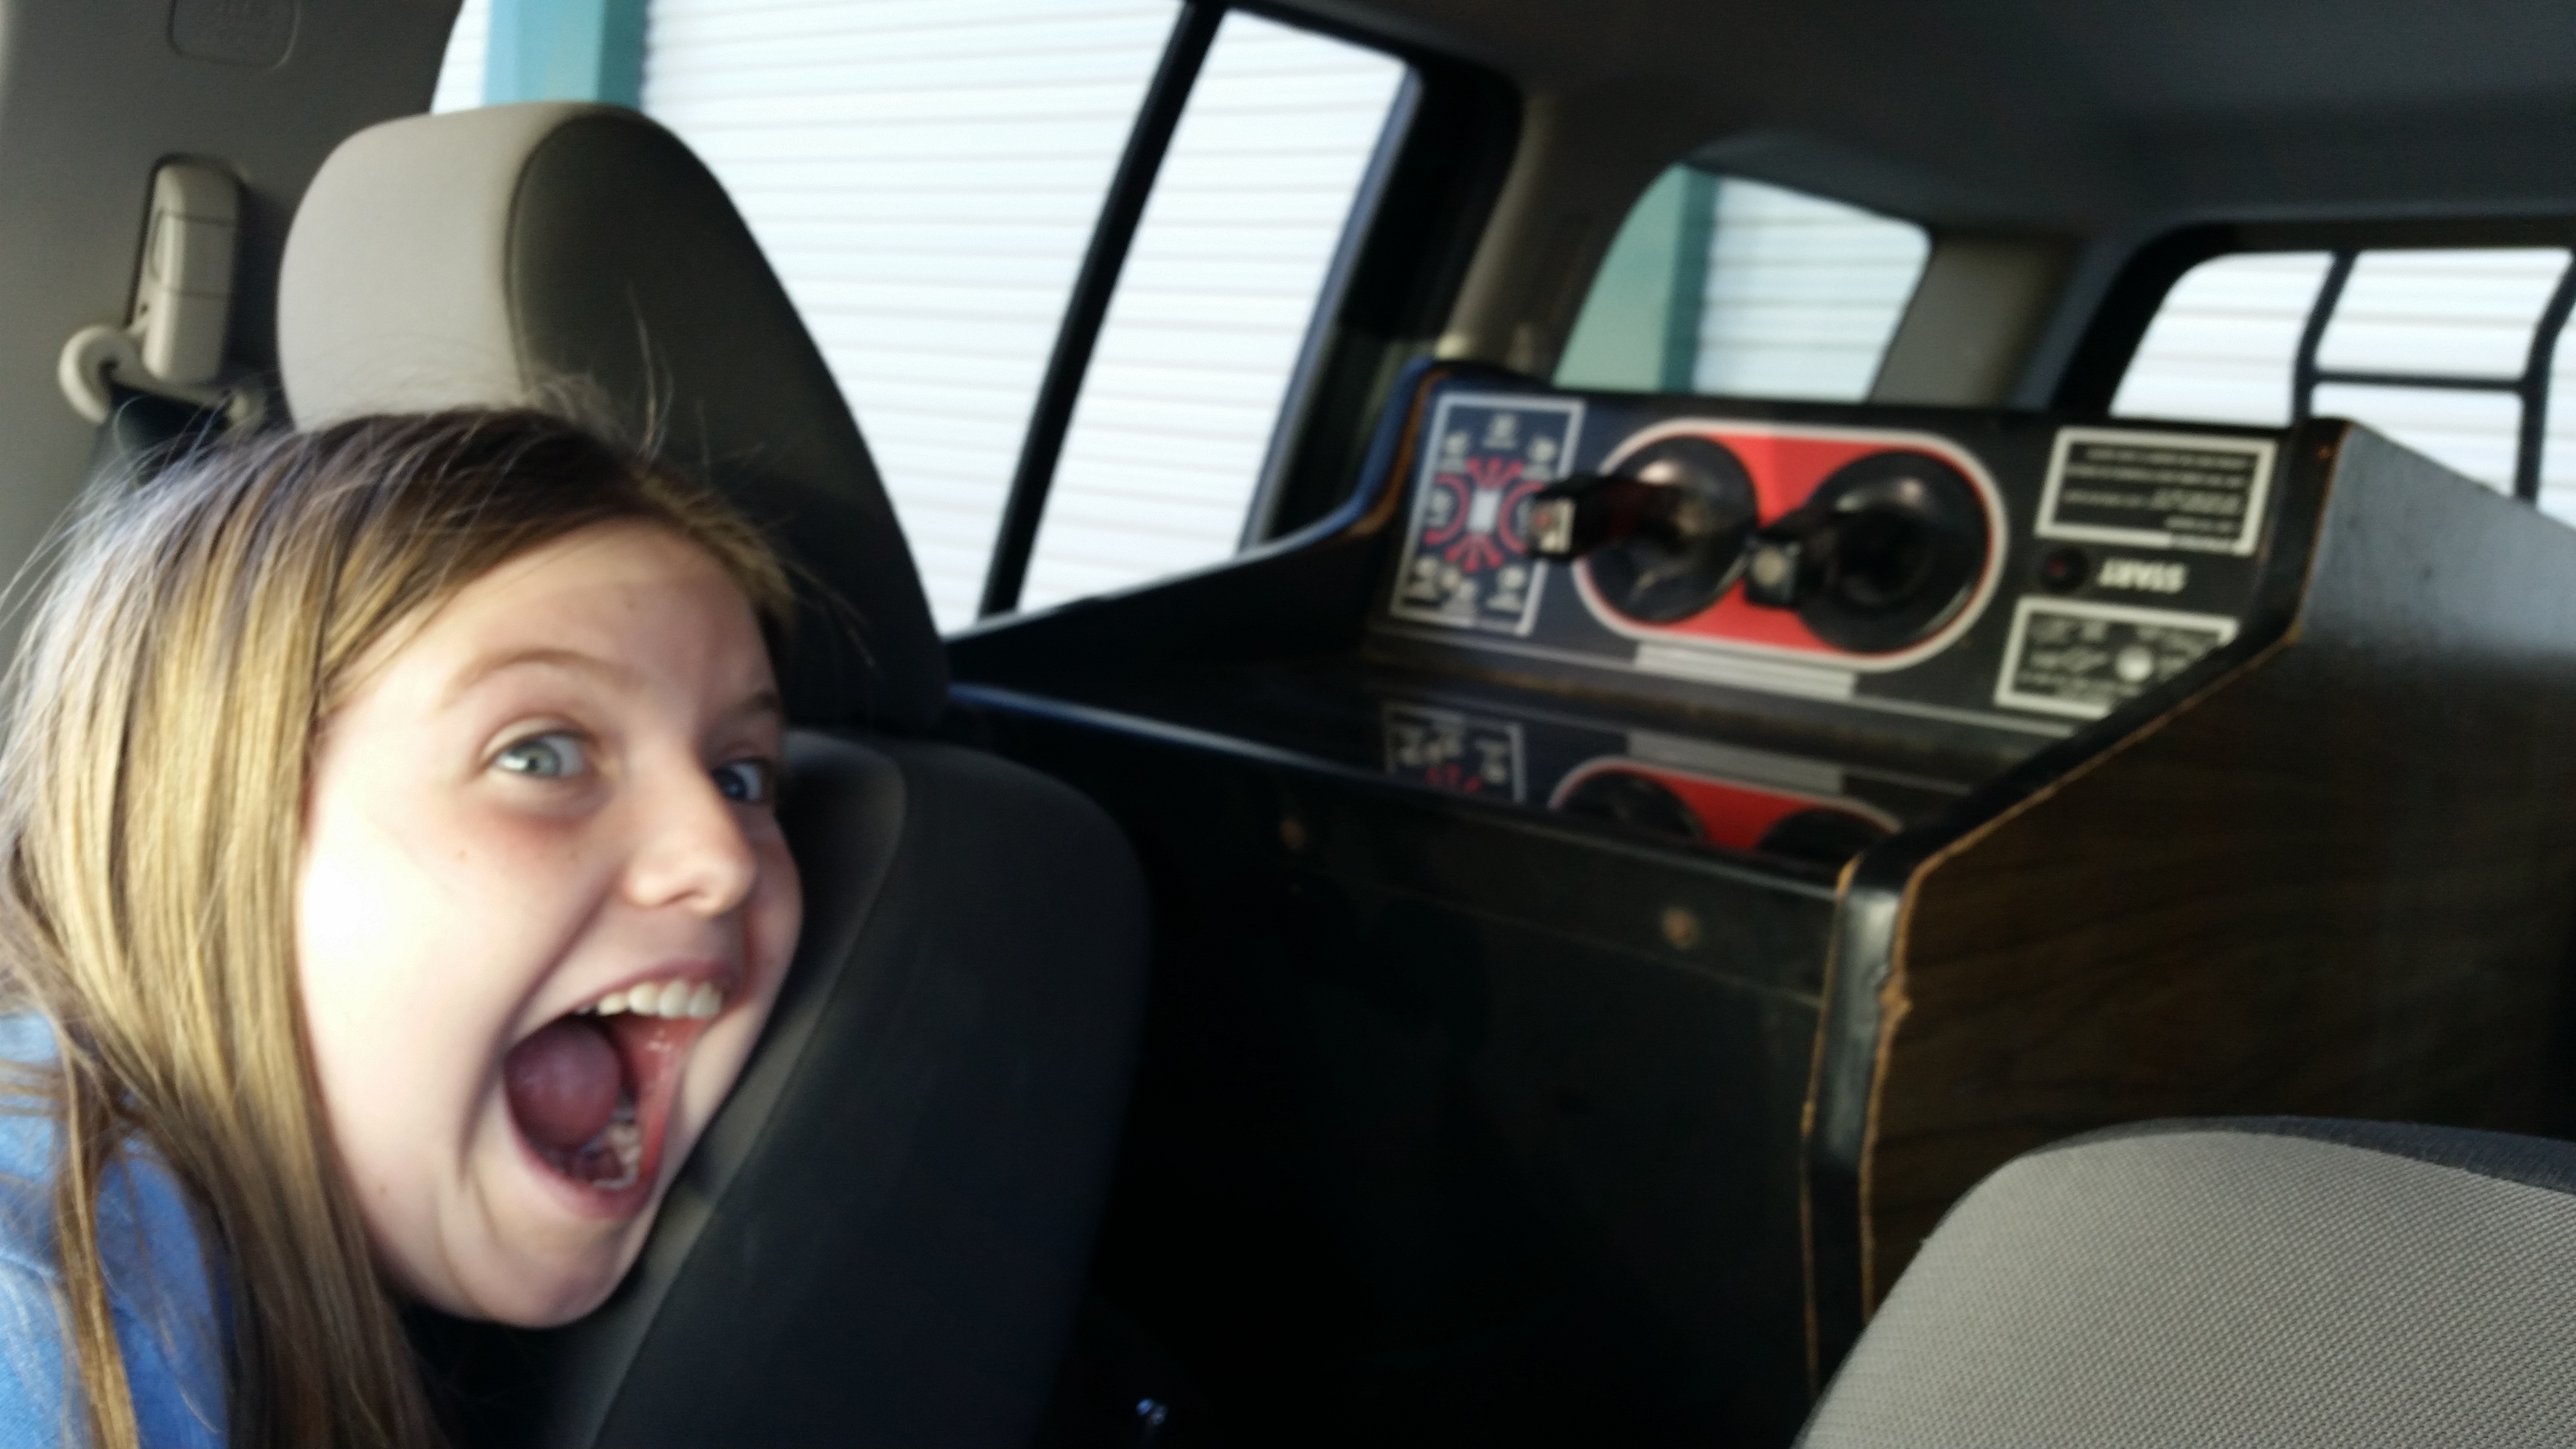
Maile is very excited about our new Battlezone!
It was October, I had a few days off from work, and a desire for an adventure. I put the word out to the Arcade Community, and before I knew it, a fellow collector contacted me with a Battlezone Cabaret at a price I couldn’t refuse.
It wasn’t perfect. It had been in a storage locker for a couple of years, and the cabinet had some significant swelling, but it was a complete game. It was also located about a five hour drive from my house, so it fit the adventure bill perfectly.
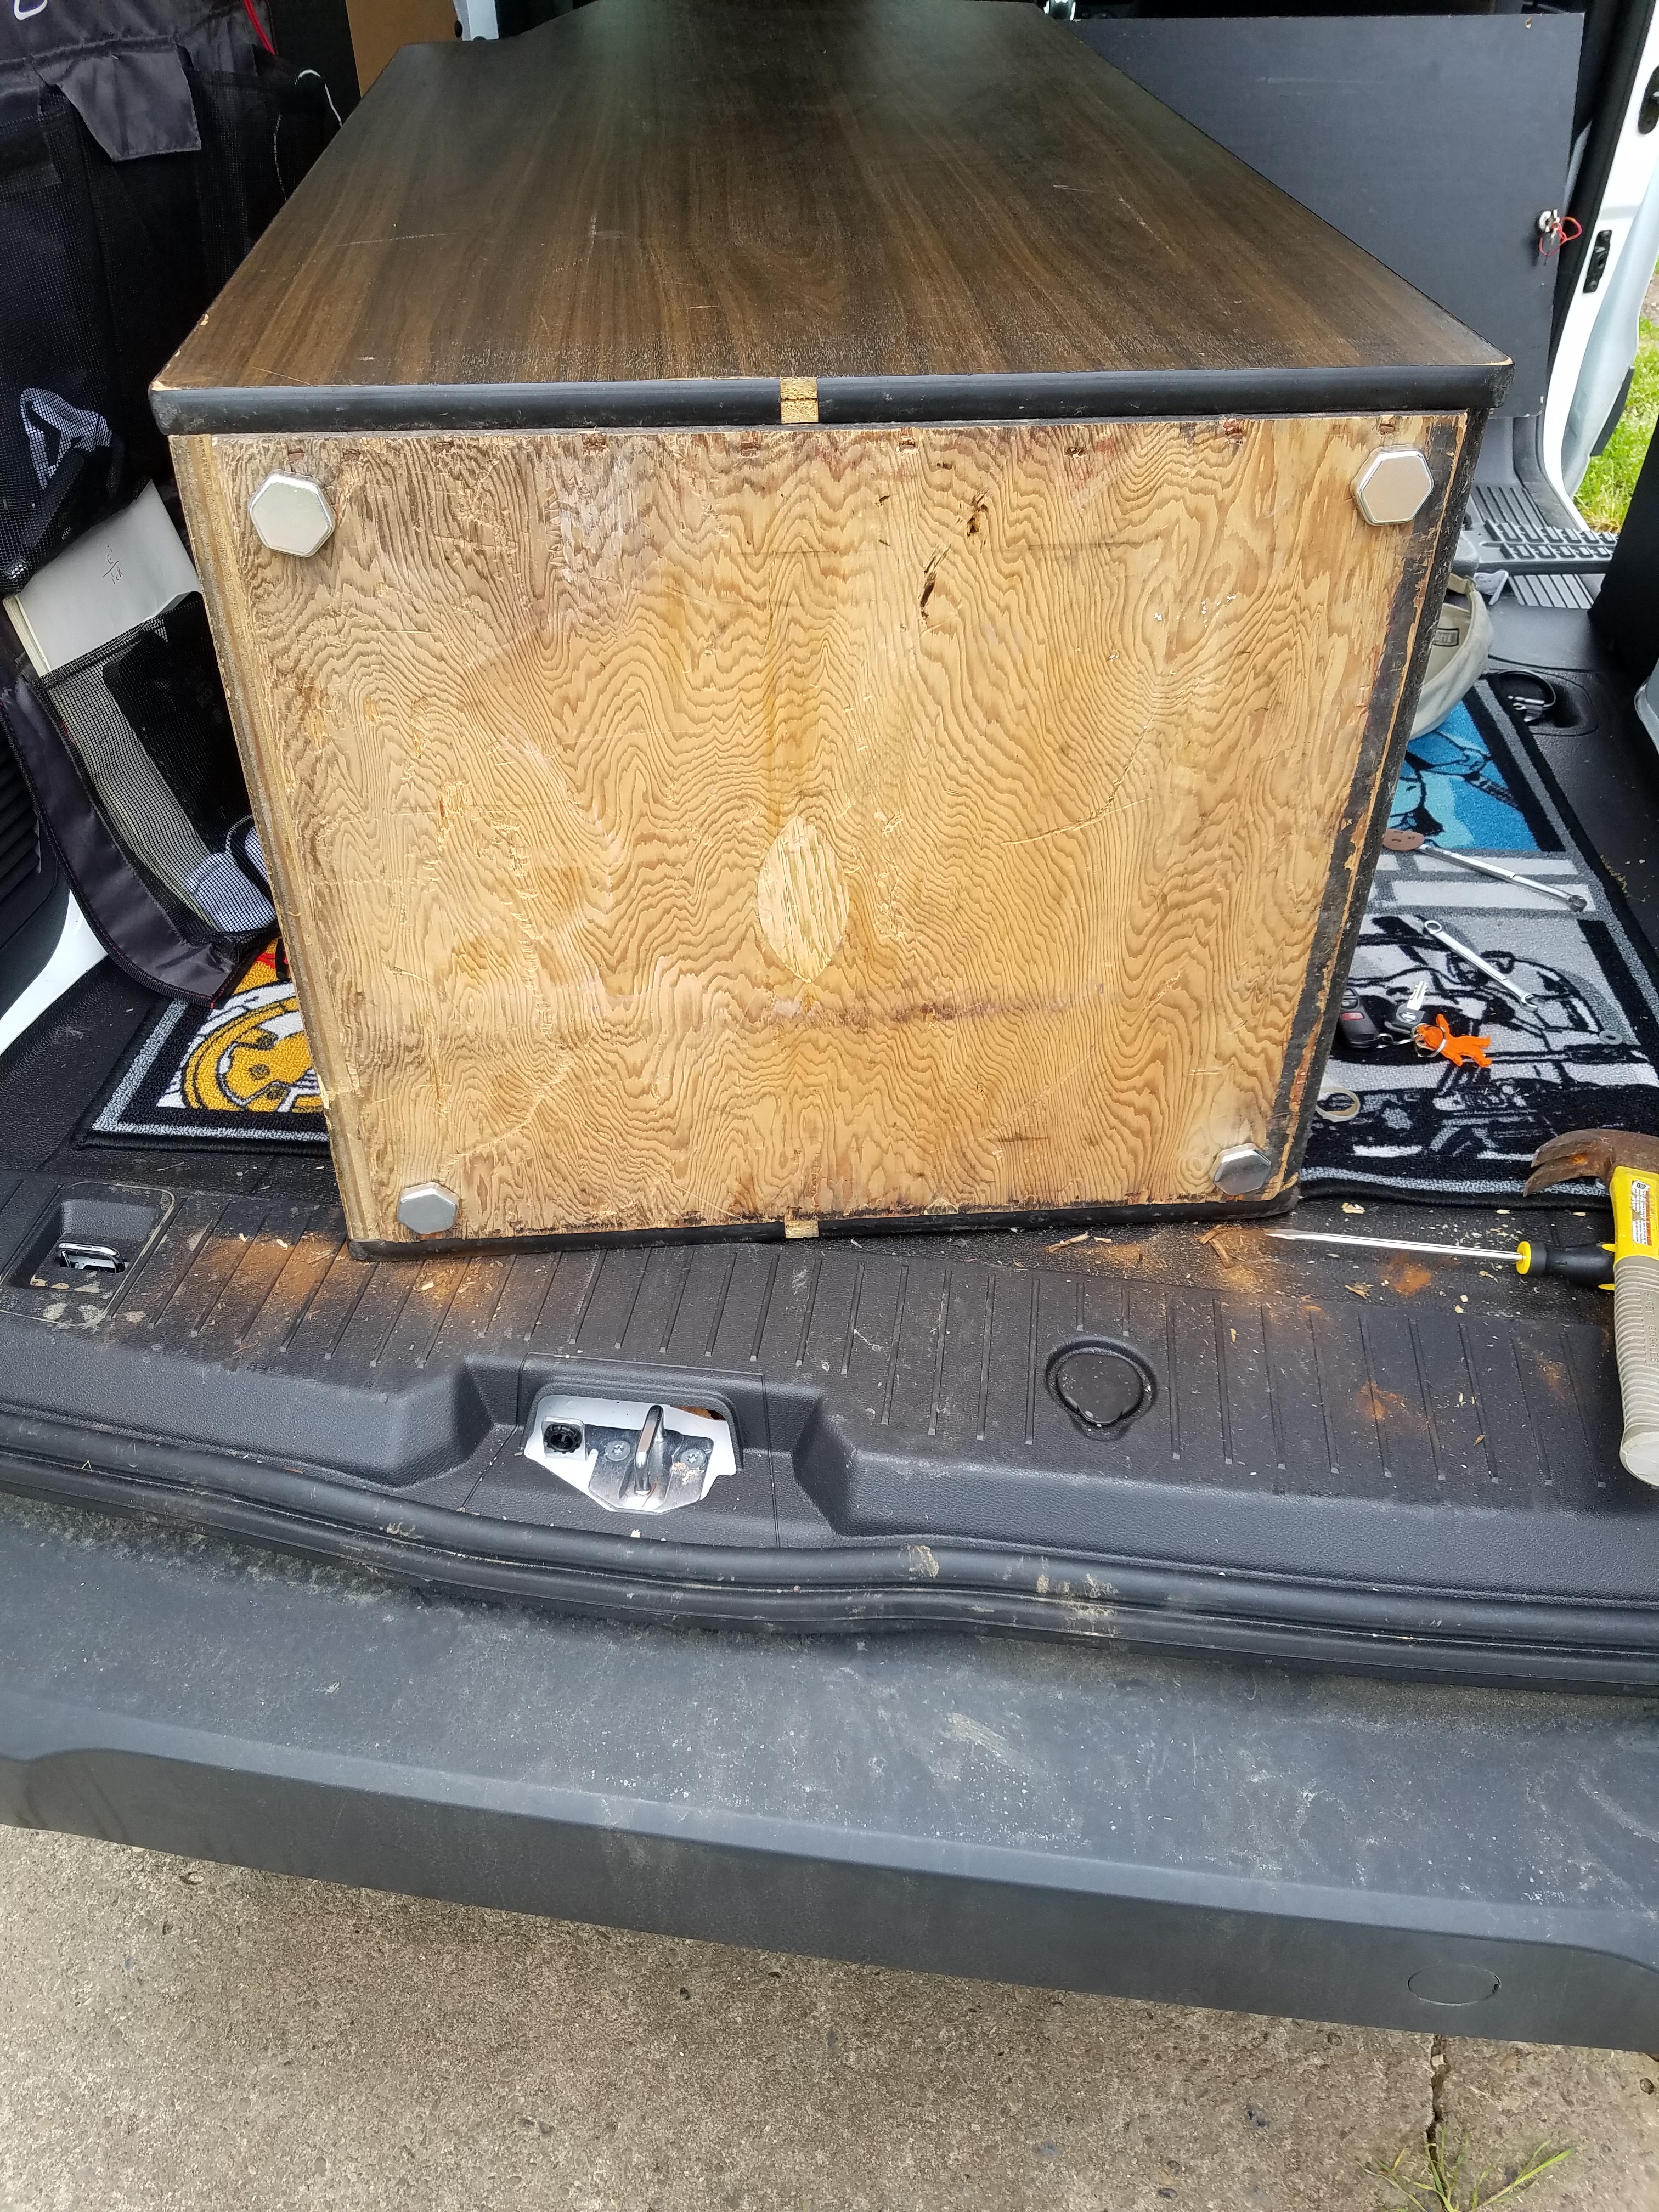
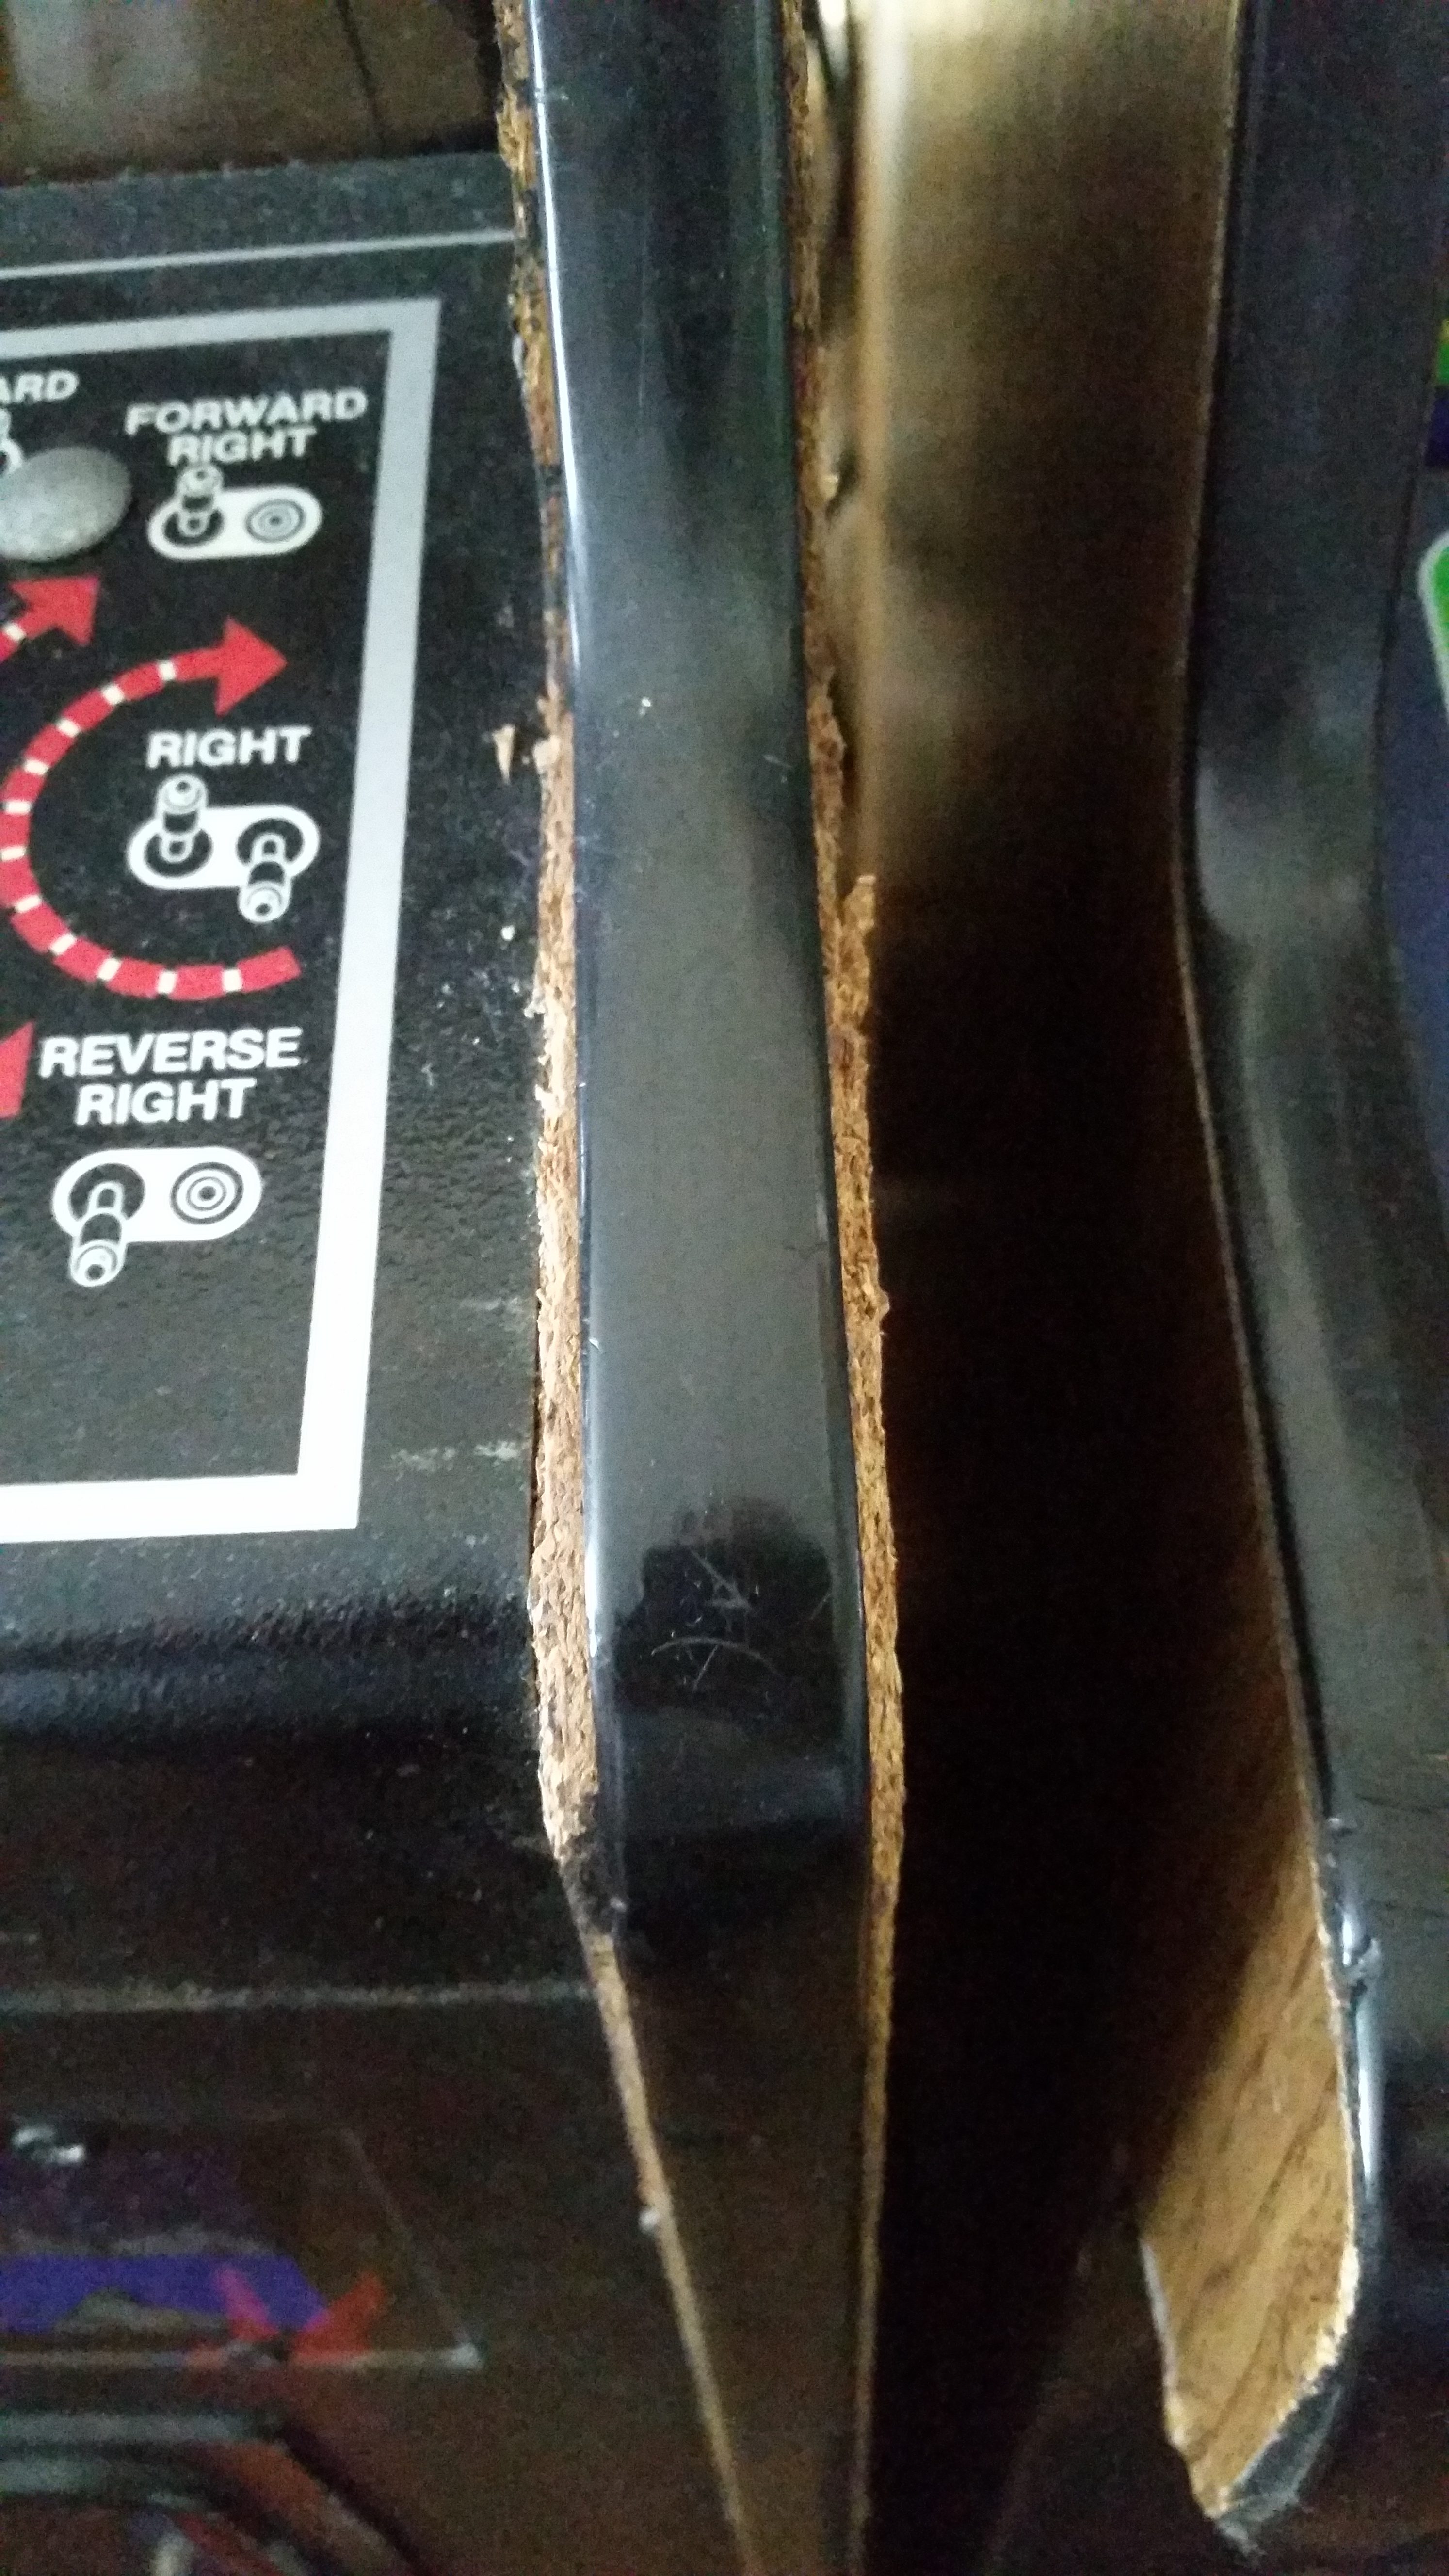
We set off relatively early in the morning, and after a fruitful side trip, we made it to Northern Washington. The Battlezone definitely looked like it had been around the block. As promised, the cabinet had some significant swelling, unfortunately quite close to the control panel, so it would be noticeable.
The particle board side had swollen to the point where it could no longer hold the T-molding.
Adding to this, the T-molding had popped out, as the groove had expanded significantly. Otherwise, it looked pretty good. Most amazingly, the decorated cardboard monitor shroud was present and complete. It was a little bit dirty, but these are hard to find, and as far as I know, they have never been reproduced. I was glad to see this one there!
Also, the coin door was in good shape, but had a 1/4″ hole drilled in it and some of the paint had flaked off, but there was no rust. The marquee was present, as well as the smoked glass bezel, which didn’t appear to have any scratches or other noticeable damage. The back was where most of the bad news was waiting, The bottom panel on the back had some significant damage. The vent slot had been enlarged and deformed, leaving some areas that were pretty nasty looking, there is no more diplomatic way to put it. The particle board door itself wasn’t too bad on the inside, but the back surface had flaky paint, to the paint where some of the particle board itself was starting to chunk out. Finally, like just about every arcade game I’ve picked up, the line power cord had been mangled, with the ground plug having been removed. The seller plugged it in and turned it on. Nothing appeared on the screen, , but the light in the start button was on solid. Looking in the back, there were some LEDs that were illuminated on the PCB, so I at least knew the power supply wasn’t completely dead.
In any case, it was a very exciting project to me, and well worth what the seller was asking. I happily handed over the cash and loaded the game into the back of my trusty Xterra.
It was quite dark by the time we got home and unloaded the Battlezone. I stopped to get a few pictures before bringing it into the house.
Once inside, I took the back off and commenced step one of my initial game restoration procedure: wiggle stuff, reseat all connectors, and look for anything that is just hanging that looks like it’s supposed to be attached to something.
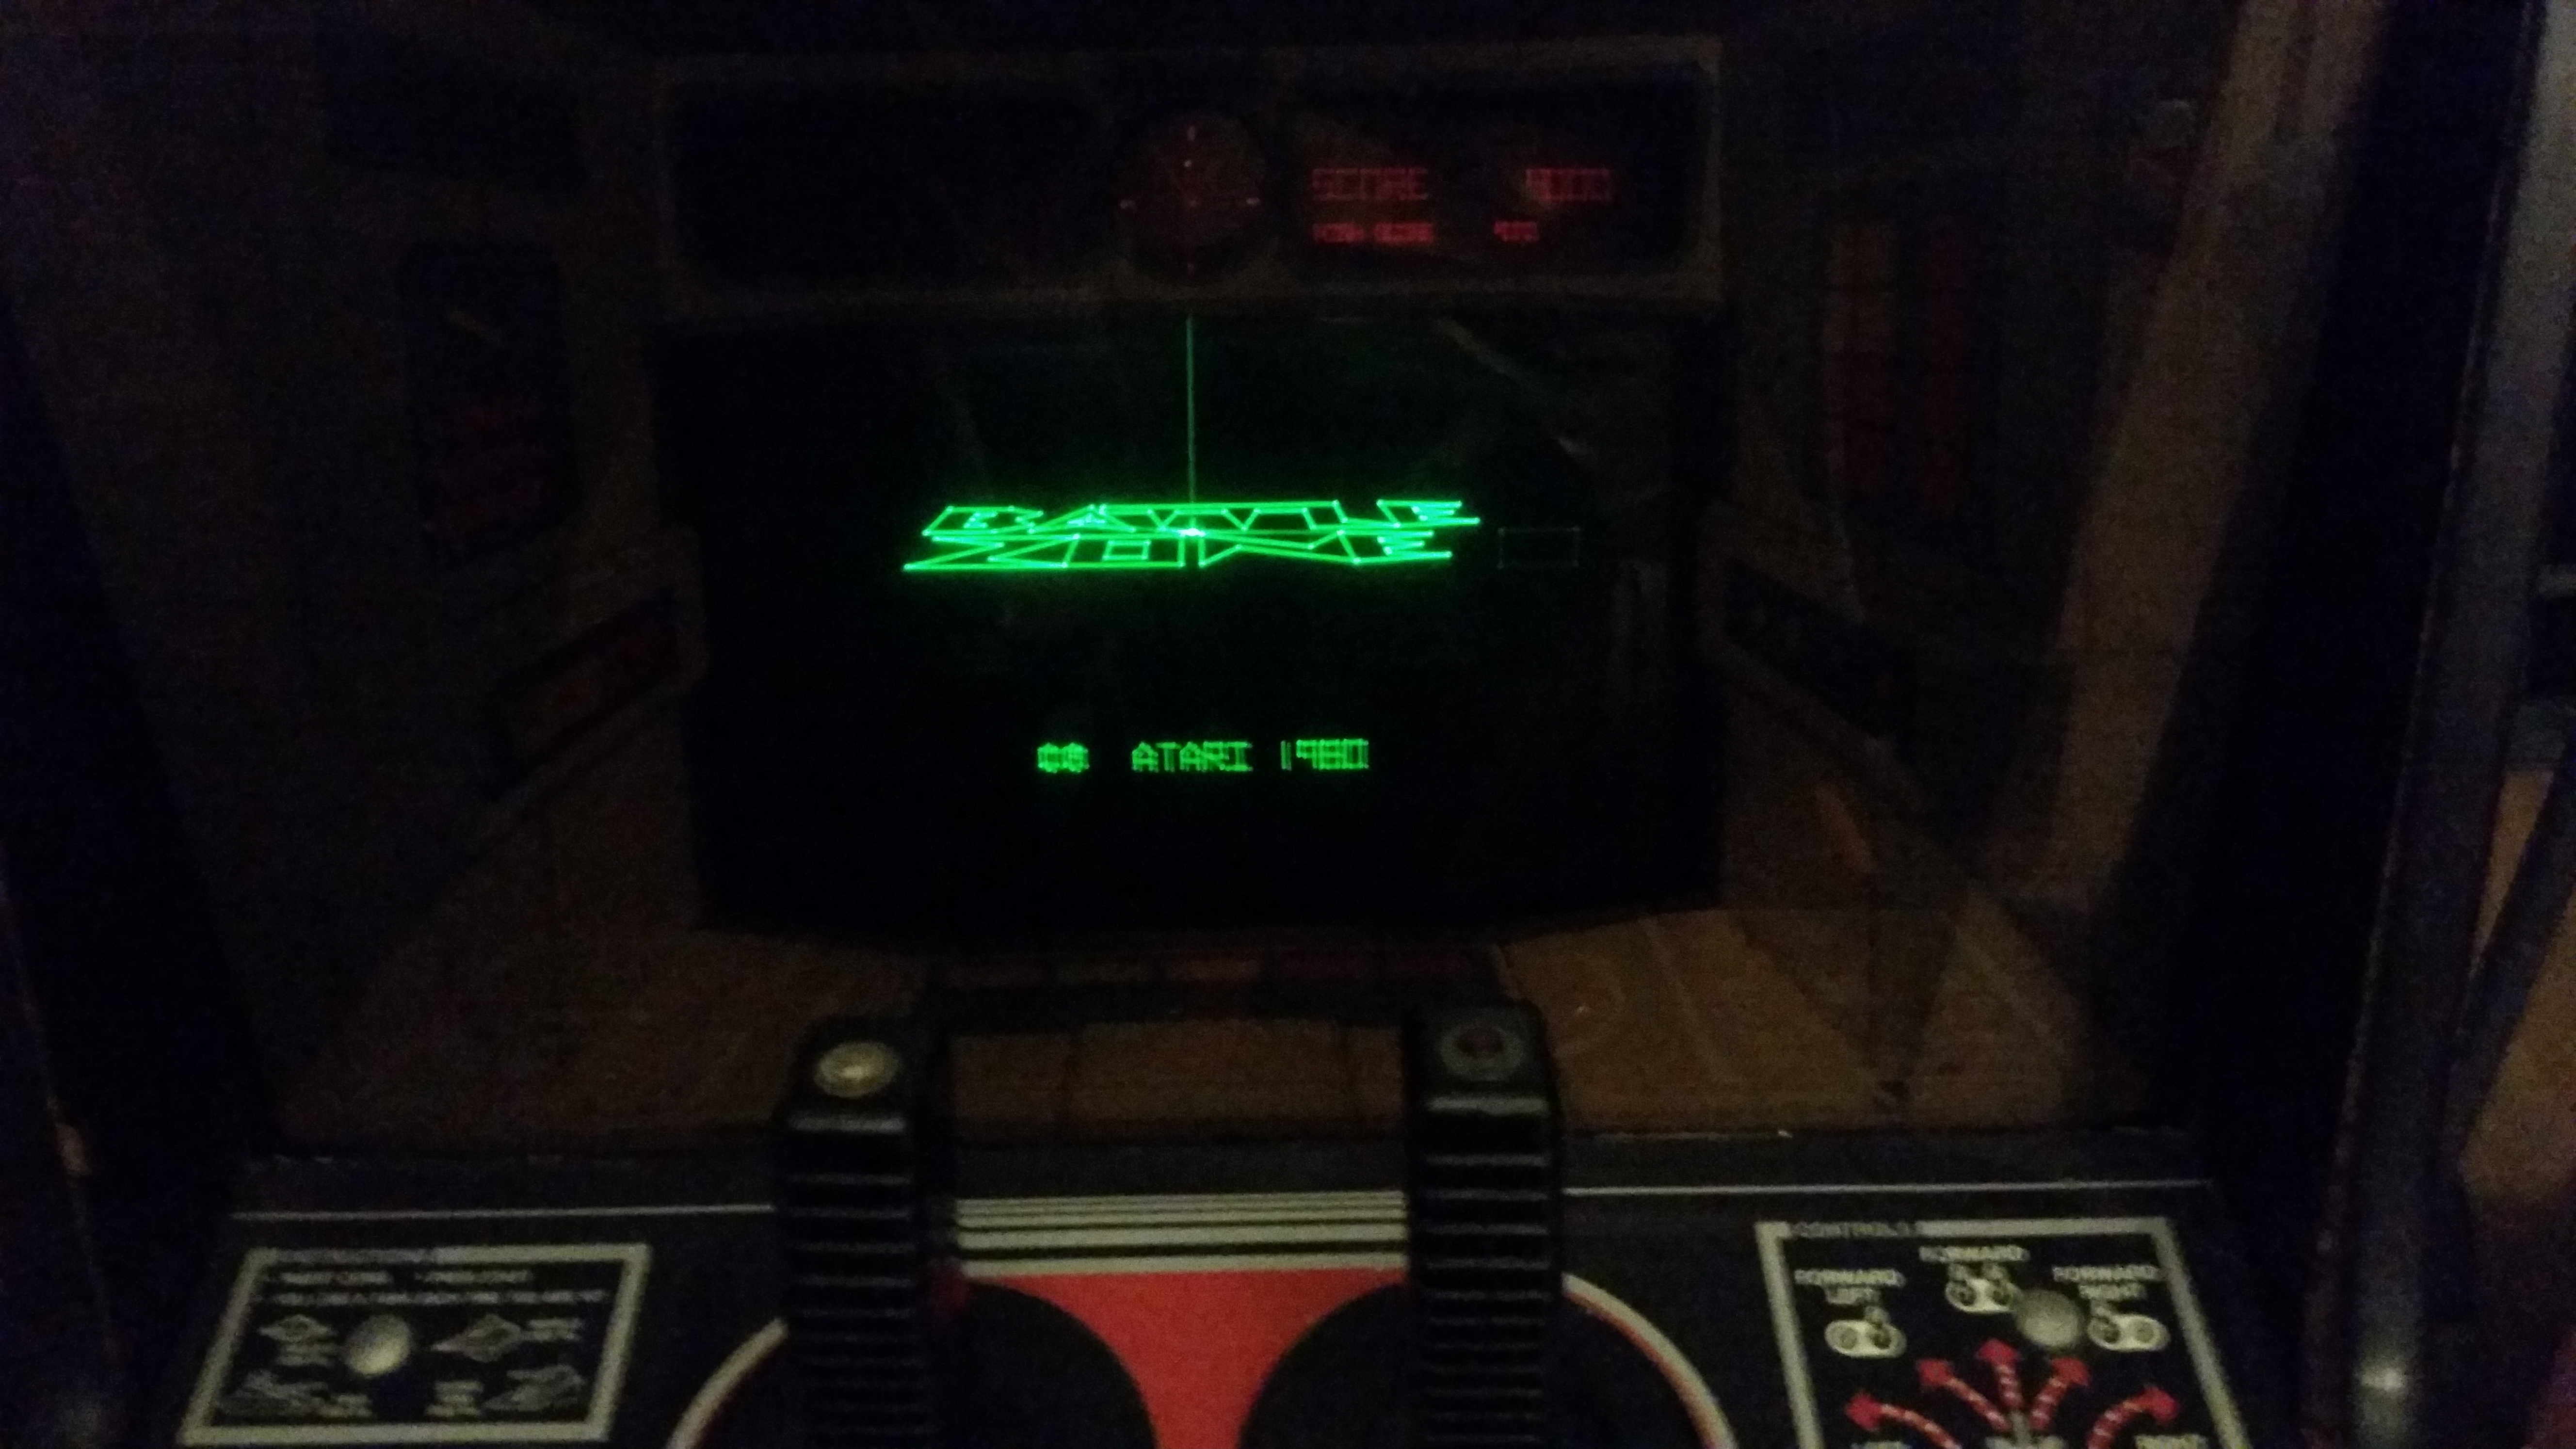
The Battlezone lives!
I was sitting behind the game, after having completed phase one, and flicked the power switch on. Maile was in front of the machine and said; “Dad, the start button is flashing!” I jumped up and ran around the game, and saw something beautiful!
Right then, I was able to start a game. The sound worked nearly perfectly, the deep bass notes reverberating through the room, and the red and green overlays giving an otherworldly cast to the vector shapes on the screen.
I was very happy to find this game, and even happier to discover that it did actually work. of course, there was still quite a list of things to do, but I like where this project was starting.
What I immediately knew that the game would need:
Some cosmetic work on the joysticks
General cleaning
New line power cord
Cabinet work (swelling)
New interconnect cable (always a good idea)
Power brick rebuild
New marquee light tube and/or starter (at least)
Coin door light repair or replacement
Coin mech installation (if I decided I needed them)
There would be a few other challenges that would show up unexpectedly, and that’s where the fun really began!