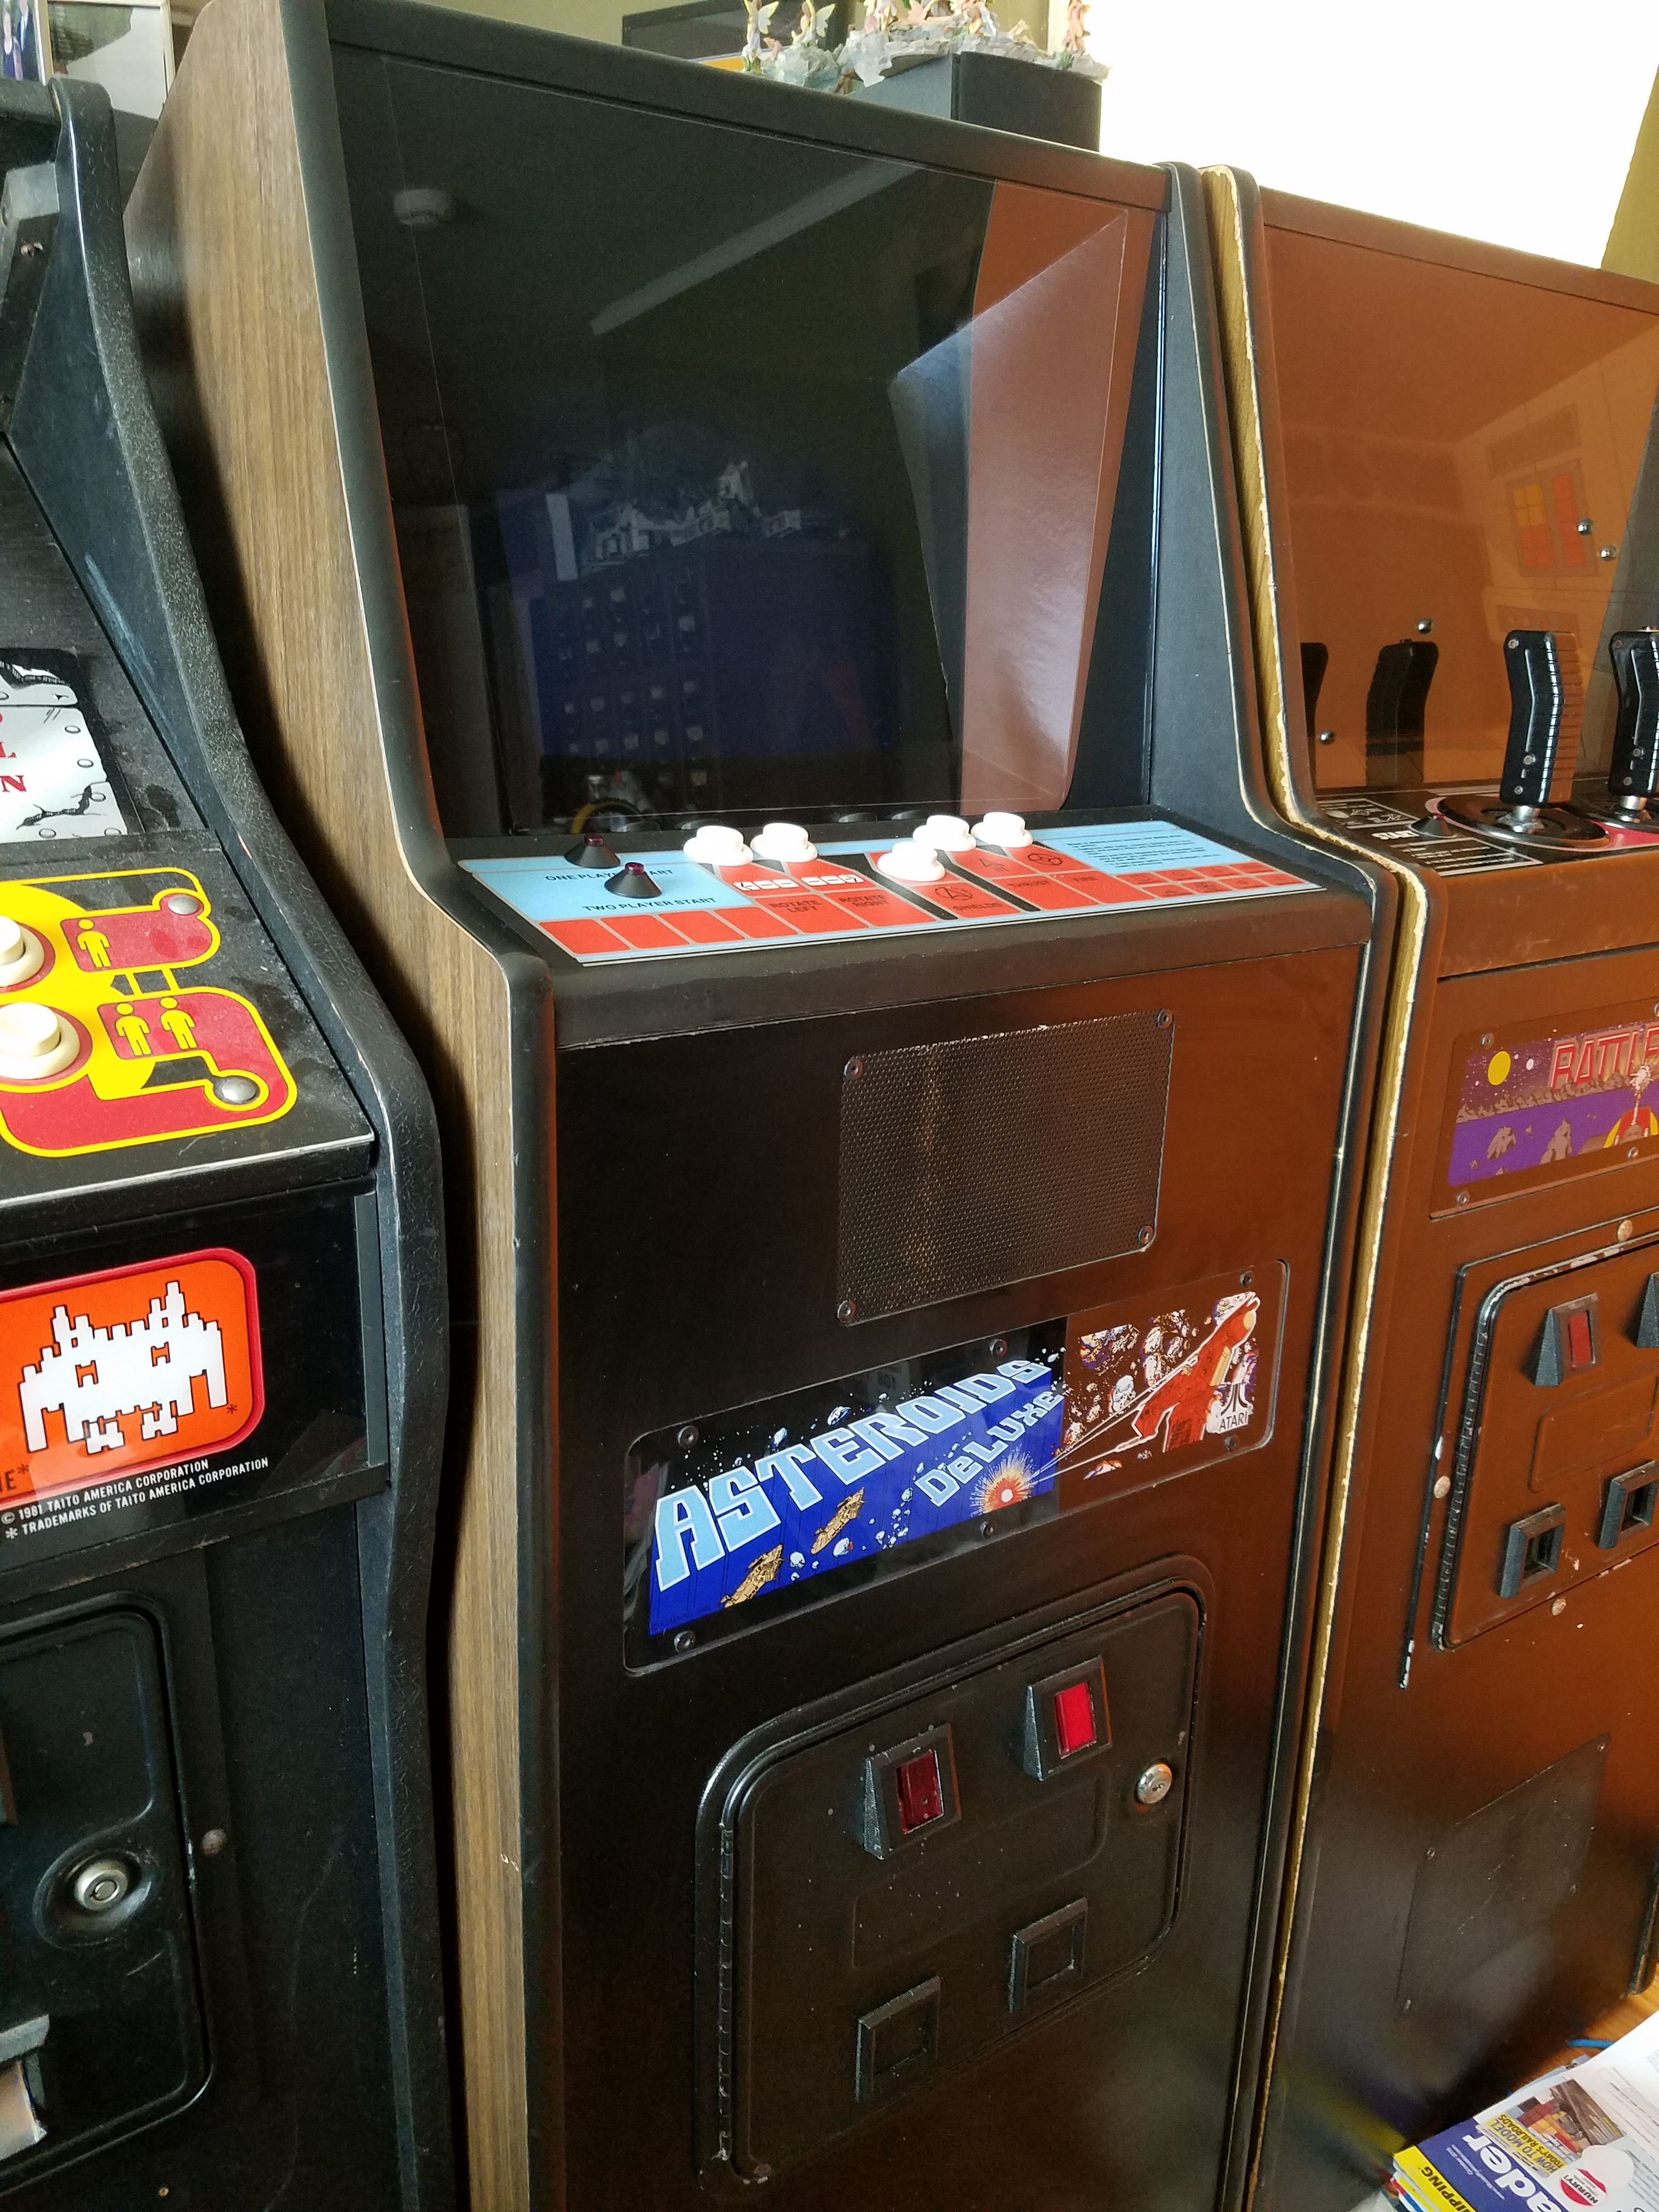
 Asteroids Deluxe in its new home. On April 27th, 2016, along with my good friend Jacob, I set out from Portland to the Central Washington town of Chelan to pick up this Asteroids Deluxe Cabaret. For some reason, I had dramatically underestimated the drive time from Portland to Chelan, so it took an entire day, from 09:00 to 23:00. The good news is that the game is just about immaculate. The woodgrain vinyl is clean, with just a couple little dings here and there, and one spot where it looks like someone had attached some tape to it. That’s a very rare and fortunate thing to find. The woodgrain that Atari used has been out of production for years, and nothing close has been consistently manufactured since, so finding a cabinet in original condition is a great score! The control panel is clean and bright, with almost no perceptible cracking at the corners. The buttons, however, had been replaced with some truly awful ultra-short action microswitch buttons. That’s not going to work for me. The monitor is sharp, although it starts to fade in brightness after a few minutes. I’ll put in a new cap kit just as a purely preventative measure, and while I’m at it I’ll re-flow anything on the monitor chassis that looks suspicious. The bezel shroud has some flaking on it which looks like wood flakes or something had gotten between the cardboard and the shroud. Obviously I’ll need to pull off the glass and clean off the front of the tube and the blue gel overlay. The marquee is flawless, and the light fixture works. The coin mechs are present as well, although as of yet I haven’t tested them. The coin box is also present and complete.
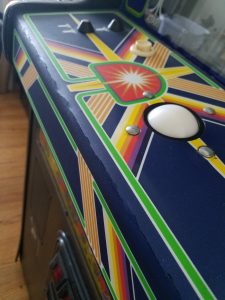
 We got an Asteroids Deluxe Cabaret! |
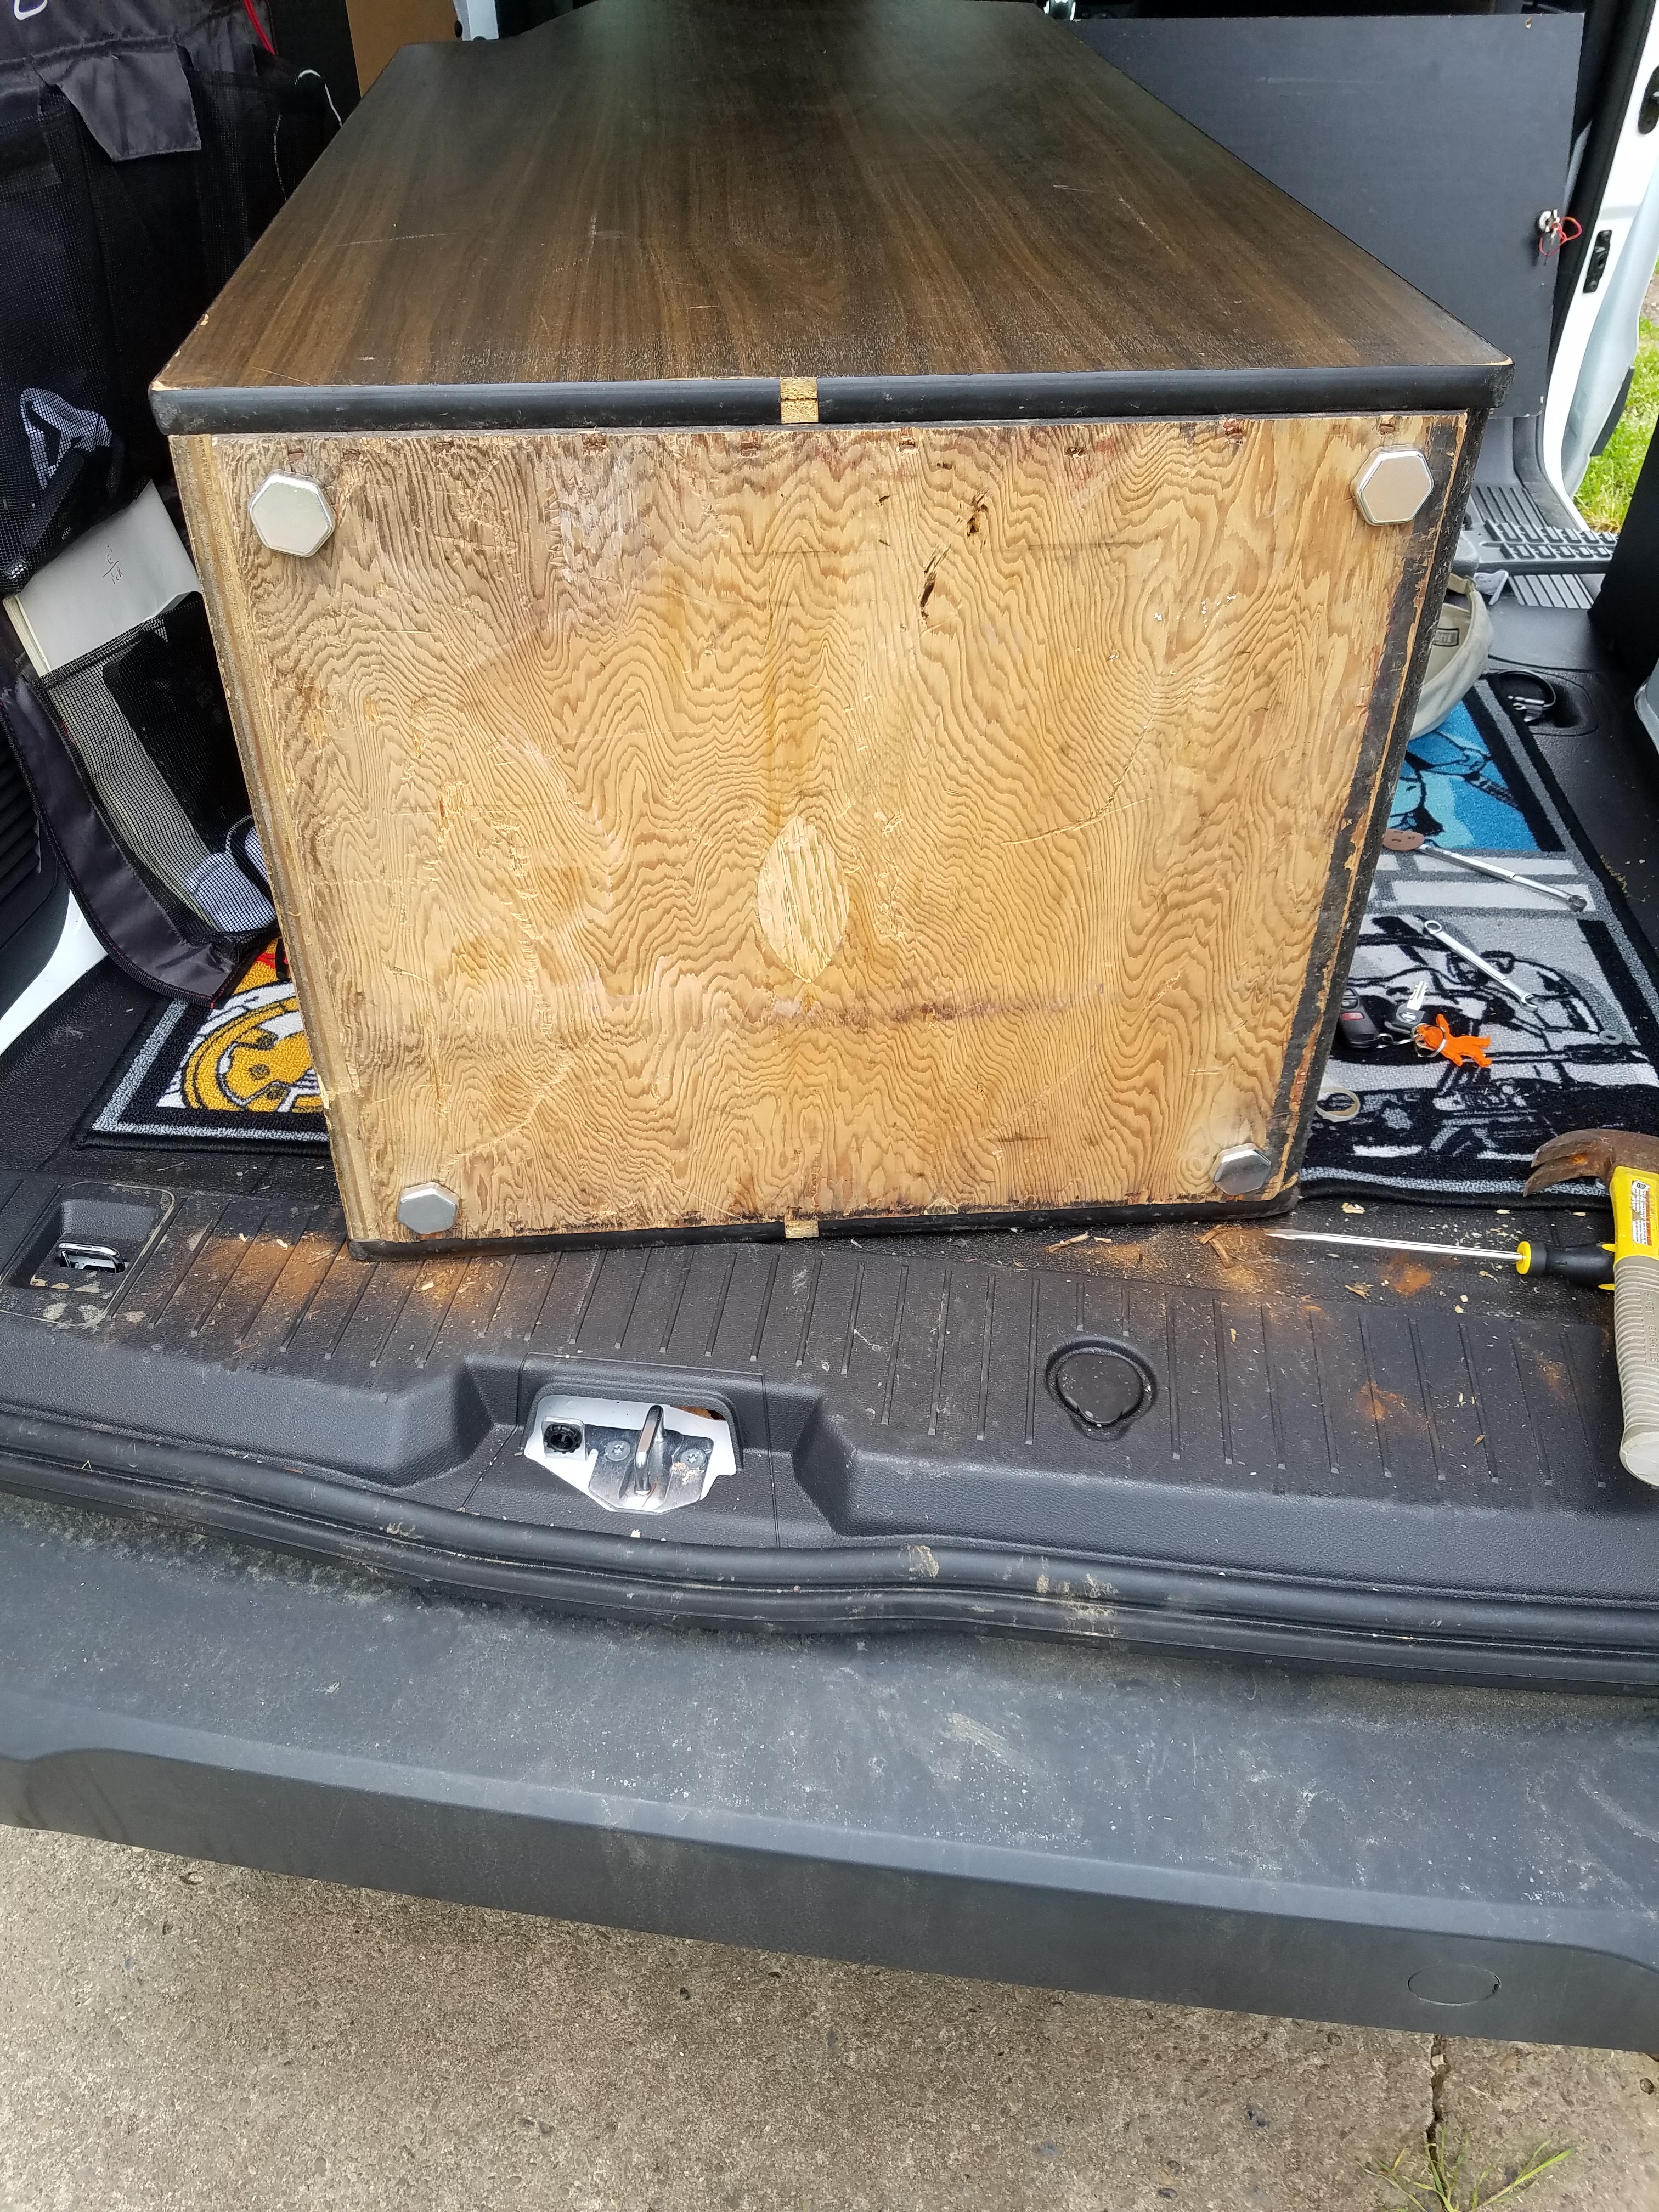
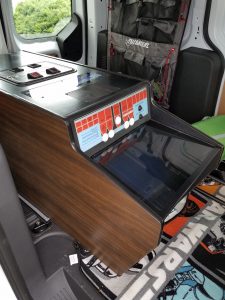 Asteroids Deluxe in the Van. |
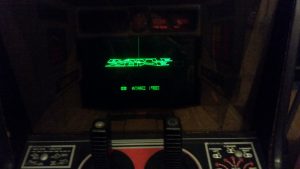
When I arrived at the previous owner’s house, the game had already been turned on, and the image was severely stretched vertically, to the point where the score was no longer visible. That really didn’t seem like a big deal or a difficult fix. We had agreed on a price before I left Portland, and since the game was pretty much exactly as described, I handed over the cash, and away we went with the game!
By the time we got back to town, it was way too late to try to bring the game inside, so it spent the night in the van.
The next morning I made ready to bring the game into the house.
 New feet on the Cabaret. |
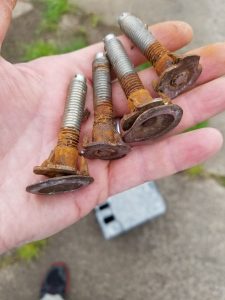 The old leg levelers. |
The only real sign of serious wear that I could find anywhere on the game was on the very bottom of the cabinet. The leg levelers were in pretty horrific shape. Two of them had lost their feet completely, so it was just broken studs protruding from the base. The other two weren’t far behind. I tried to spin them out of their T-nuts, but they had actually seized in the threads under a thick blanket of rust. Seeing as there was no part of any of the leg leveler assemblies that was going to make it, I pried them all out and replaced them with stainless steel t-nuts and appliance feet.
With the bottom of the game now much more compatible with the hardwood floors in my house, I strapped it onto the furniture hand truck that I keep around for just such occasions.
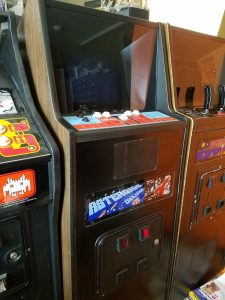
Once in the house, I slid the game into its new home, right next to the Battlezone Cabaret.
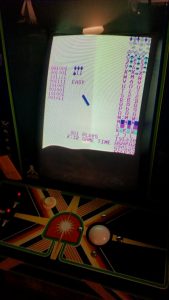
My loyal assistant, my 10 year old daughter was a great help in addressing the most immediate and likely easiest concern: getting the screen stretch under control. As with almost all Atari first-party games, Asteroids Deluxe has a great, easy to use and powerful test mode. In this case, the mode displays a nice grid pattern. Once we saw this, it would be quite simple to see when the adjustments were correct.
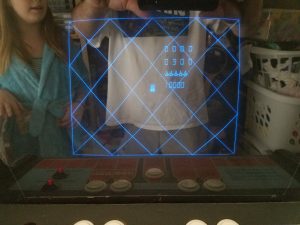 Test mode showing that the X and X gain pots are now where they are supposed to be. On Asteroids Deluxe, there are a pair of pots on the back of the PCB, which are easily accessible from the open back door, which adjust the X and Y gain (which means the amount of “stretch” along each axis. It took all of about 25 seconds, with Maile’s help, to get the stretch back under control.
That was about all we were going to be able to do for the night, so we called it, but first we played a couple of games. Good times!
Still to do:
- Get a new cap kit in the monitor and reflow the connections to address the fade.
- Install new leaf switches and buttons
- Clean up the bezel glass, shroud and gel overlay.
- Decide if it’s worth it to address a gouge in the lower left of the kickplate.
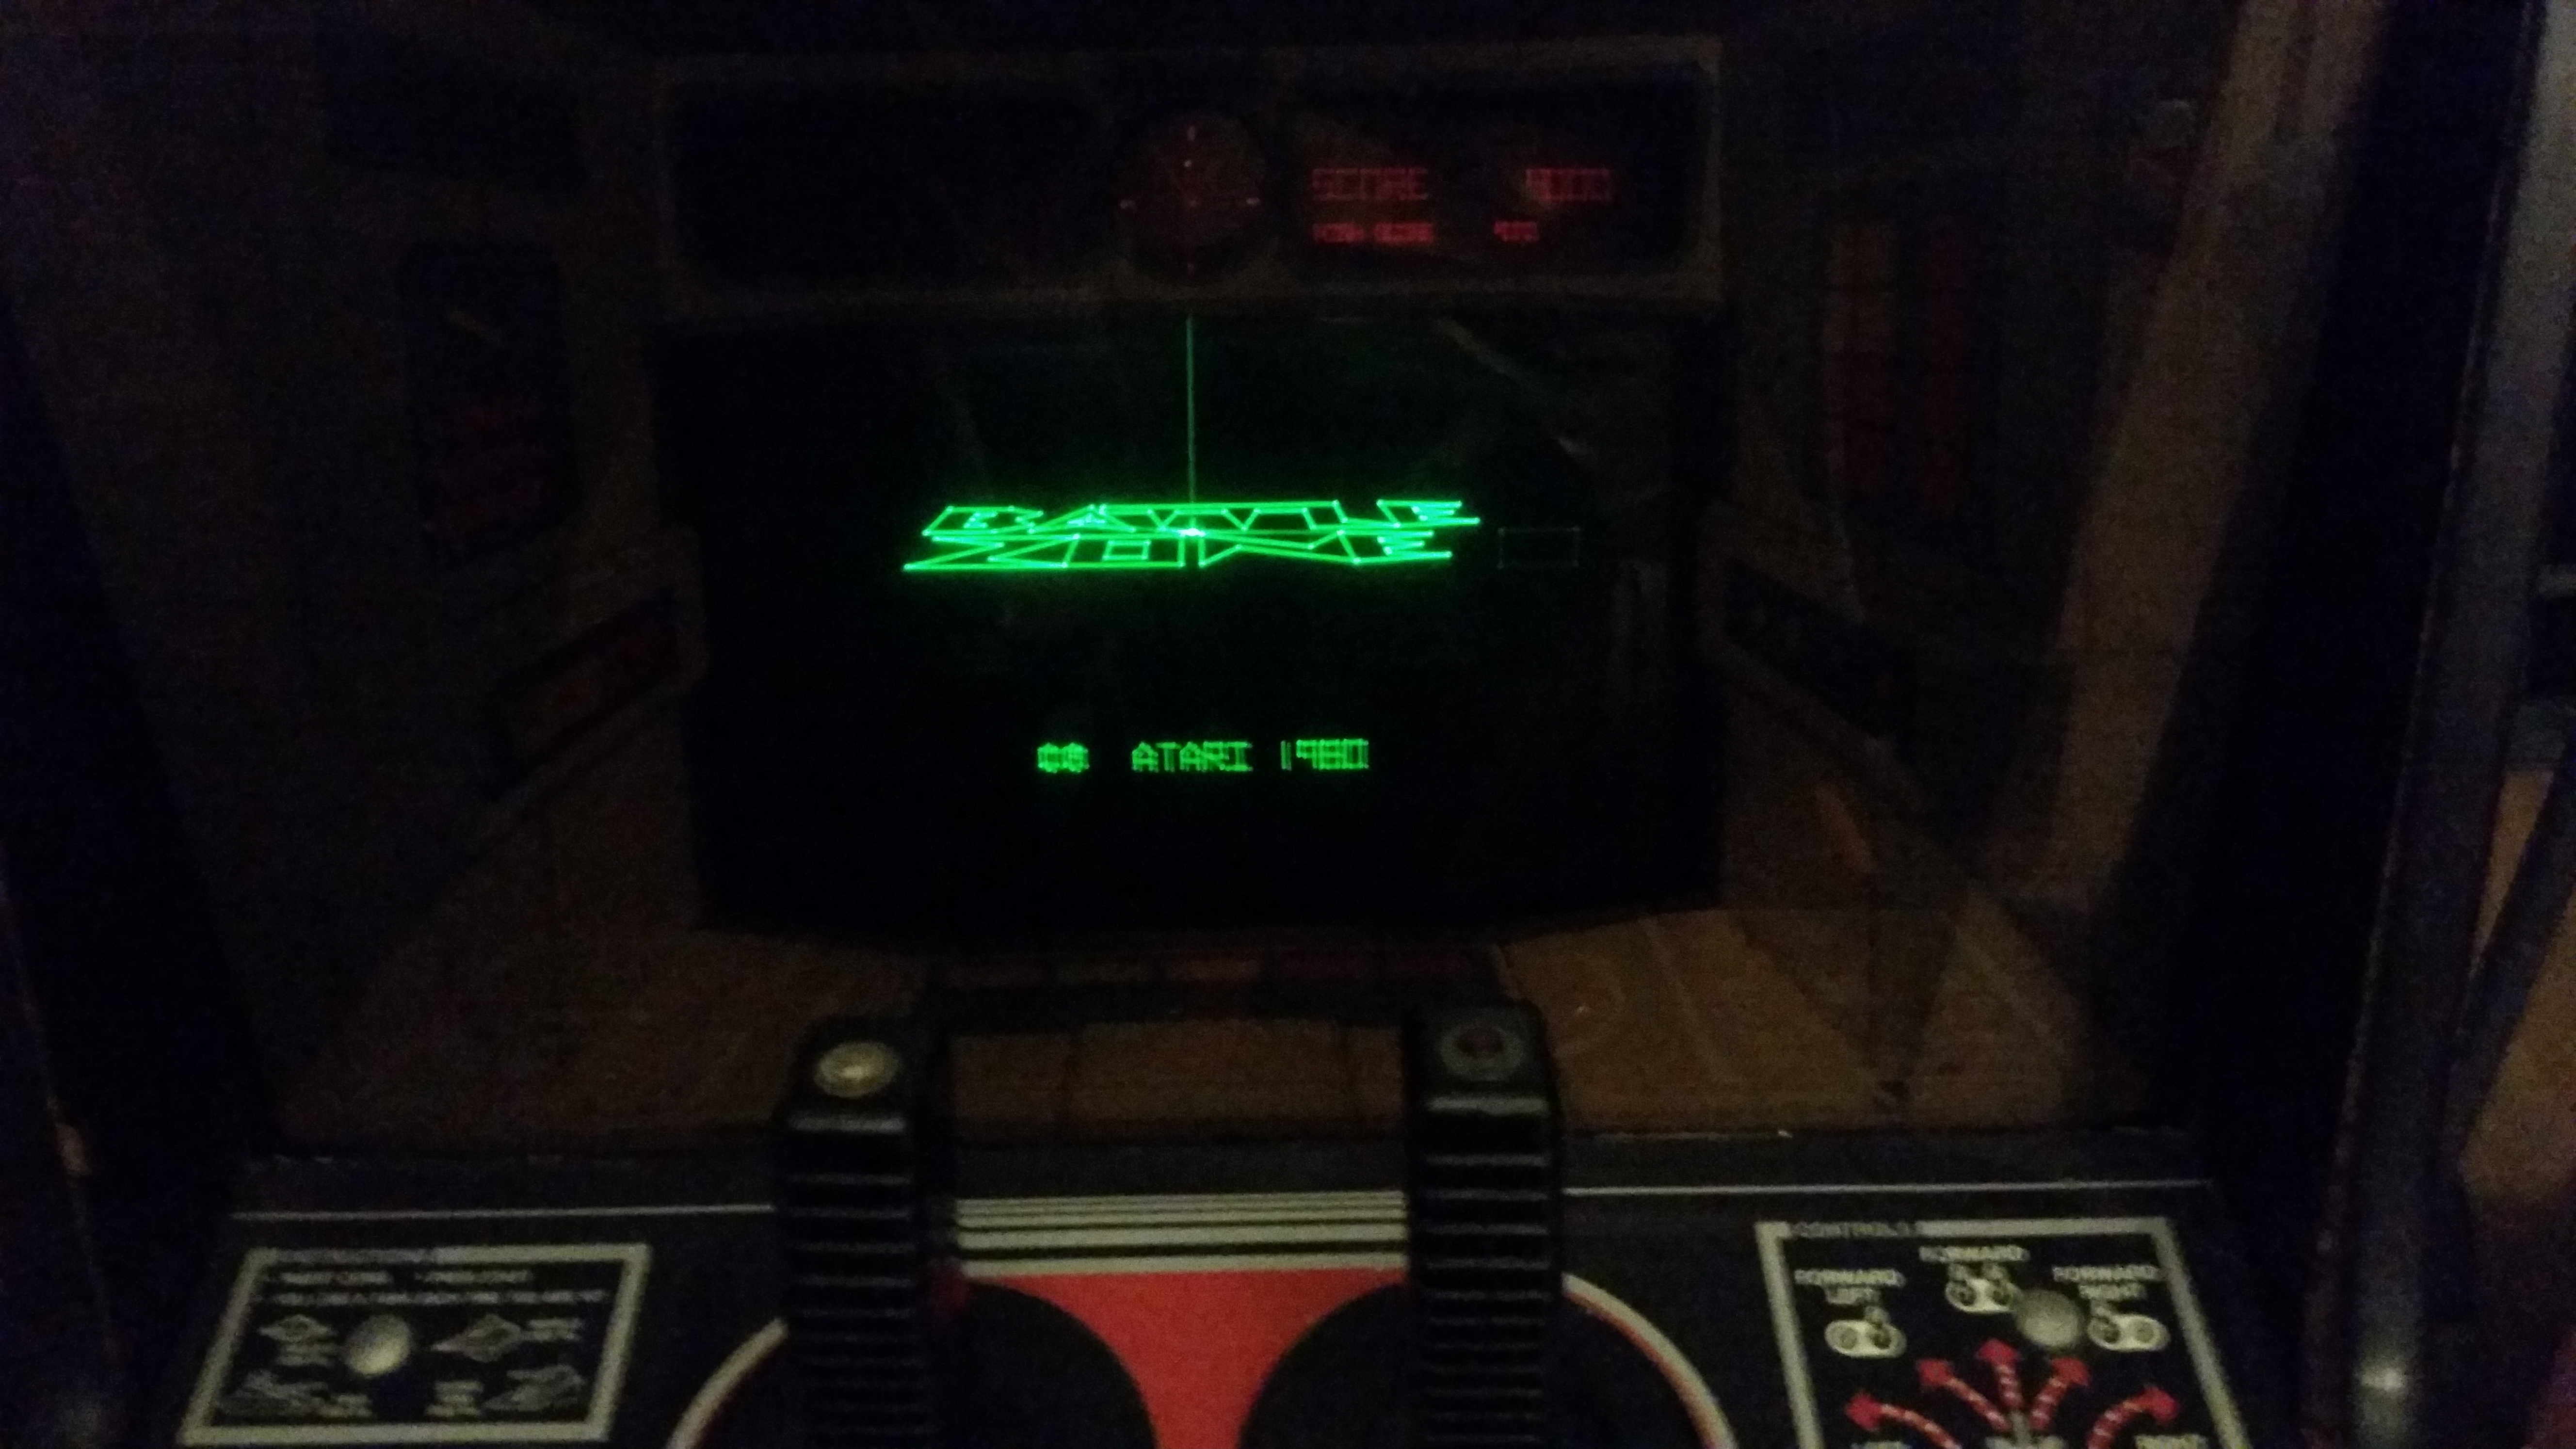
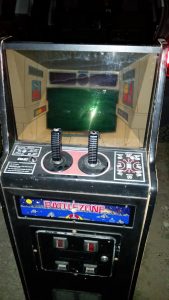 The Battlezone Cabaret, just off the truck. It definitely needed a bath. Many of us who grew up during the Golden Age of arcade games have fond memories of a particular game at a particular location. One of my own such memories is of Atari’s 1980 title Battlezone. The time was 1981, and the place was the game room attached to a beach house that we used to stay at when I was a kid. Battlezone was a futuristic tank combat simulator set on a flat plane with active volcanoes and a crescent moon overhead. The battlefield was also littered with geometric shapes which could act as either shelter or obstacles. The single player controlled their tank by way of two joysticks, one of which was topped with a fire button. Battlezone was big, and had a cool plastic periscope bezel that the player would look through for a more immersive experience. The game used a monochrome vector monitor with a green gel overlay at the bottom, where the action was, and a red overlay across the top, where the game displayed the information systems of the players tank. These included a radar display which showed the player the relative position of the enemy, and a small screen that displayed important messages about the tank’s situation in the battlefield. Adding to the early VR-like experience was deep, bassy audio that included rumbling engine noises, ballistic-sounding pops when the player fired, and, my favorite, a rousing rendition of 1812 Overture, which was a player’s reward for scoring an extra tank at 100,000 points, and also for scoring high enough to enter the player’s initials in the top ten score board.
While I truly love Battlezone, the enormous size of the standard upright cabinet made it unrealistic that I would be owning one any time soon. Atari did, however, produce a cabaret version of the game, and utilized the smaller of their two basic mini cabinet designs.
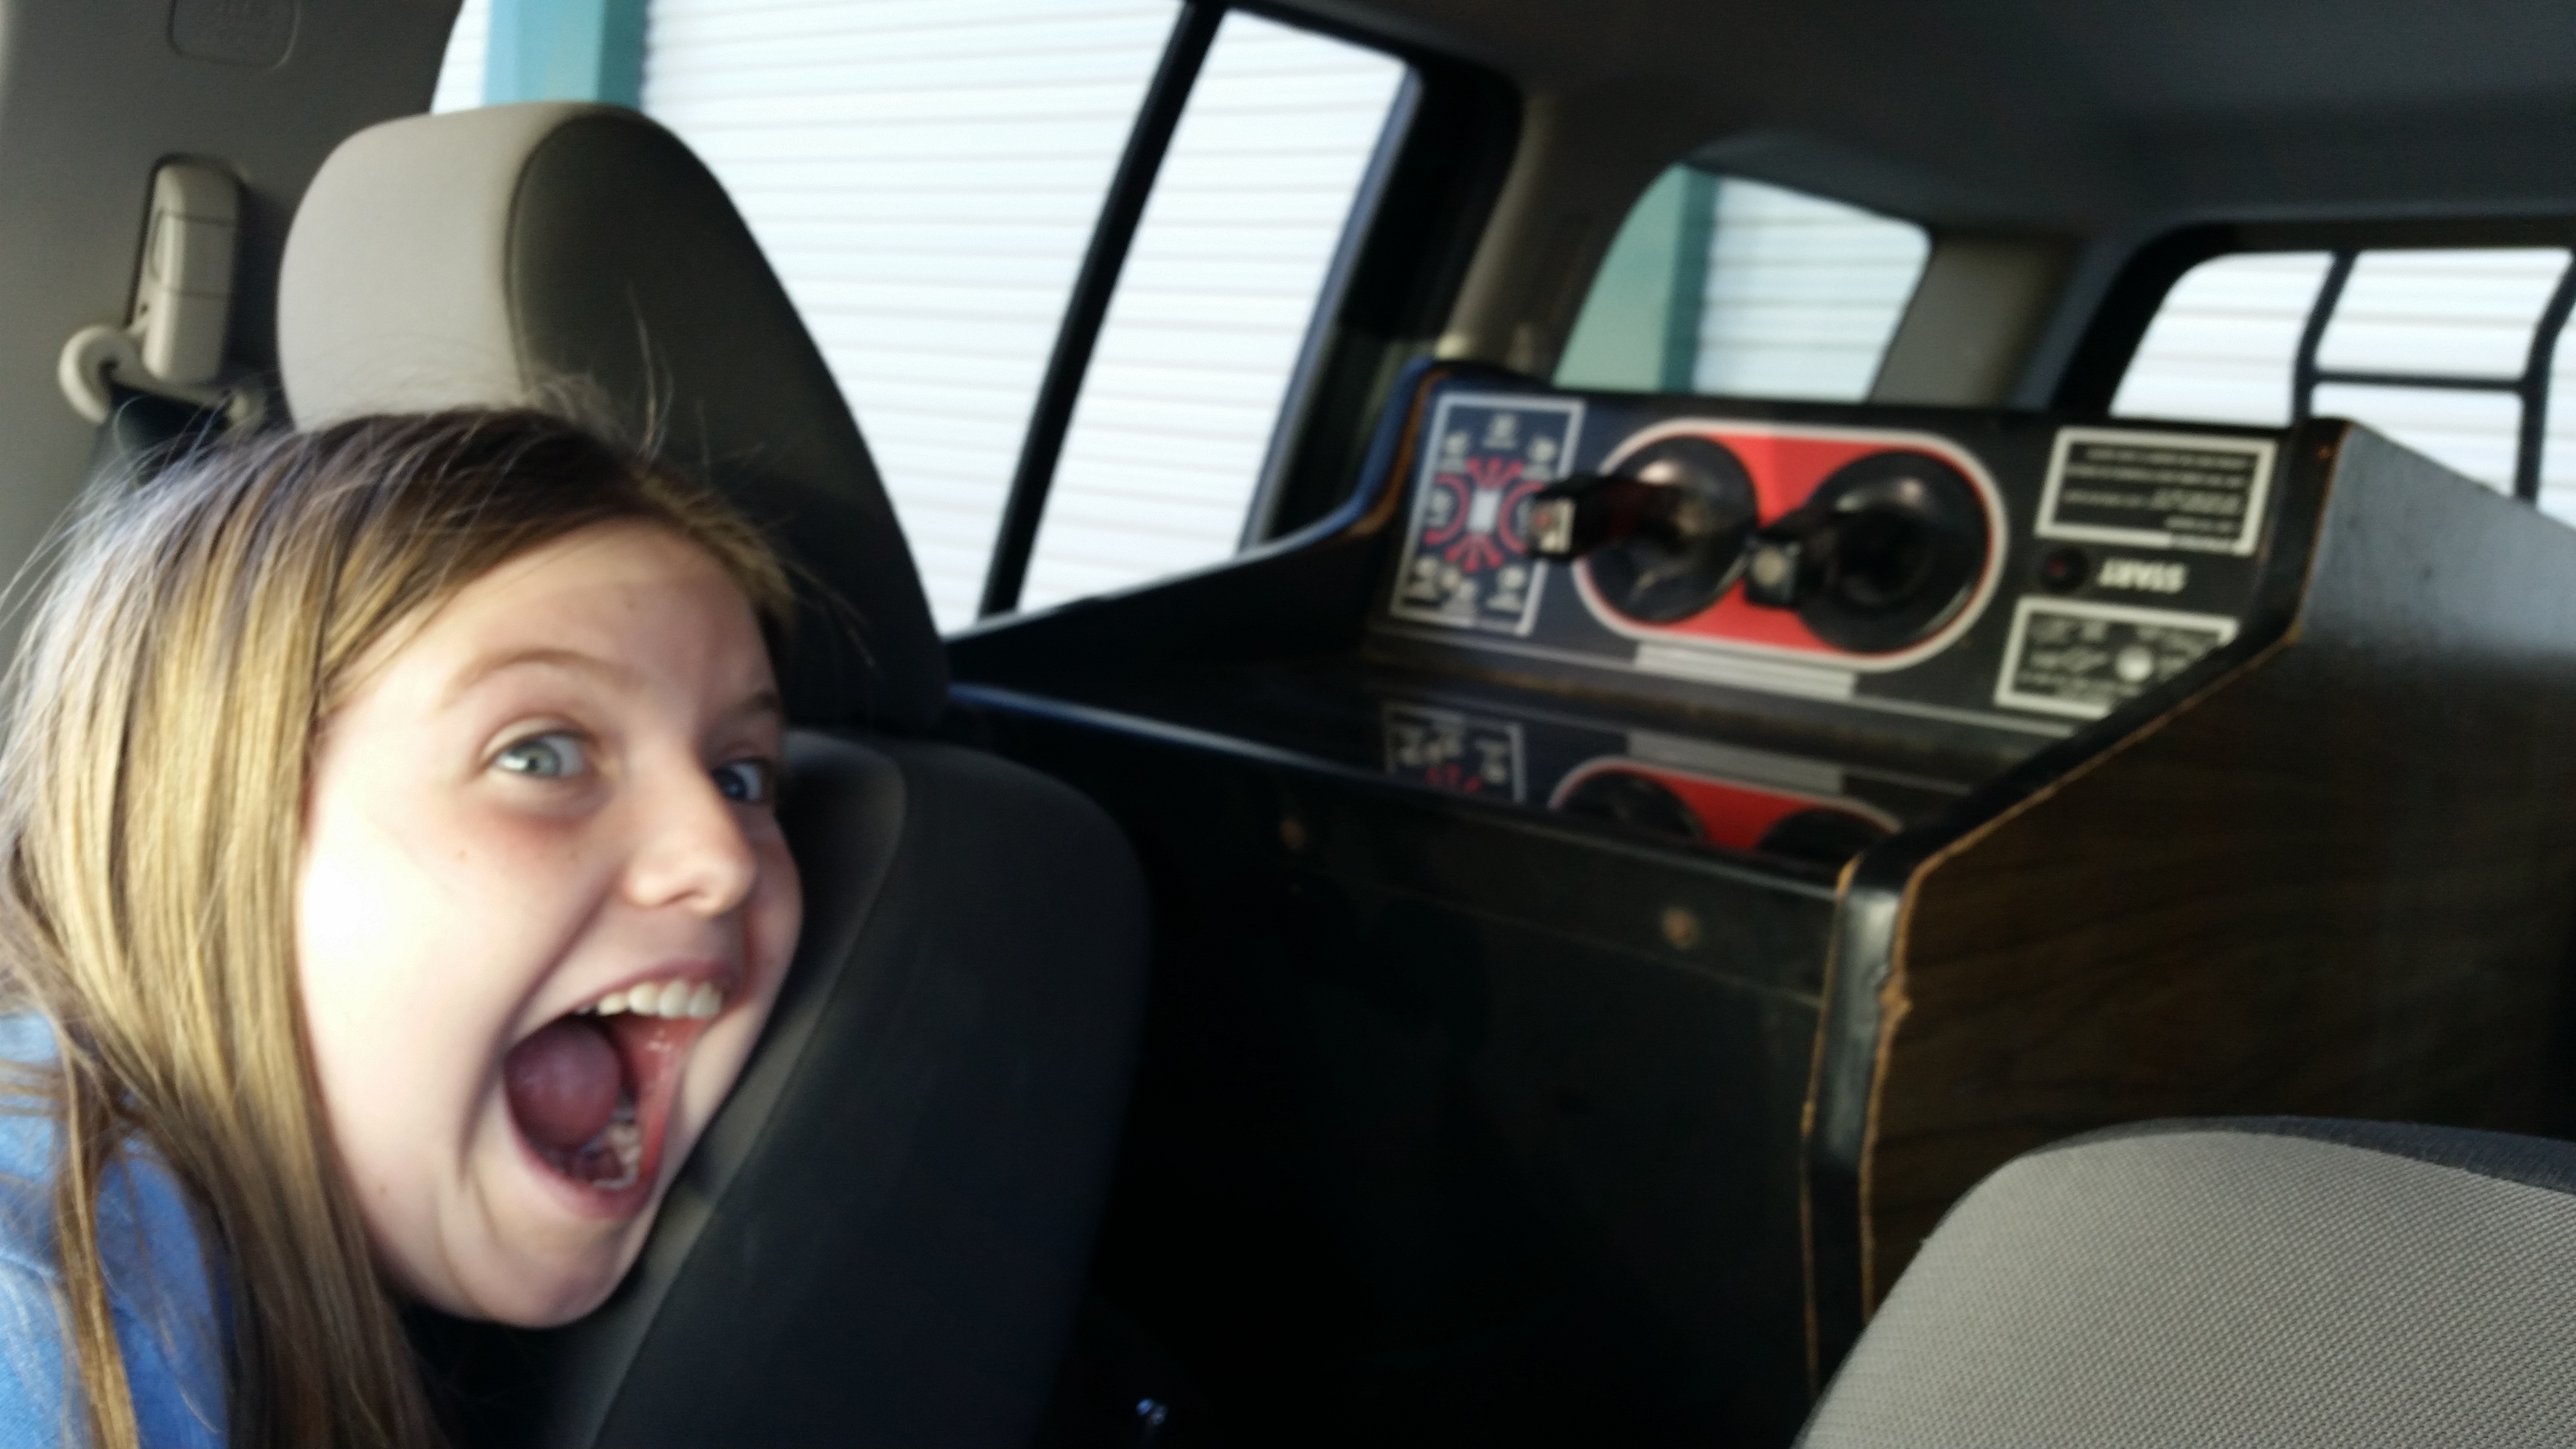
 Maile is very excited about our new Battlezone! It was October, I had a few days off from work, and a desire for an adventure. I put the word out to the Arcade Community, and before I knew it, a fellow collector contacted me with a Battlezone Cabaret at a price I couldn’t refuse.
It wasn’t perfect. It had been in a storage locker for a couple of years, and the cabinet had some significant swelling, but it was a complete game. It was also located about a five hour drive from my house, so it fit the adventure bill perfectly.
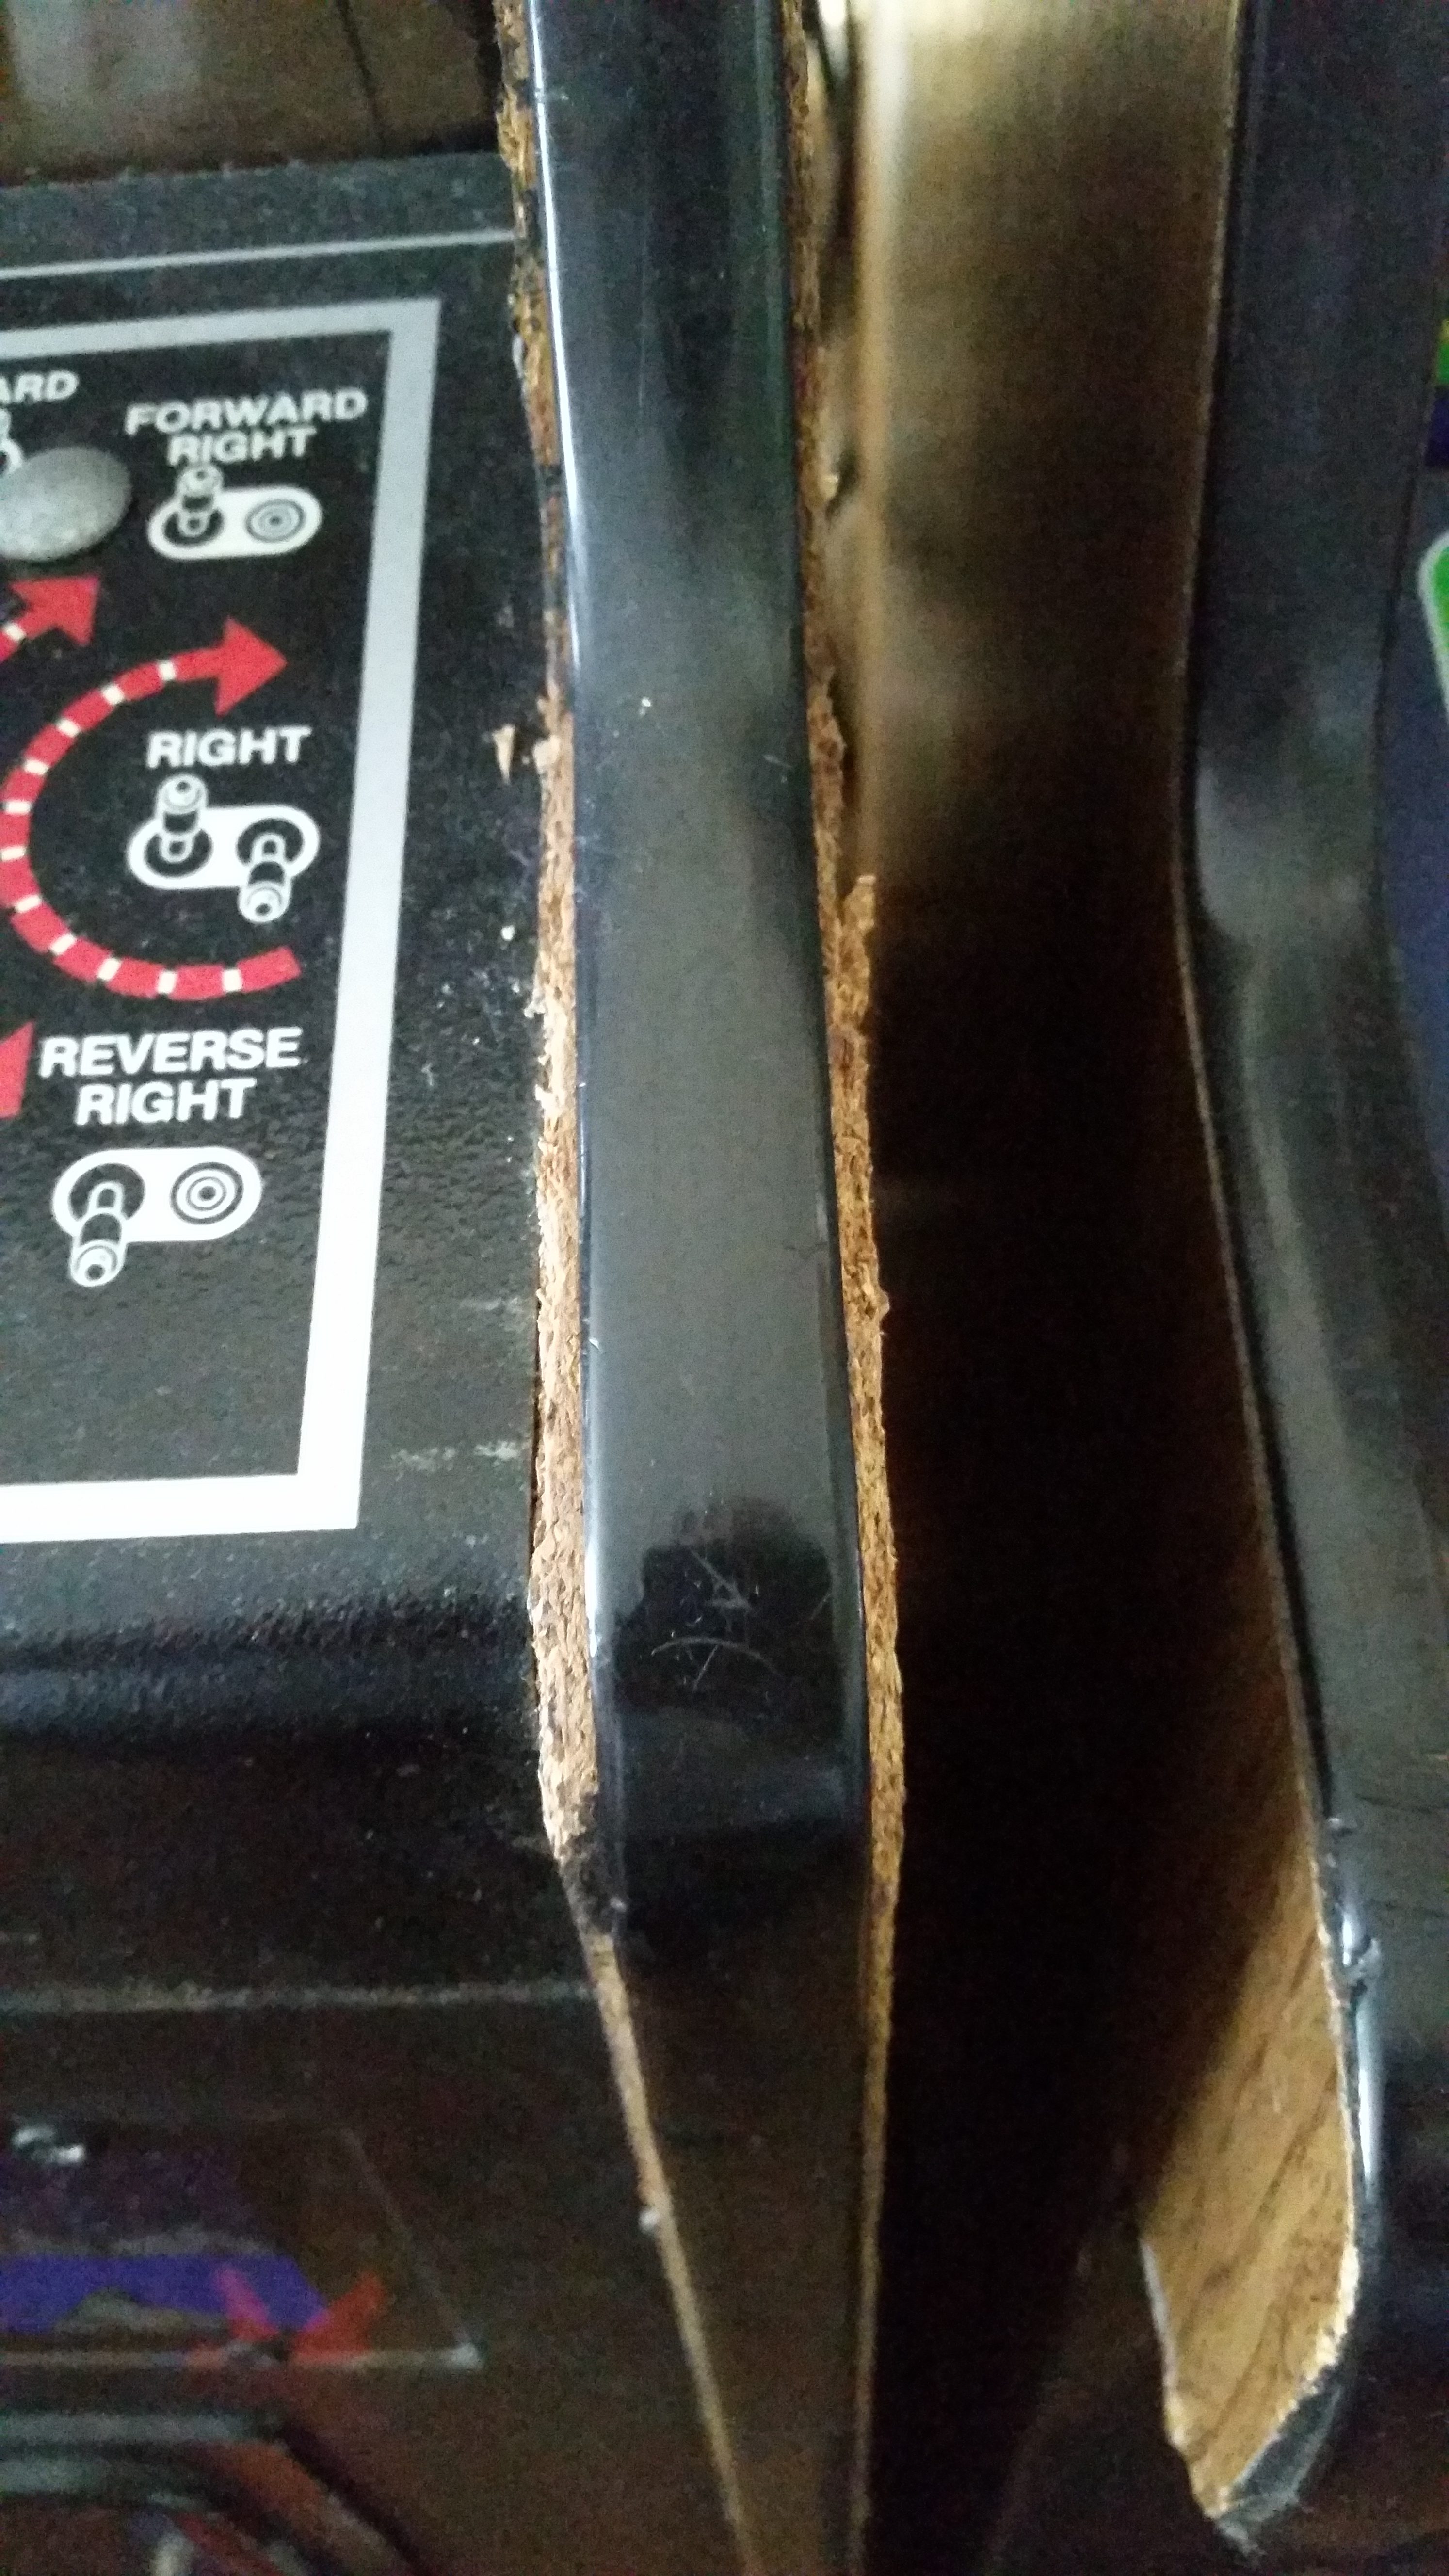
We set off relatively early in the morning, and after a fruitful side trip, we made it to Northern Washington. The Battlezone definitely looked like it had been around the block. As promised, the cabinet had some significant swelling, unfortunately quite close to the control panel, so it would be noticeable.
 The particle board side had swollen to the point where it could no longer hold the T-molding. Adding to this, the T-molding had popped out, as the groove had expanded significantly. Otherwise, it looked pretty good. Most amazingly, the decorated cardboard monitor shroud was present and complete. It was a little bit dirty, but these are hard to find, and as far as I know, they have never been reproduced. I was glad to see this one there!
Also, the coin door was in good shape, but had a 1/4″ hole drilled in it and some of the paint had flaked off, but there was no rust. The marquee was present, as well as the smoked glass bezel, which didn’t appear to have any scratches or other noticeable damage. The back was where most of the bad news was waiting, The bottom panel on the back had some significant damage. The vent slot had been enlarged and deformed, leaving some areas that were pretty nasty looking, there is no more diplomatic way to put it. The particle board door itself wasn’t too bad on the inside, but the back surface had flaky paint, to the paint where some of the particle board itself was starting to chunk out. Finally, like just about every arcade game I’ve picked up, the line power cord had been mangled, with the ground plug having been removed. The seller plugged it in and turned it on. Nothing appeared on the screen, , but the light in the start button was on solid. Looking in the back, there were some LEDs that were illuminated on the PCB, so I at least knew the power supply wasn’t completely dead.
In any case, it was a very exciting project to me, and well worth what the seller was asking. I happily handed over the cash and loaded the game into the back of my trusty Xterra.
It was quite dark by the time we got home and unloaded the Battlezone. I stopped to get a few pictures before bringing it into the house.
Once inside, I took the back off and commenced step one of my initial game restoration procedure: wiggle stuff, reseat all connectors, and look for anything that is just hanging that looks like it’s supposed to be attached to something.
 The Battlezone lives! I was sitting behind the game, after having completed phase one, and flicked the power switch on. Maile was in front of the machine and said; “Dad, the start button is flashing!” I jumped up and ran around the game, and saw something beautiful!
Right then, I was able to start a game. The sound worked nearly perfectly, the deep bass notes reverberating through the room, and the red and green overlays giving an otherworldly cast to the vector shapes on the screen.
I was very happy to find this game, and even happier to discover that it did actually work. of course, there was still quite a list of things to do, but I like where this project was starting.
What I immediately knew that the game would need:
- Some cosmetic work on the joysticks
- General cleaning
- New line power cord
- Cabinet work (swelling)
- New interconnect cable (always a good idea)
- Power brick rebuild
- New marquee light tube and/or starter (at least)
- Coin door light repair or replacement
- Coin mech installation (if I decided I needed them)
There would be a few other challenges that would show up unexpectedly, and that’s where the fun really began!
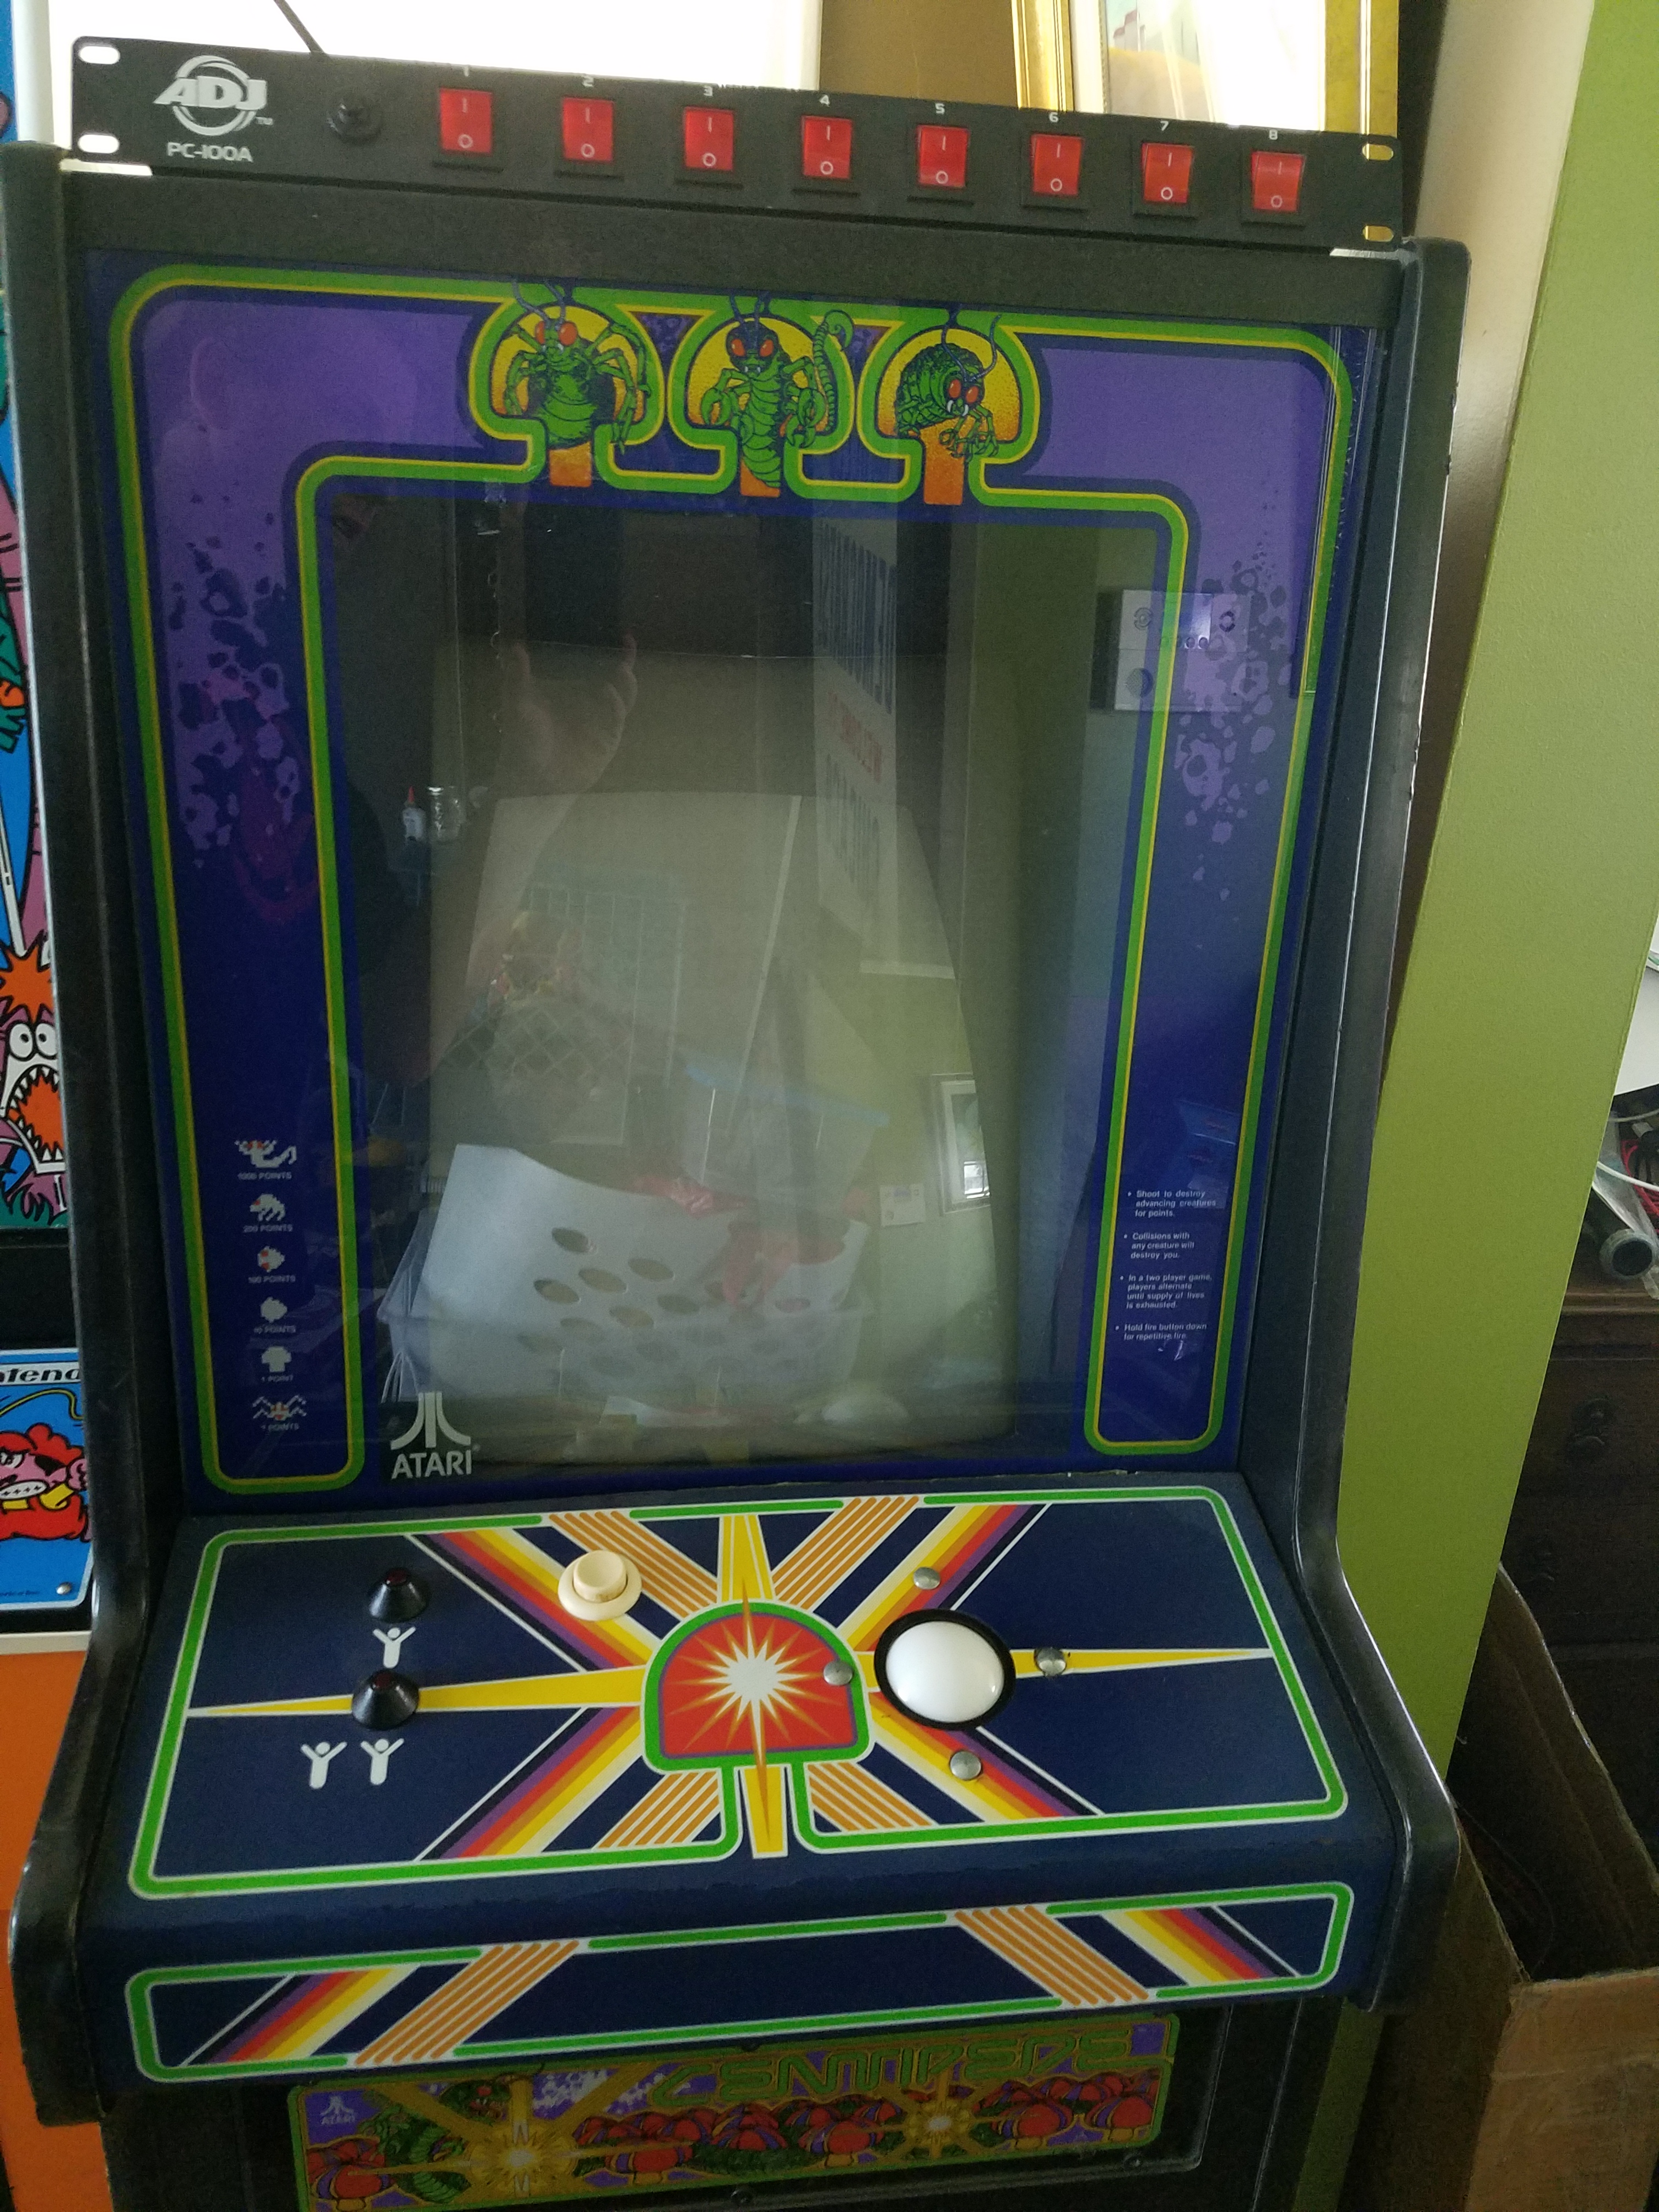
In the hot summer of 2015, I got my first game, a Centipede Cabaret. For those who may not be familiar with the term, a “Cabaret” is a smaller version of an upright game, often with a smaller monitor, and in the case of Atari, plain woodgrain-patterned vinyl on the sides rather than more elaborate side art.
 Centipede Cabaret, as it sits in my living room as of 2016. Technically speaking, the term “Cabaret” really belongs to Atari. Most other manufacturers just called the smaller games “Minis”, or in the case of Taito, the elegant-sounding “Trimline”. These were games that were probably aimed at locations with smaller spaces, such as bars or small shops, where the smaller size would be a real asset.
Anyway, I had been patrolling Craiglist, which remains a primary source of used coin-op video games, when this nice looking Centipede appeared. It seemed to be priced about right, and had no obvious flaws that I could see in the ad, so I contacted the seller. We exchanged a couple of texts, and I set off in my pickup truck, along with a pocket full of cash, a hand truck, and my daughter Maile, who was about to turn 10.
On the drive out, I pondered everything that might be wrong with a game, and since this was my first, there was a lot I could imagine, and a lot about which I had no idea. When we got there , the game was running just like the seller had described. It needed a good cleaning, some new bearings and rollers for the trackball, and the coin door was pretty beat up. All of that was okay, though. We quickly agreed on a price, and Maile and I loaded it up and brought it home.
Once in the house, I could take off the top layer of grime, and see what we were dealing with. The good news: the glass bezel turned out to be nearly flawless. Needless to say, it cleaned up very nicely. With bezel off, I carefully removed the original dark blue monitor shroud, and set to the front of the picture tube with a cloth and some Windex. The amount of dirt and grime on the screen was truly prodigious, and after destroying a couple of cloths, the picture had brightened significantly. It was now apparent that the monitor was really in fantastic shape. The CPO was looking pretty badly stained, but I decided to take a Magic Eraser to it and see what could be done. It brightened almost immediately. There is still some splitting near the bottom of the panel, so it will get replaced at some point, but it’s
 Some cracking along the bend in the control panel overlay. certainly not a high-priority item. The carriage bolts holding the trackball in place were badly rusted and pitted, beyond the point of saving, so I found some suitable replacements.
It was finally time to plug the game in and let the family have a crack at it.
In a stroke of luck, it turns out that Julie, the love of my life and mother of my child, is really big on Centipede. She very quickly accepted the presence of a 35 year-old video game cabinet in the living room, which has turned out to be very good news in the time since.
It didn’t take long before I had found a source for new bearings and rollers for the trackball, and got them ordered right away. Now the game play was buttery smooth, just like it was supposed to be.
The coin door was next. Centipede uses an “over/under” door arrangement, and the lower door had seen some serious abuse. The edges had been deformed to the point where it wouldn’t close, and there were several spots where the paint had worn through, revealing some noteworthy rust. I spent a few hours in total trying to bend the door back into shape, but never got it to the point where it both looked right and functioned properly. Also adding the door’s problems was a missing reject button and a mangled coin mech mount. None of this was a problem for a home use machine, of course, since it had been set to free play within a few minutes of entering the house, but it would never sit right with me until there was a lighted reject button with an appropriate Atari insert.
The solution ended up being a new coin door purchased from a KLOV member. It appeared to be a few years newer than mine, but I was able to transplant all of the usable parts form the old door to the new, and much more was then right with the world.
Things looked really good for about two weeks, when suddenly something very strange happened:
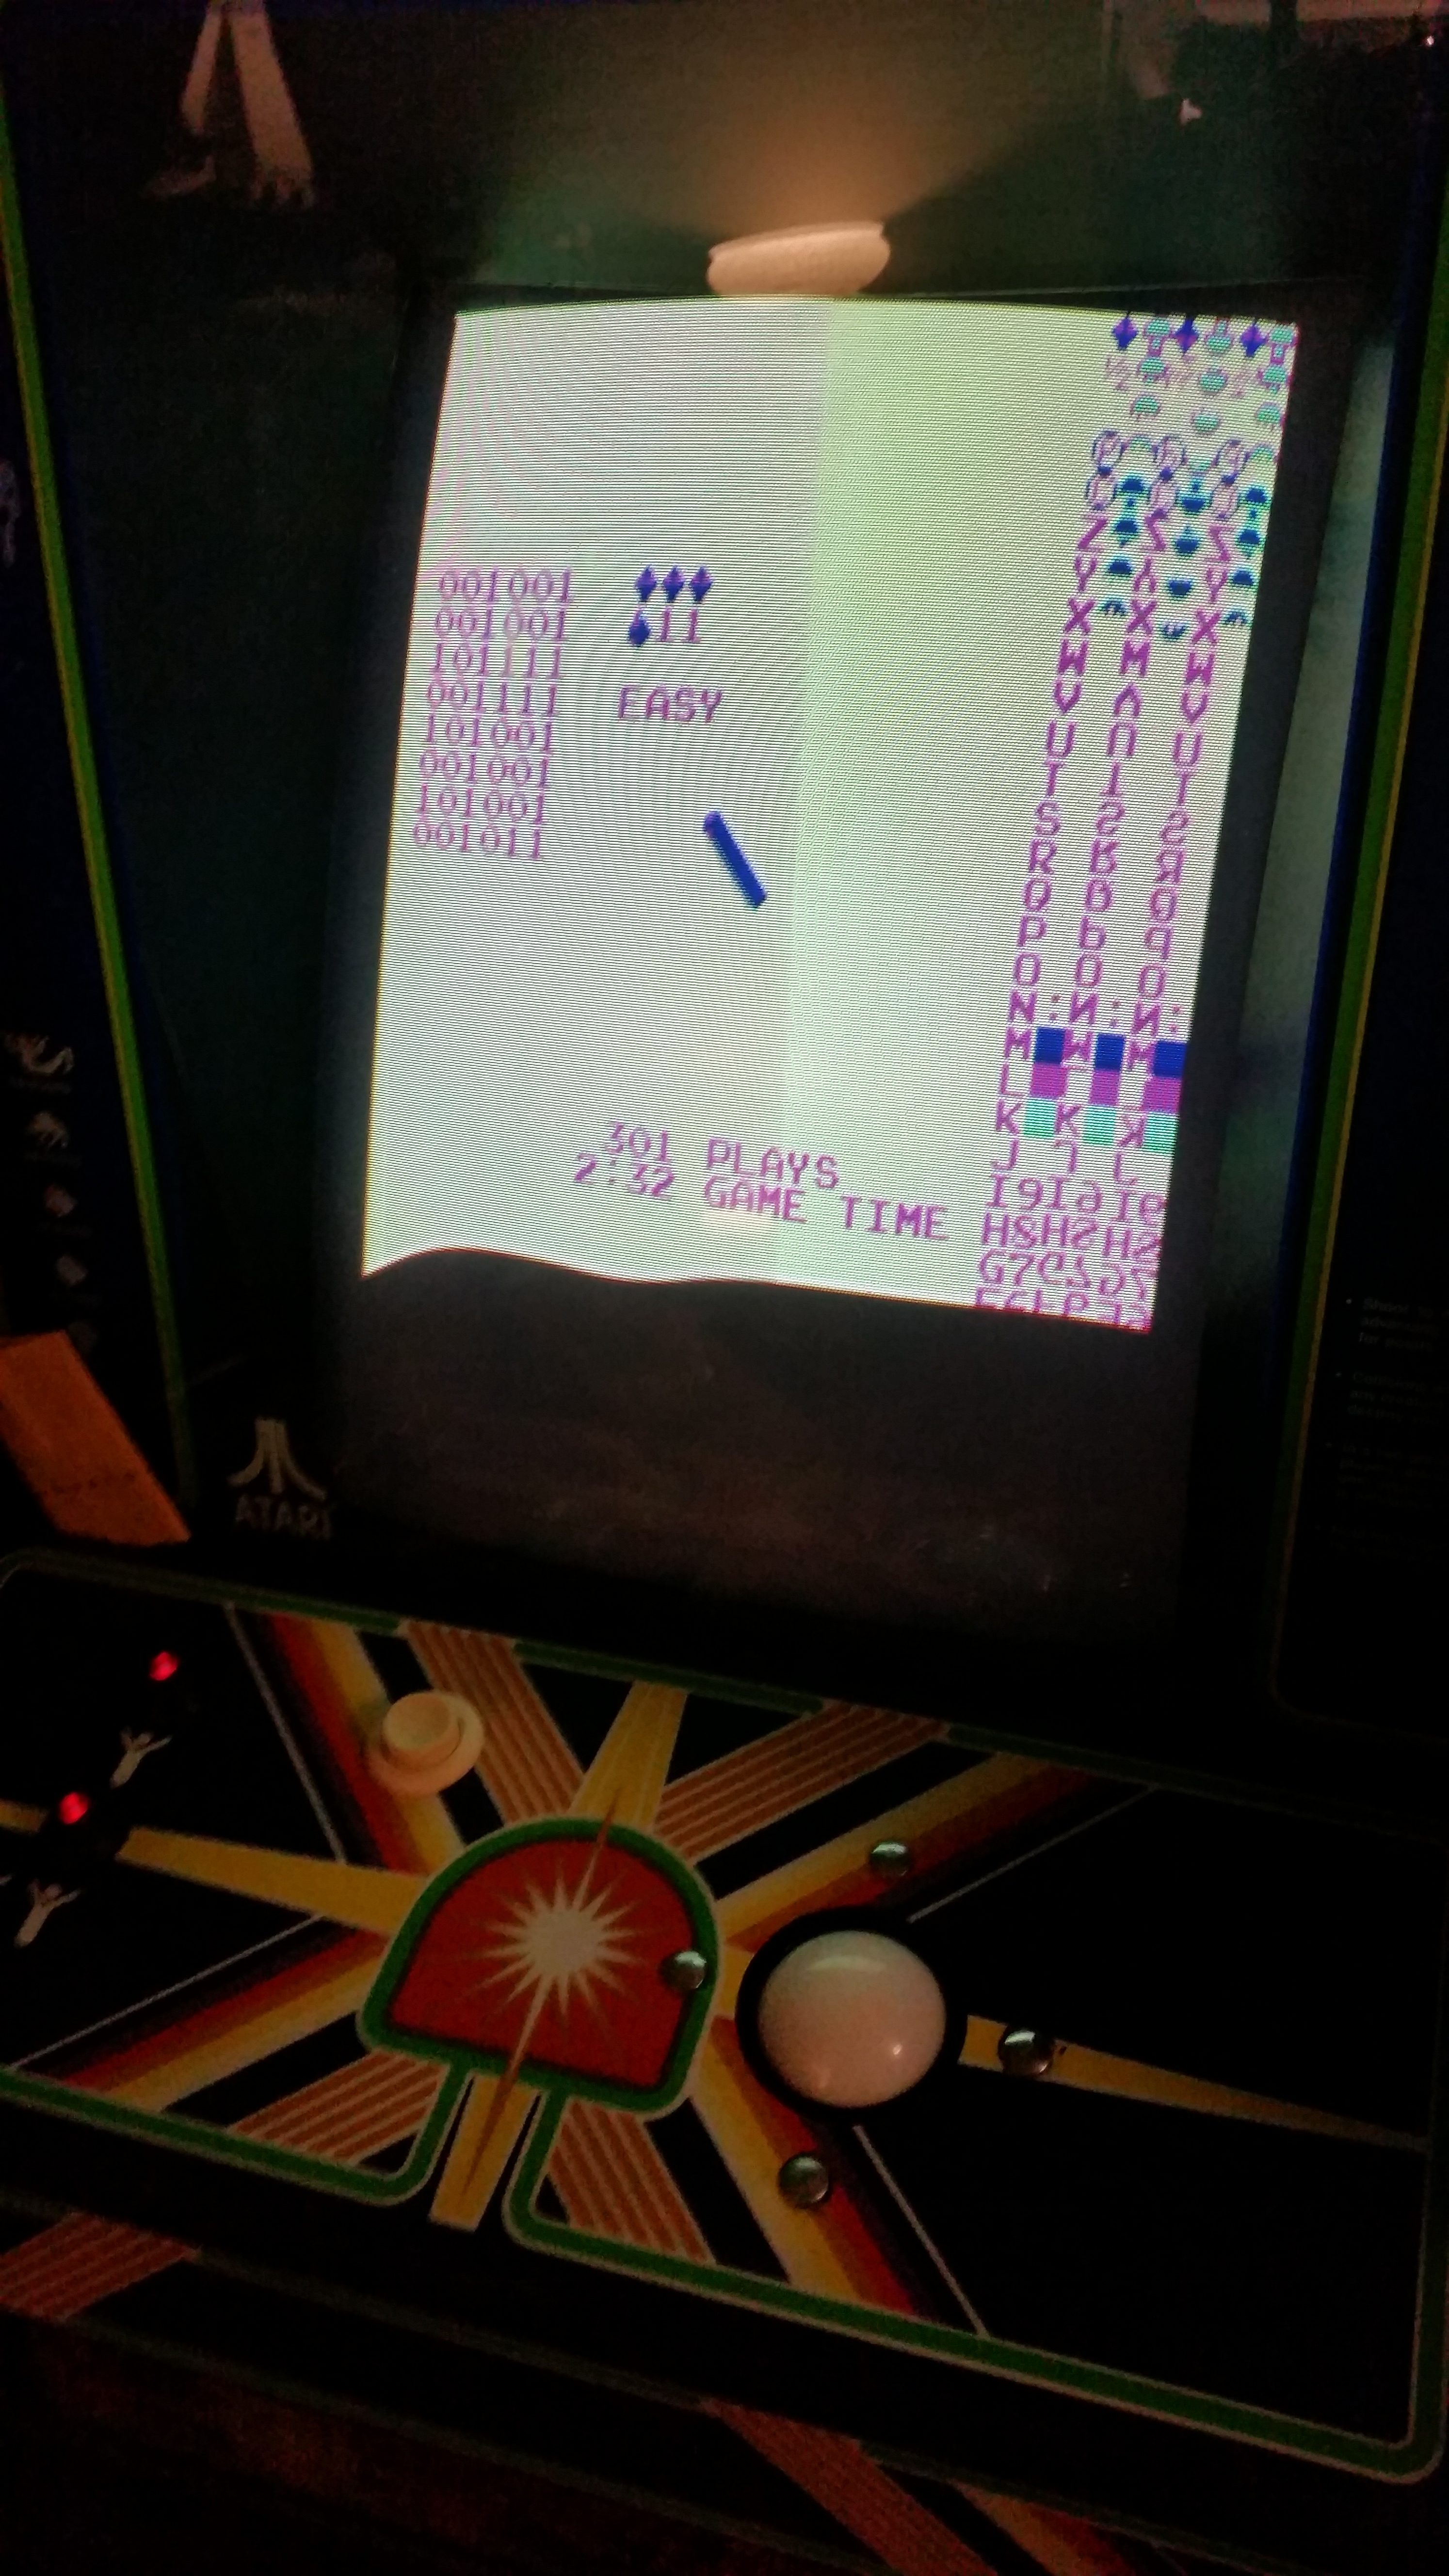
 Something is not right with this G07! Don’t worry, though, the image is test mode, but check out the tearing at the bottom.  The bottom 3 inches or so are missing. That’s a problem in Centipede! I switched on the game, and while it would start a game, the bottom couple of inches weren’t visible. That’s a pretty big problem for Centipede, since that’s where the player is. Luckily, the KLOV community came through, and in just a few days I had a cap kit and a new flyback in hand, and spent an evening repairing the Elektrohome G07.
After a few hours with the soldering iron, I placed the monitor back in the cabinet. I estimated that there was about a forty percent chance that I would flip the switch and immediately hear a big “pop”, and see that the monitor was now much more dead than it had been before. I also figured it was just as likely that I would fire it up and see no change. The least likely possibility, in my estimation, was that the monitor would come up looking just like it was supposed to. It turned out that that was exactly what it did. I didn’t even mess up a solder joint, it just worked, just like it was supposed to.
We celebrated with a family tournament.
I won…
|
|